DIY Fabric Buttons

For my Birthday, my beautiful friend Claudia gifted me Cath Kidson’s Button Factory – a kit for making ab-fab fabric buttons. Before I even got the chance to sit down at have a bash, I came across a similar system for covering buttons with fabric at Daiso, for, you guessed it, $2.80. I grabbed them in the hopes that once my Button Factory is out of business, I can continue on. I decided to test both out at the same time and this is how it went!

 IMG_8269 2

The Daiso “Cover Button Kit”s in 27 and 18mm, and Cath Kidson’s Button Factory.

IMG_8277

First up; I could not wait to try this beauty out!

IMG_8283 2

IMG_8287

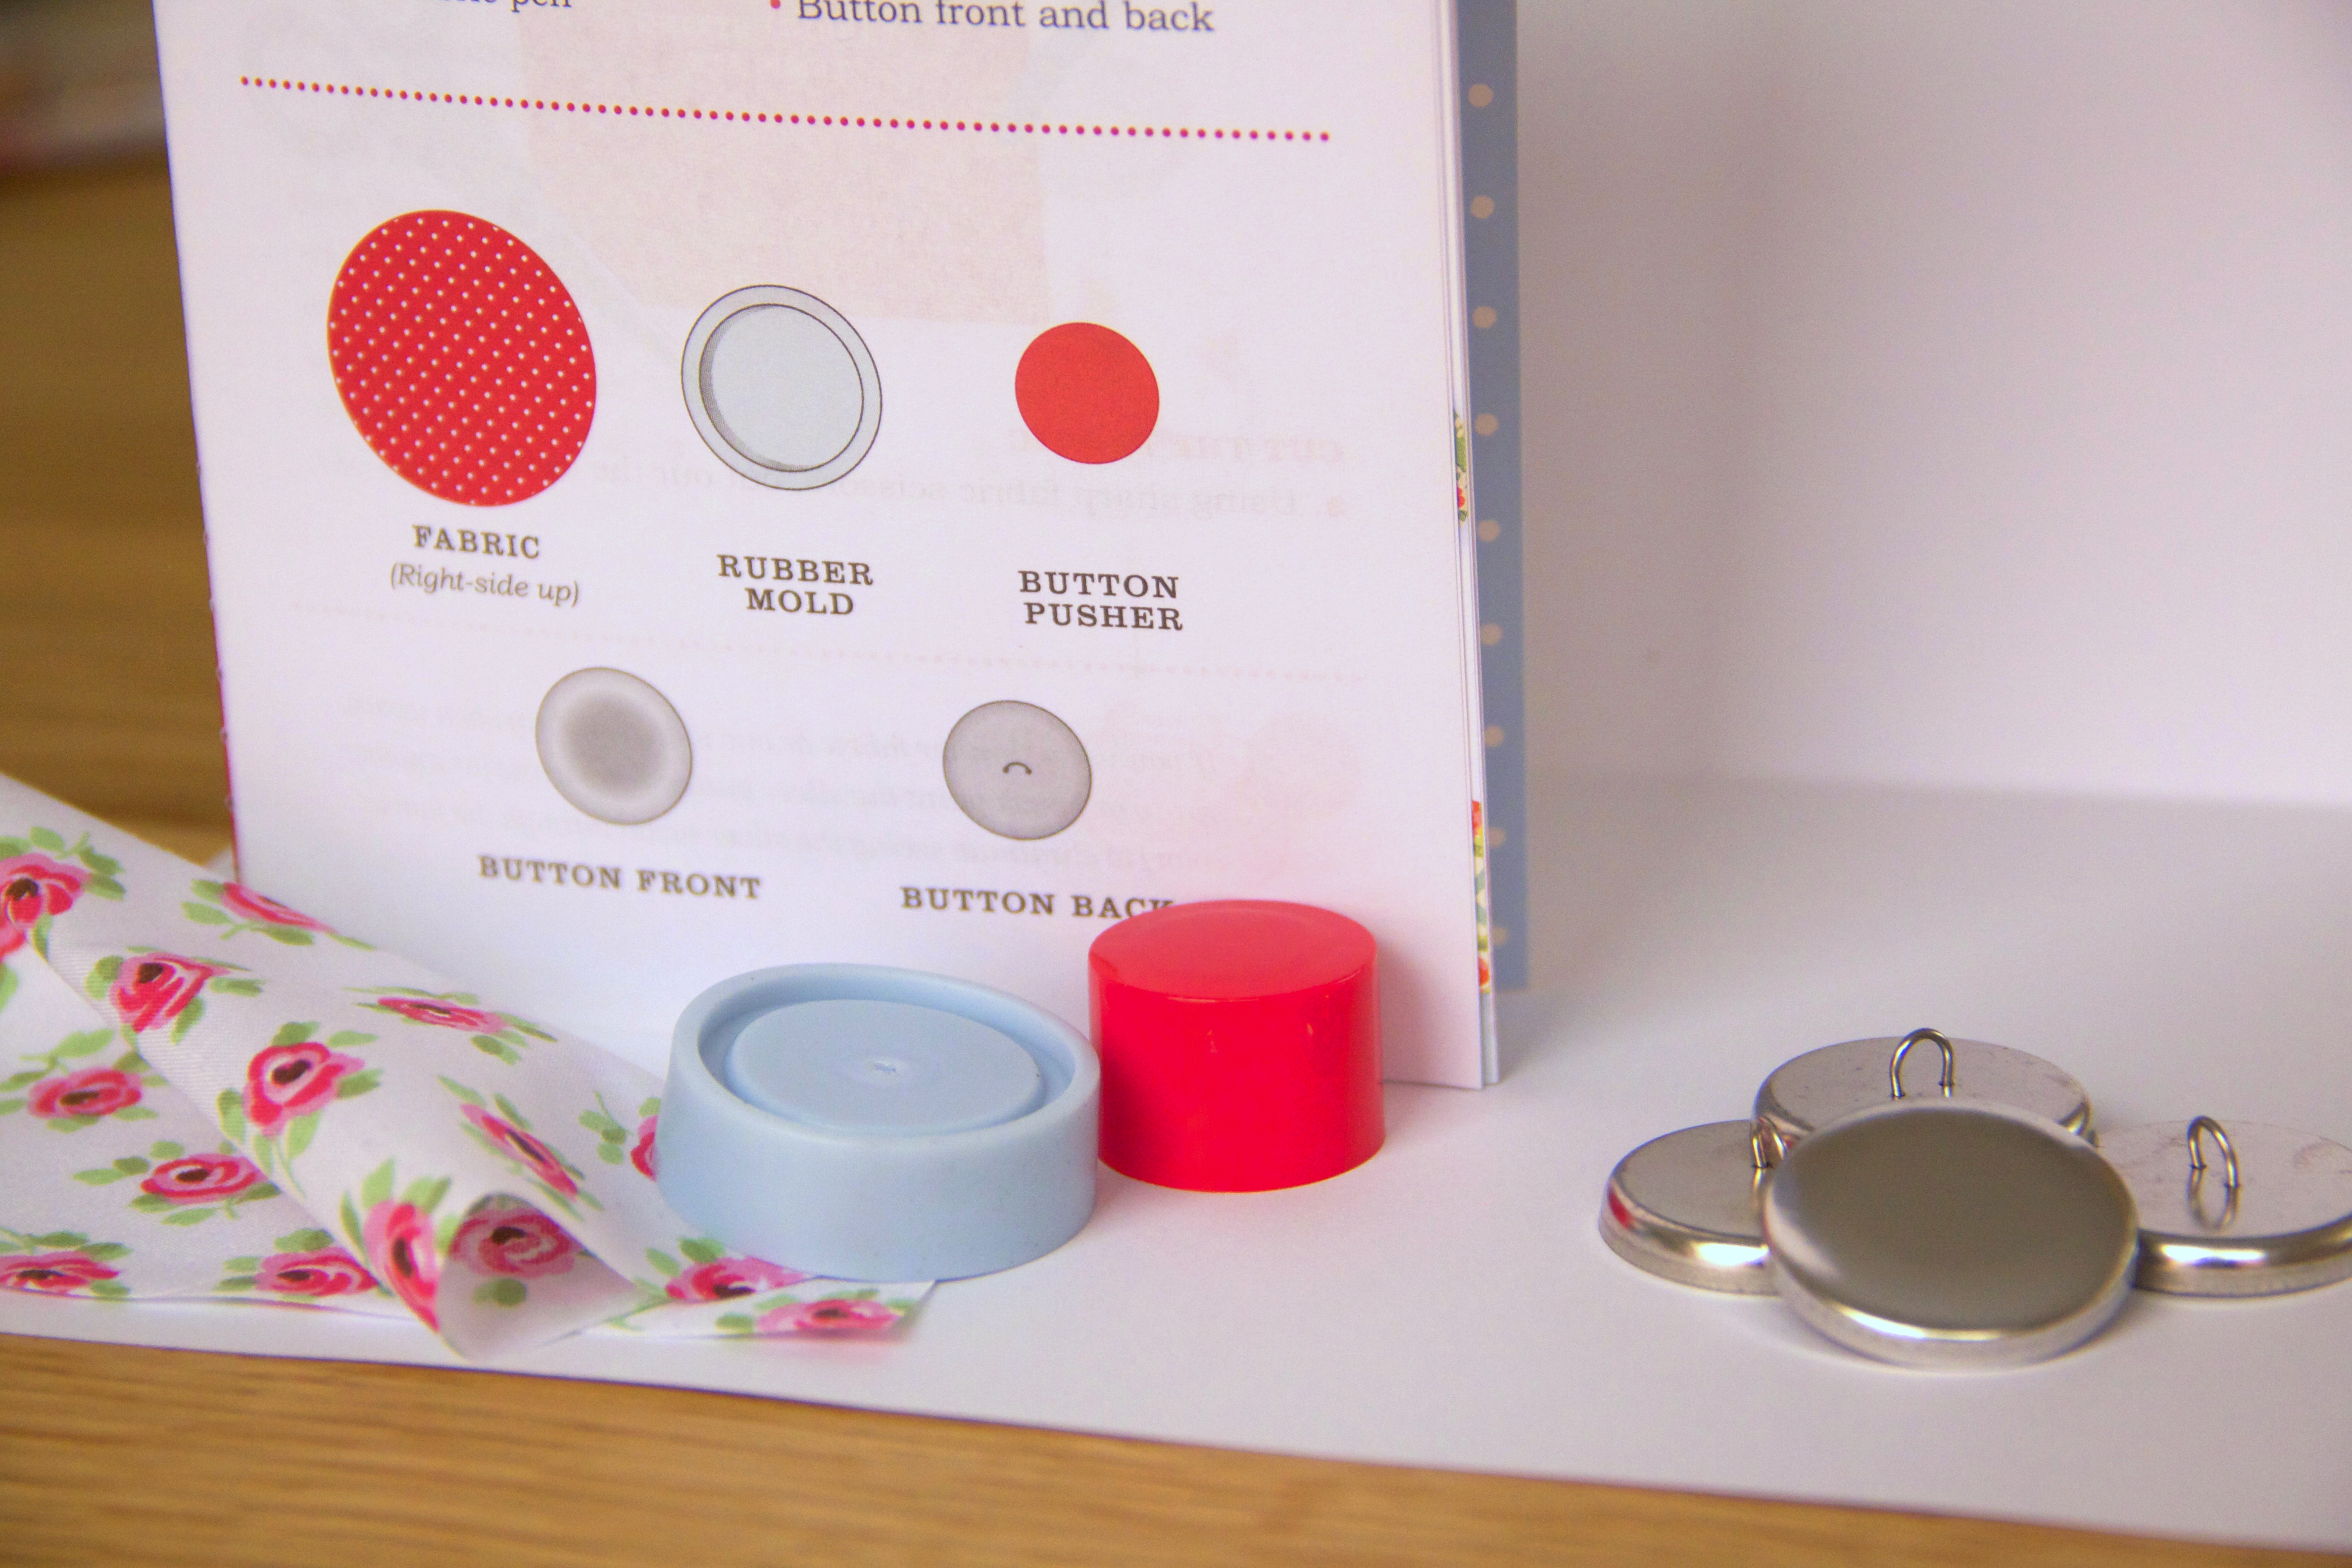
What you get in your kit; some beautiful Cath Kidson fabric in 7 different designs, a instruction and ideas book, the backs (the silver guys with the loops) and the fronts (the plain silver guys) for 25 buttons, and a rubber mould (blue) and plastic plug (red) to help create your buttons!IMG_8292

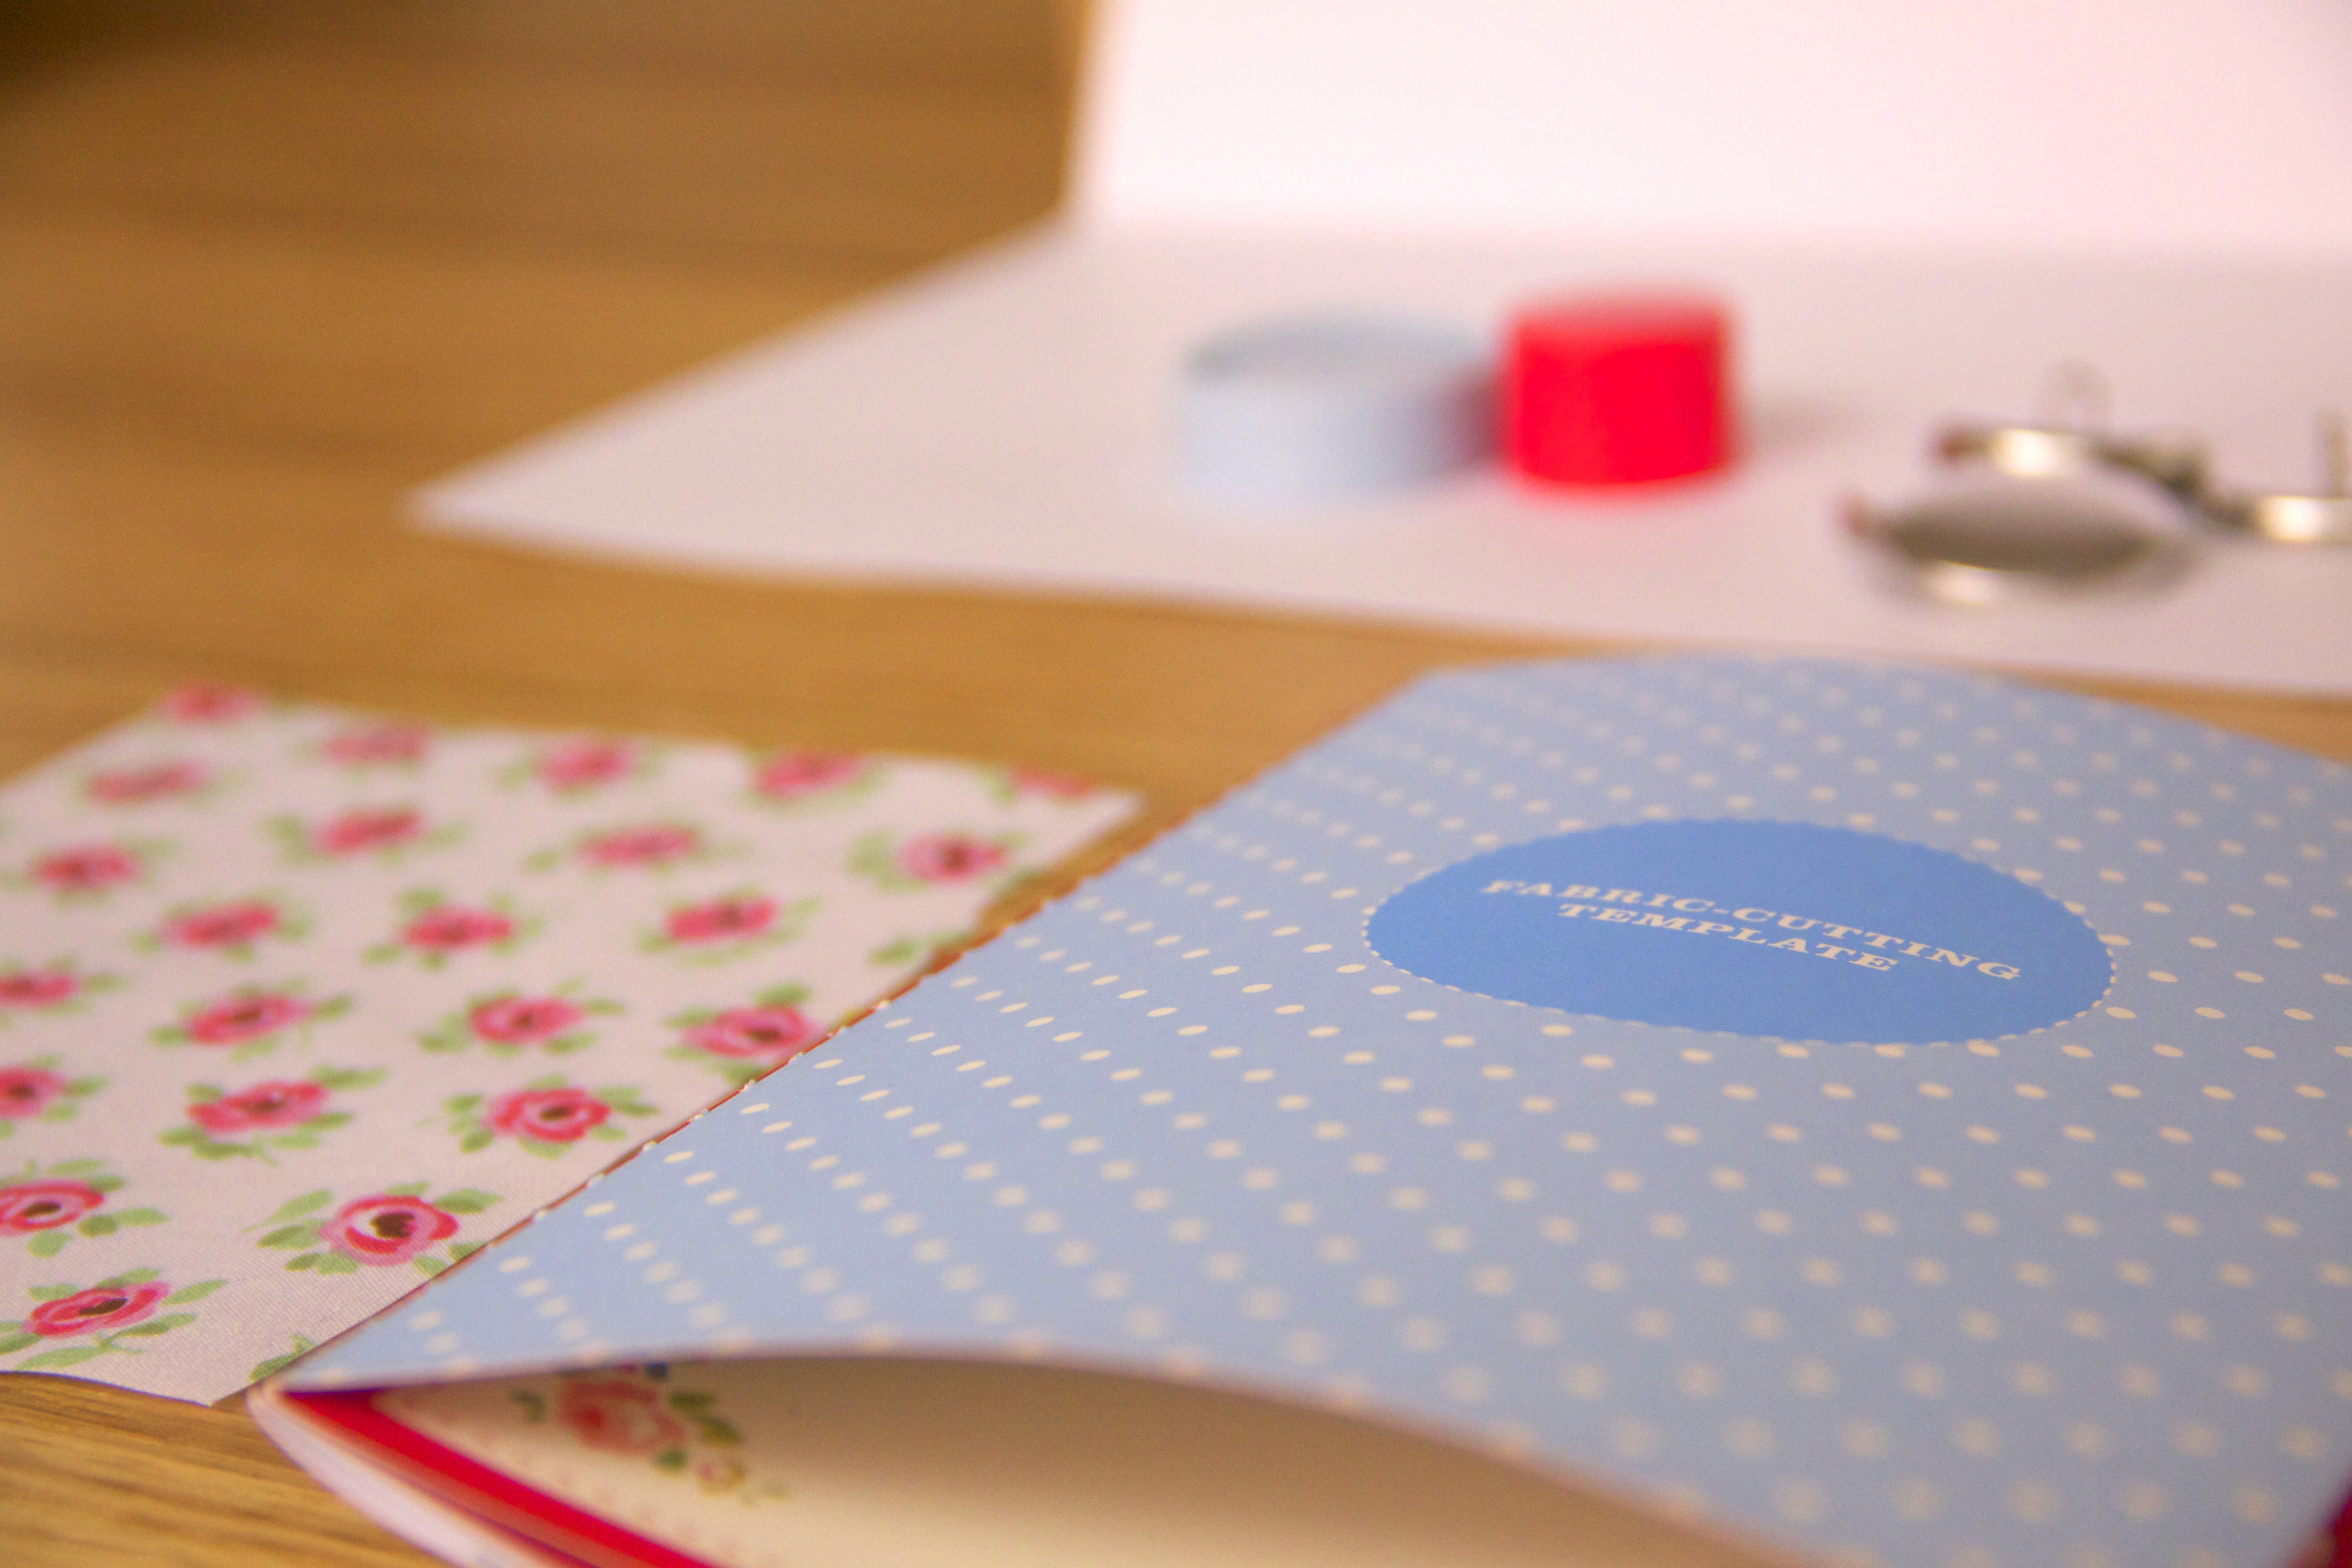
As per the instructions, I cut off my first square of fabric. The last page of the book provided gives a template so you know how big to cut your circle.

IMG_8293 2

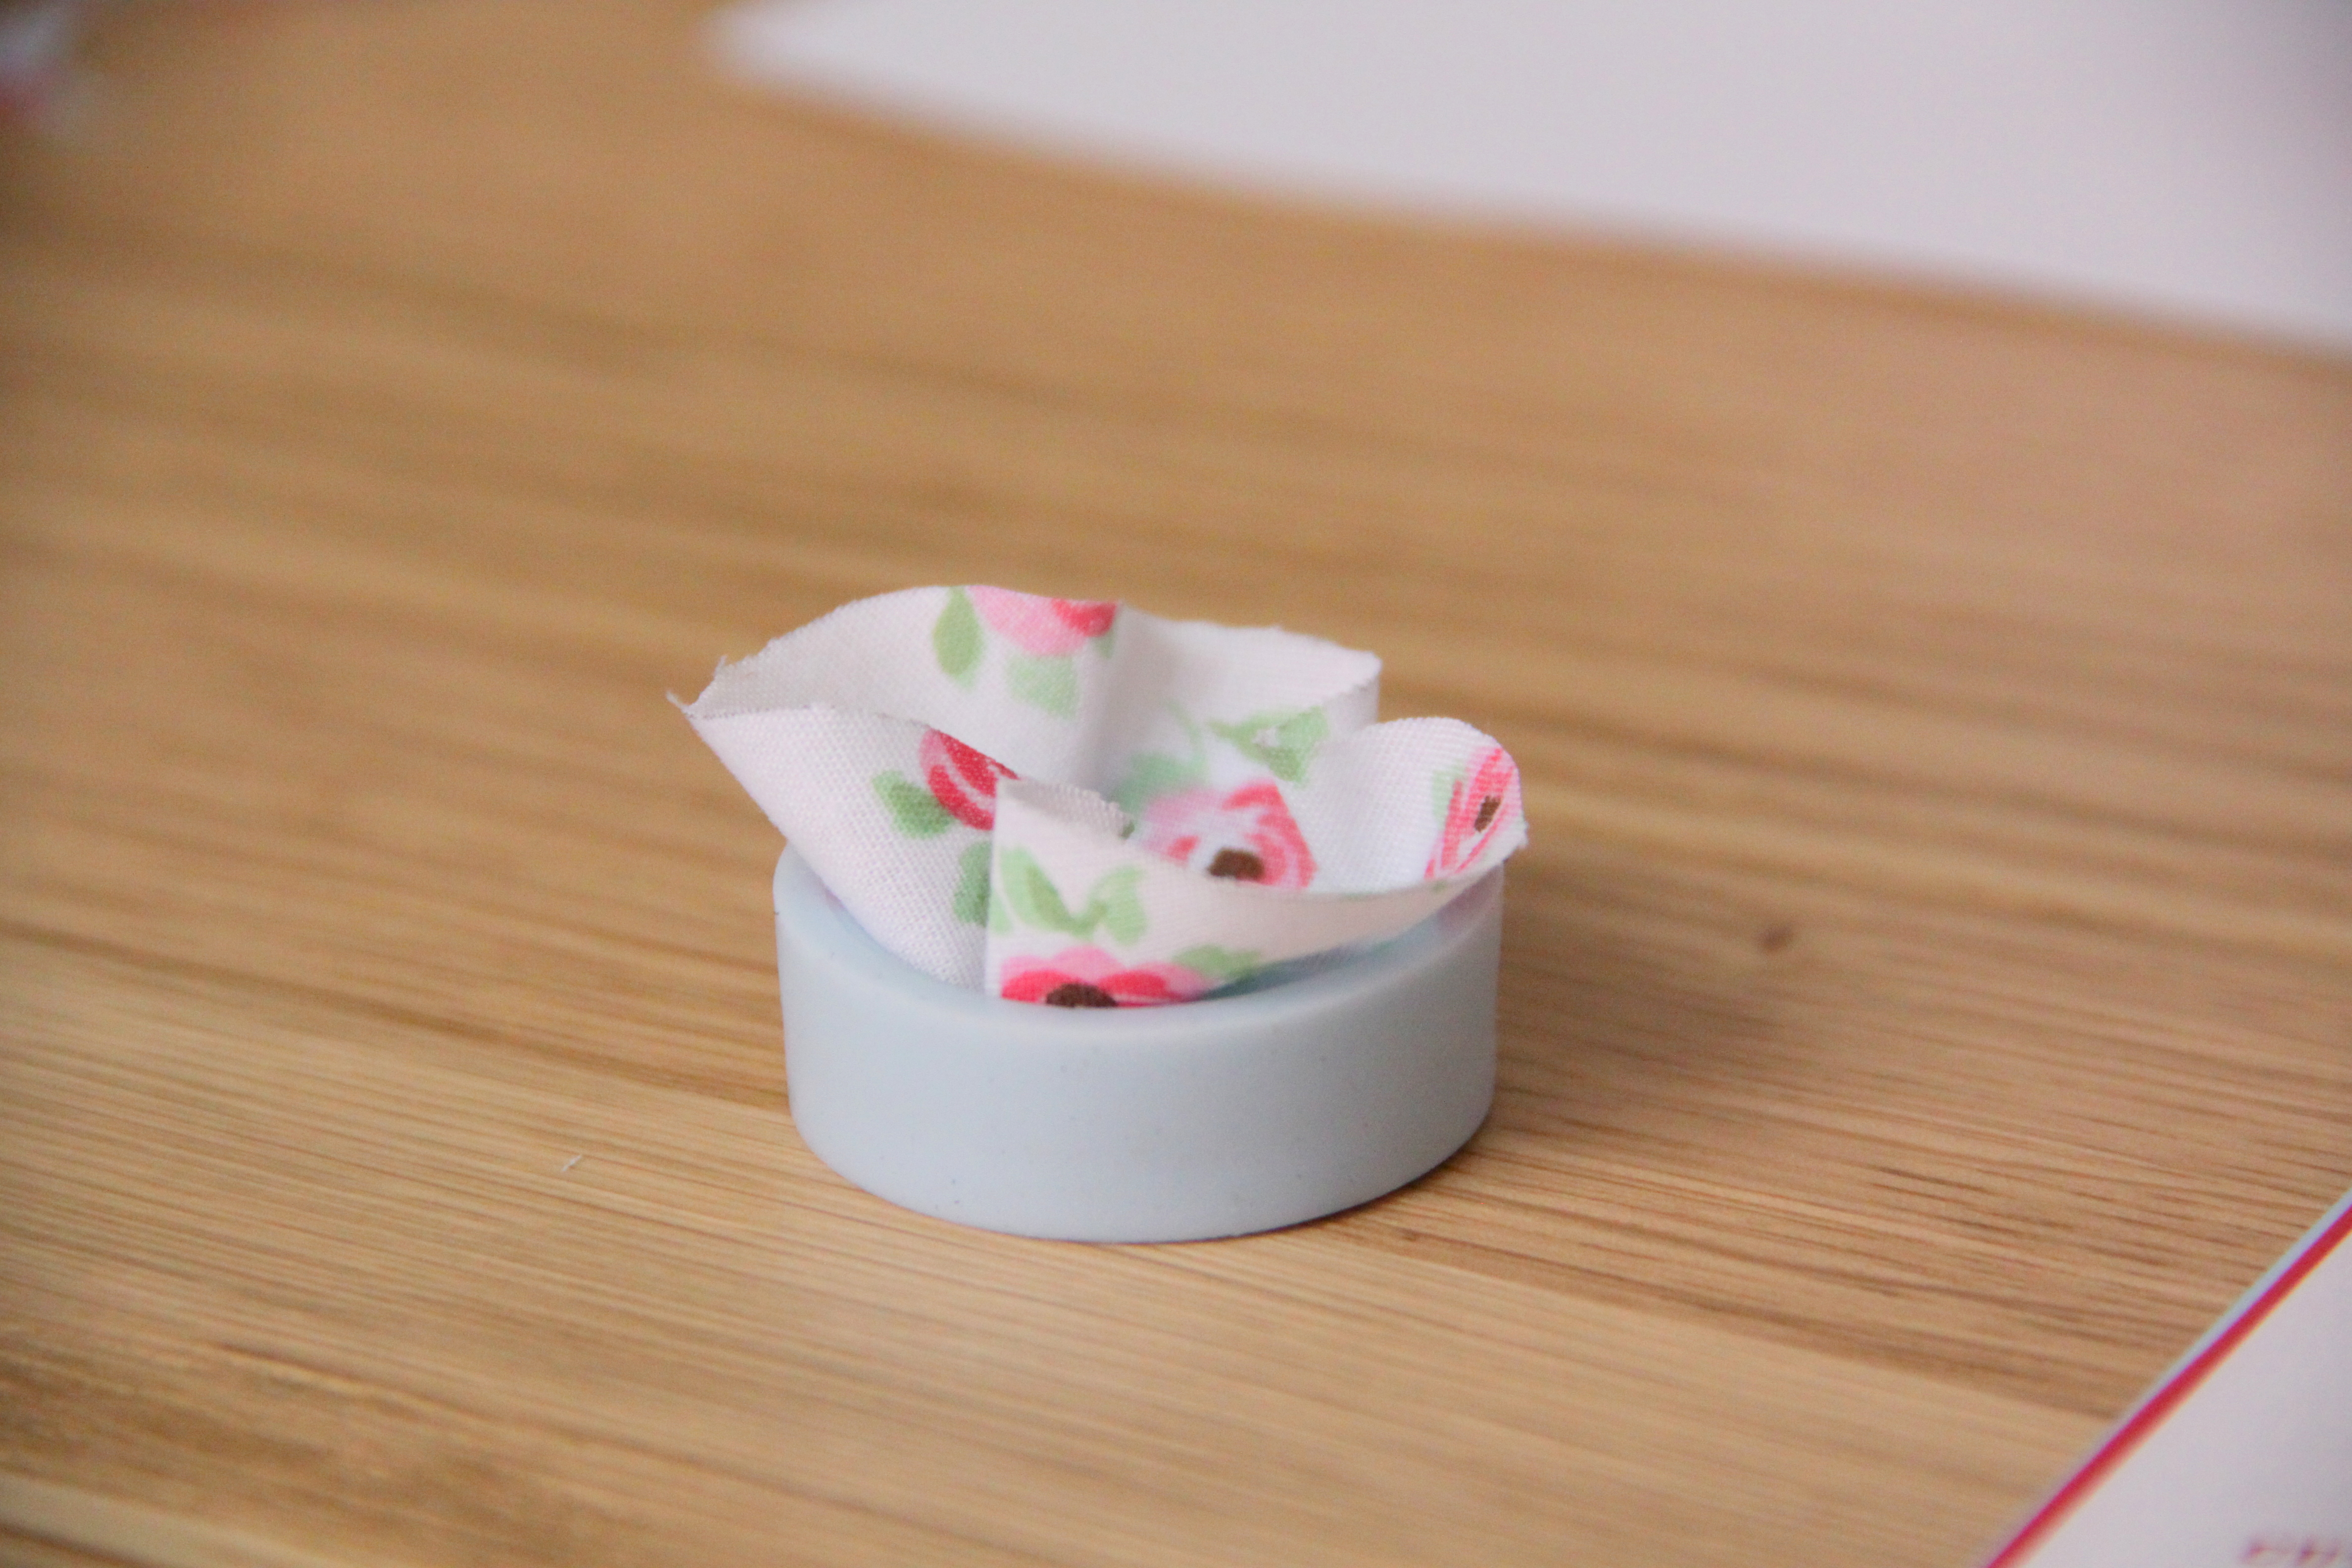
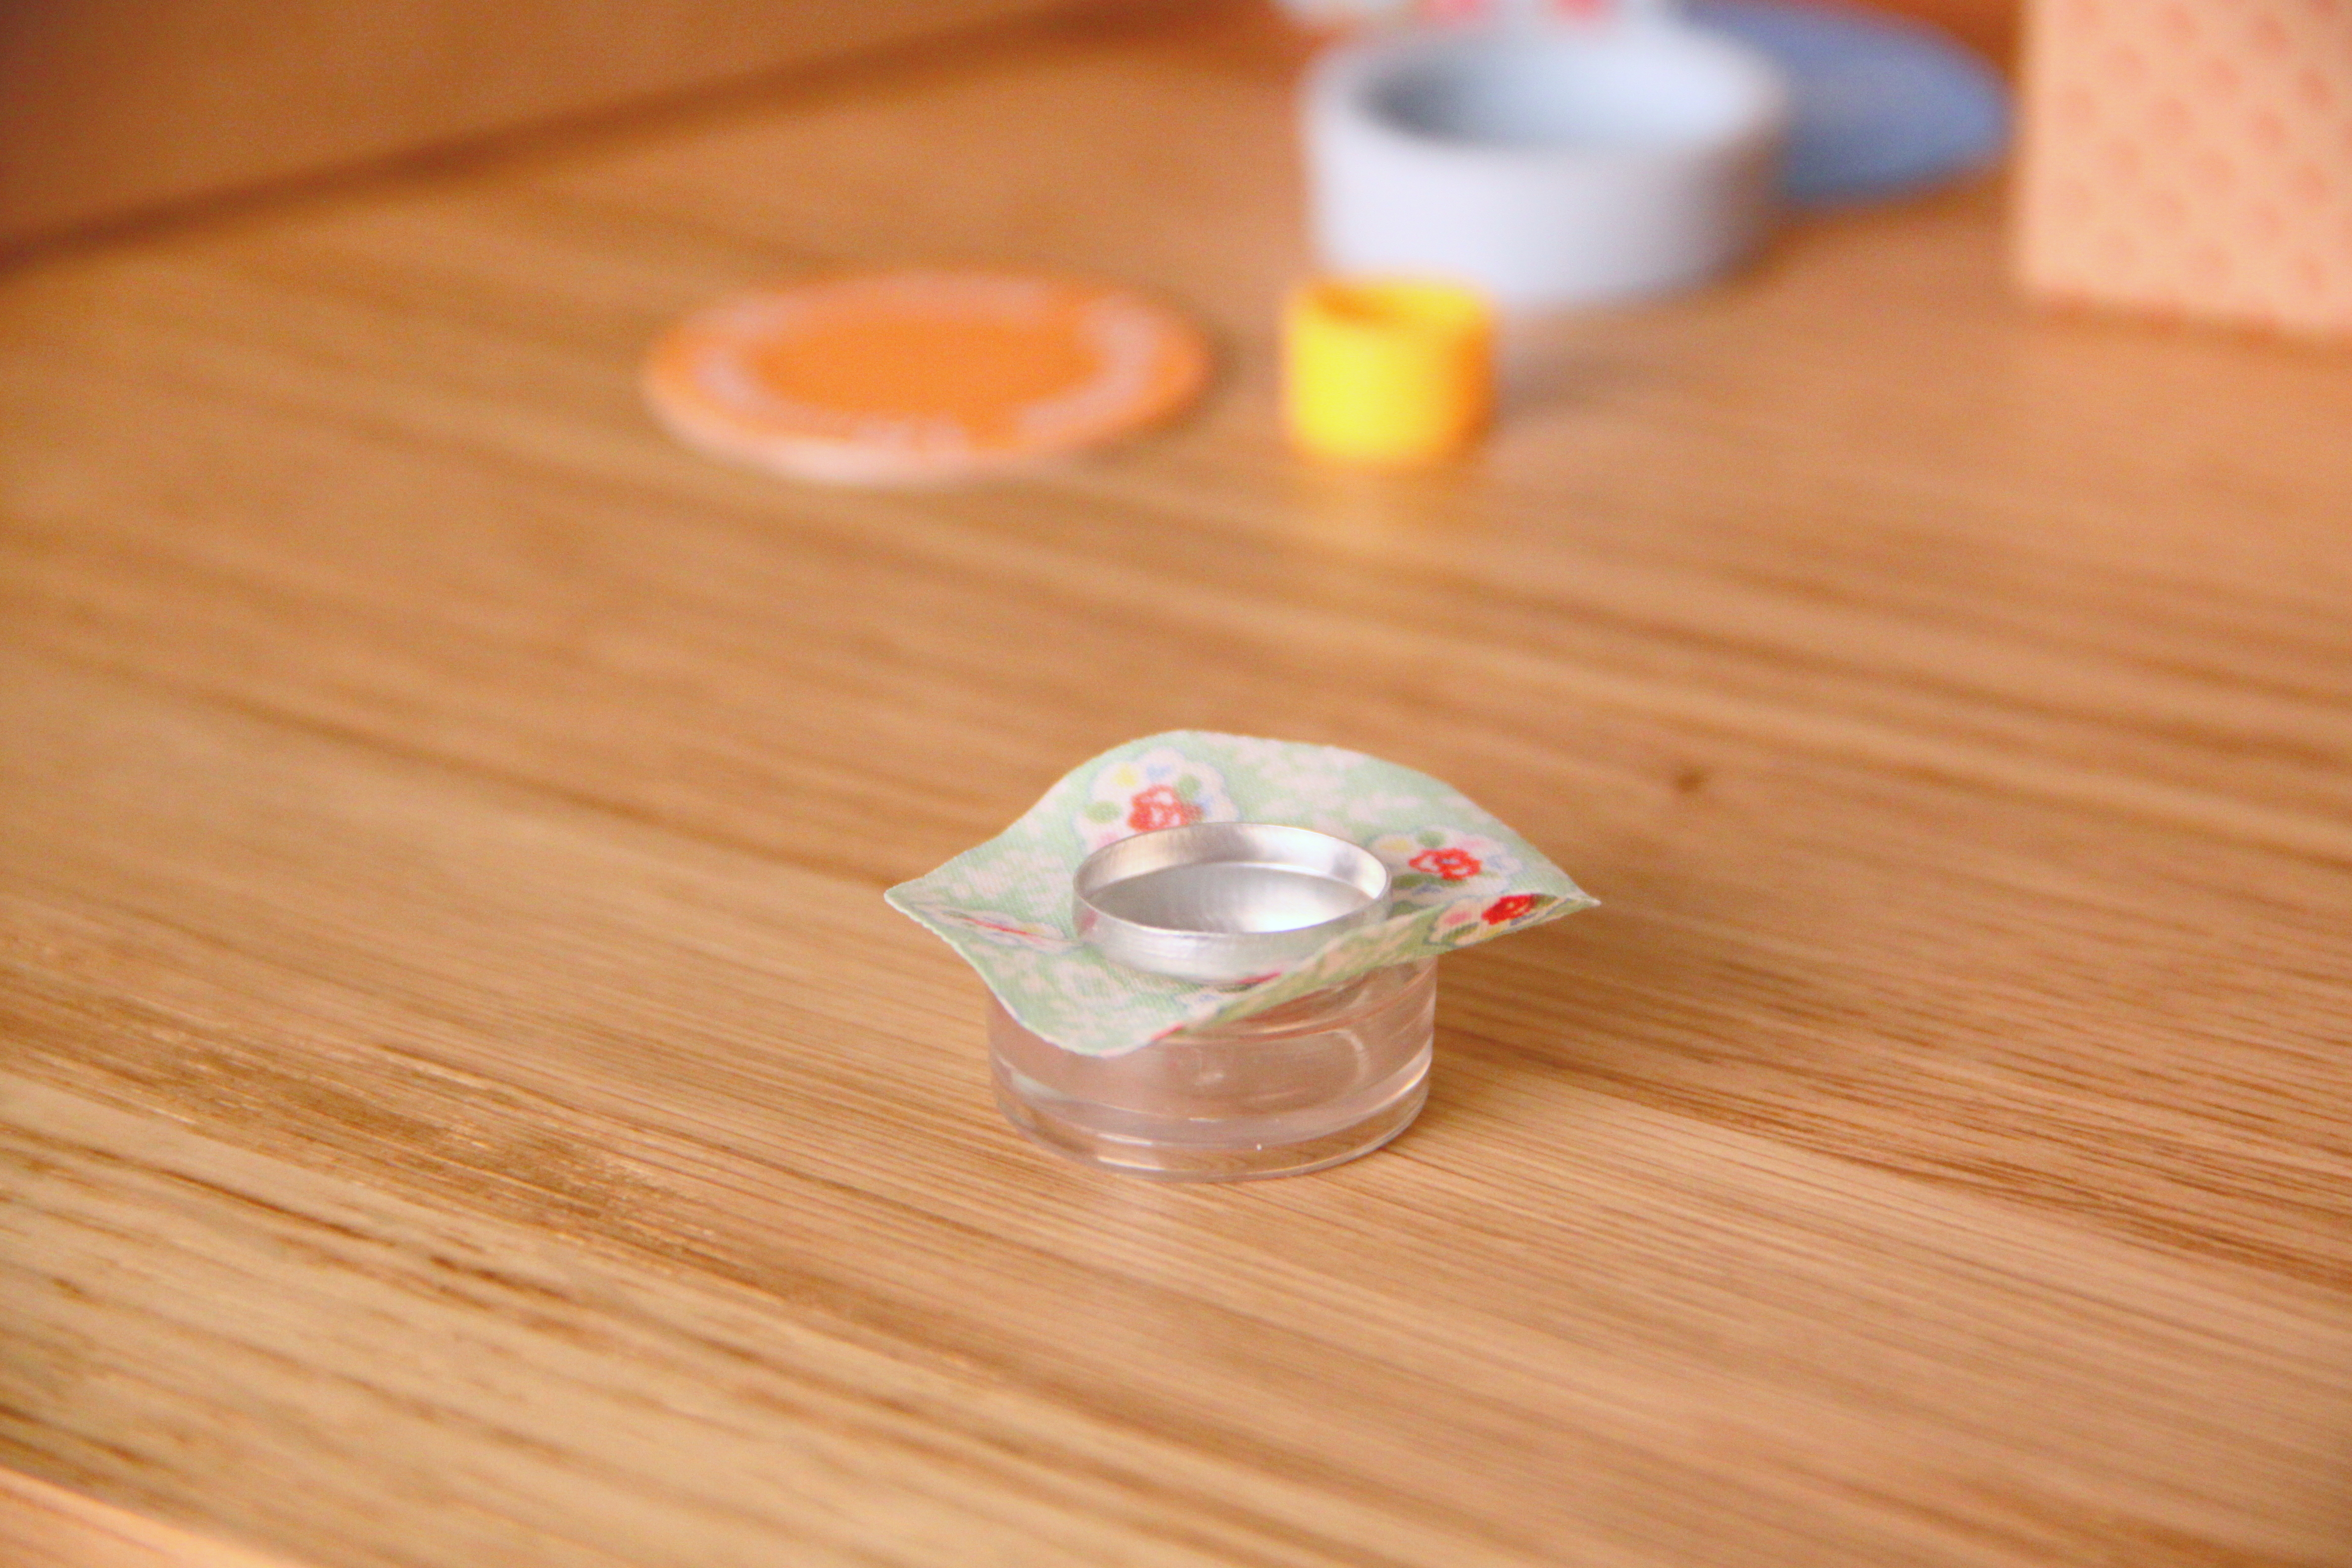
The fabric then sits in the blue mould, before placing in the silver front. Then, after tucking the edges under, the red plug assists you in pressing the back into place. It’s pretty self explanatory. and the instructions given in both kits are clear.
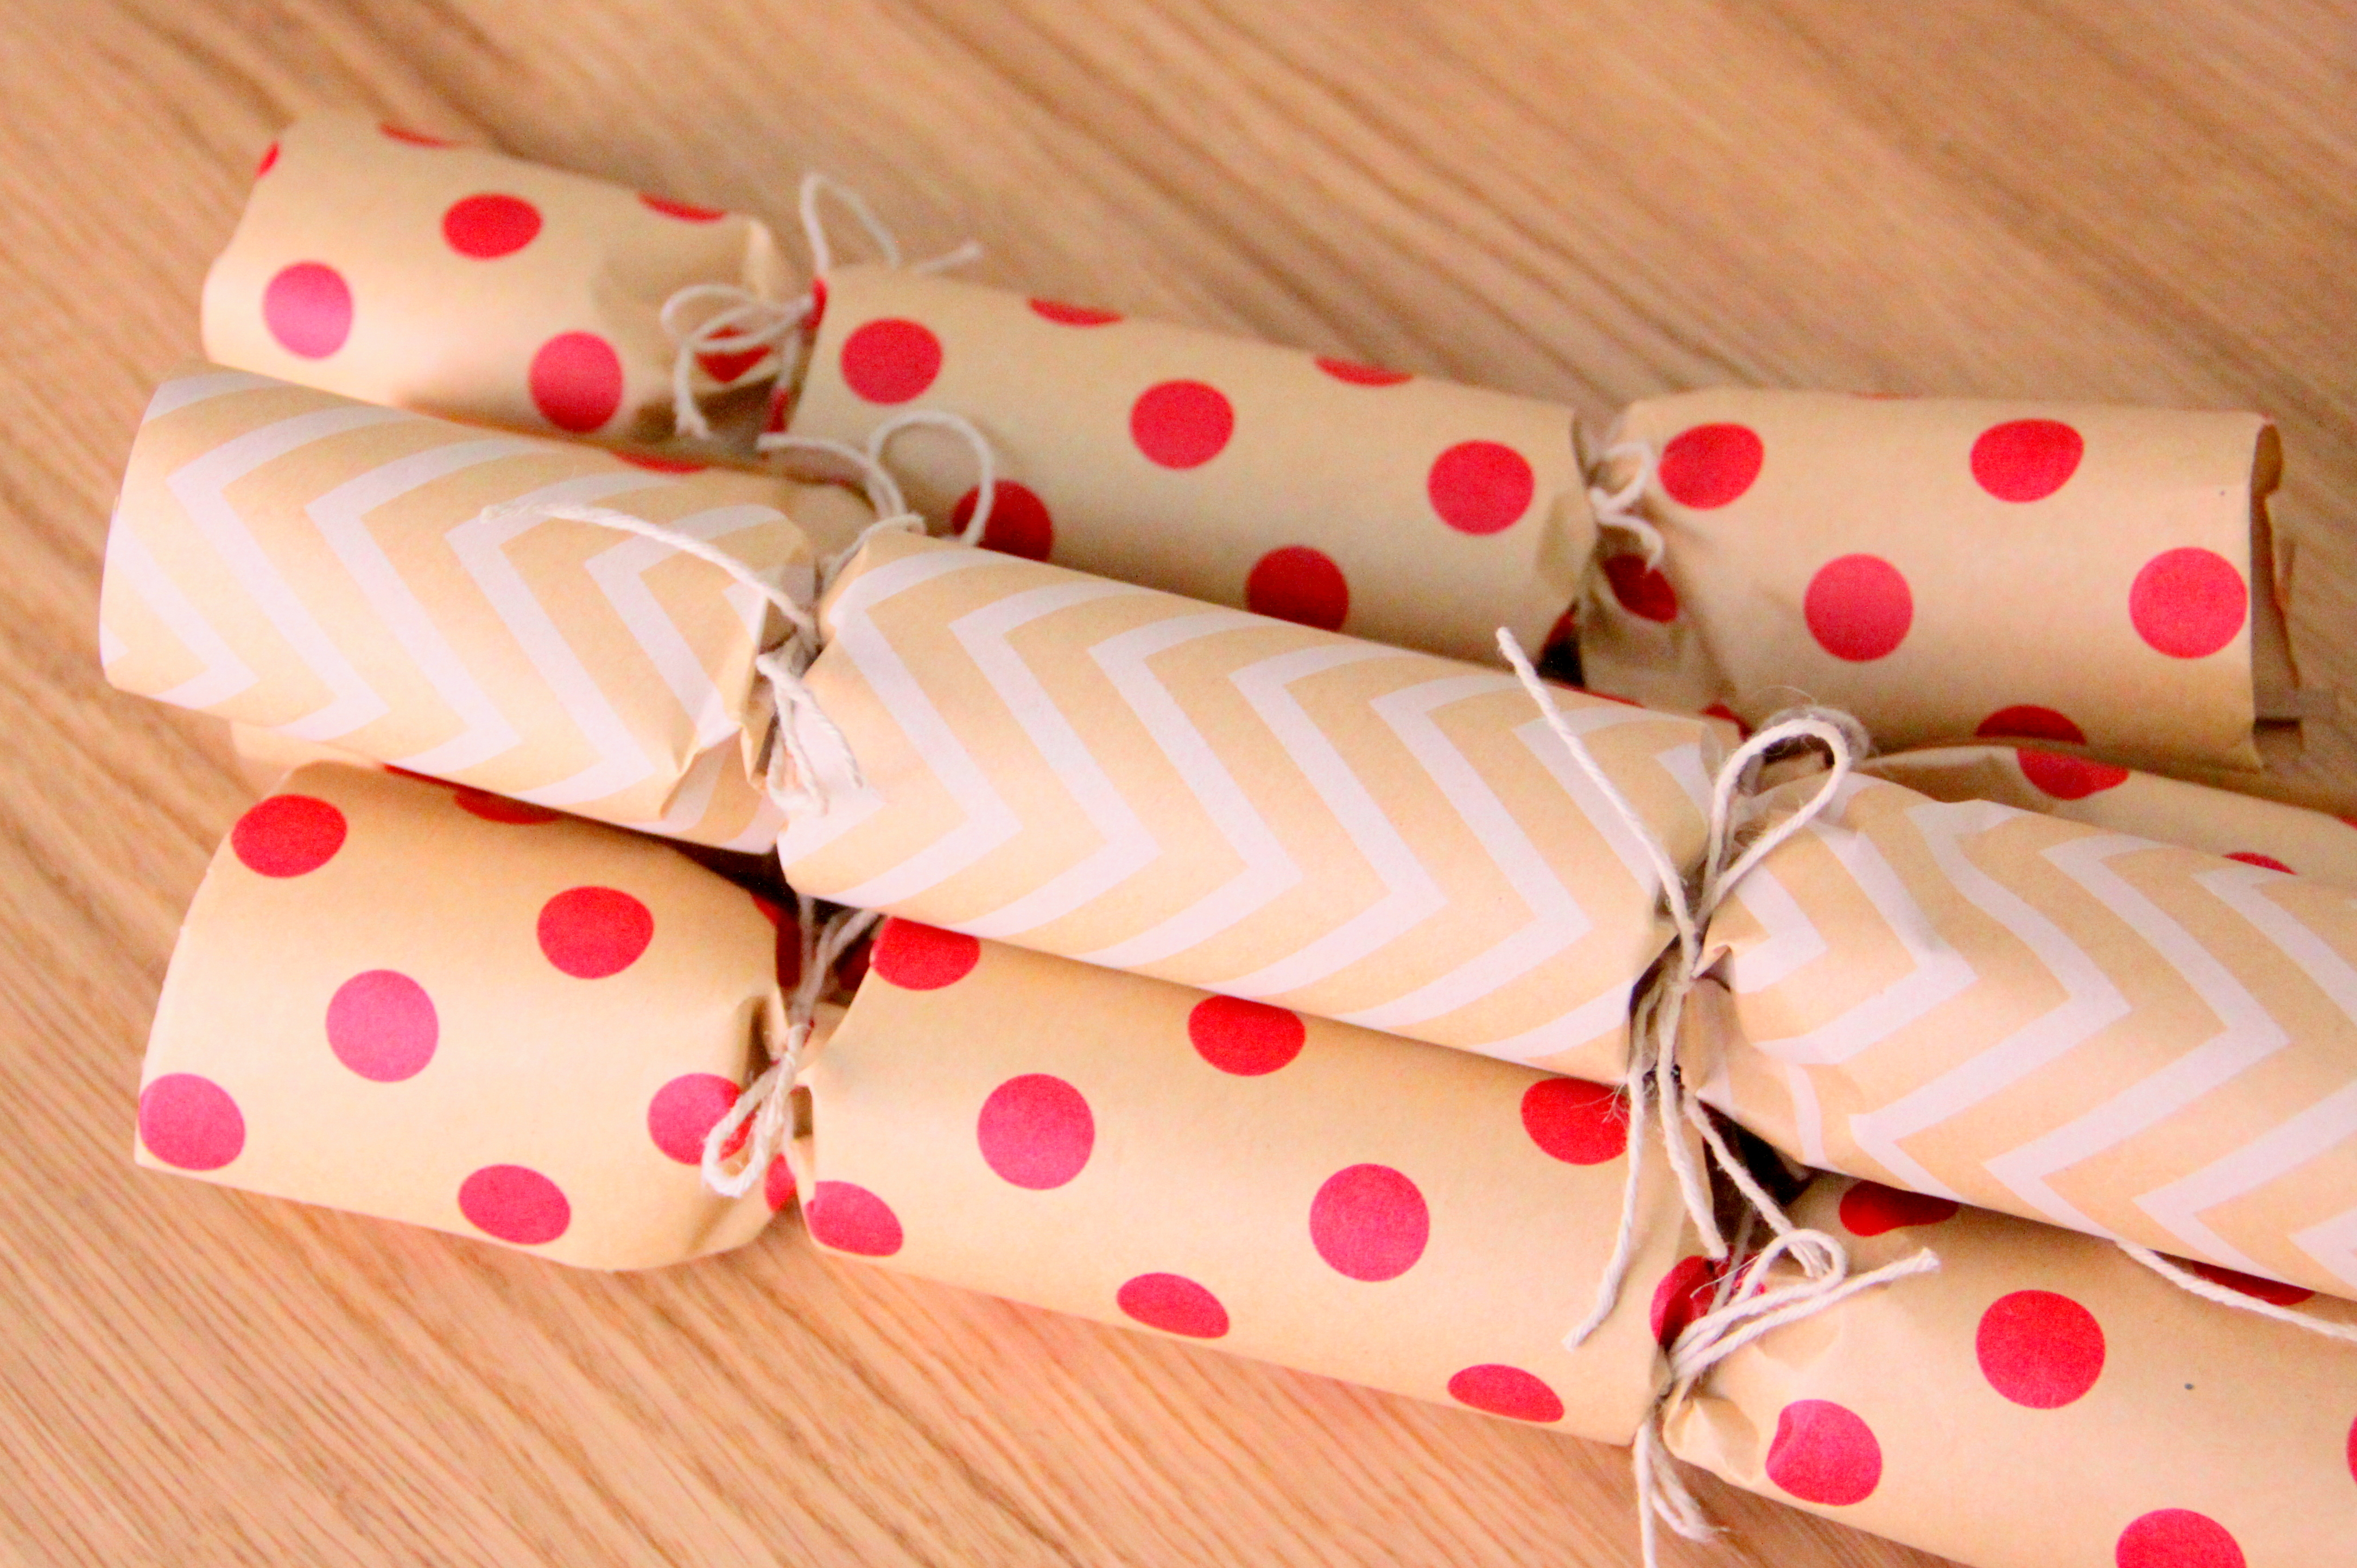
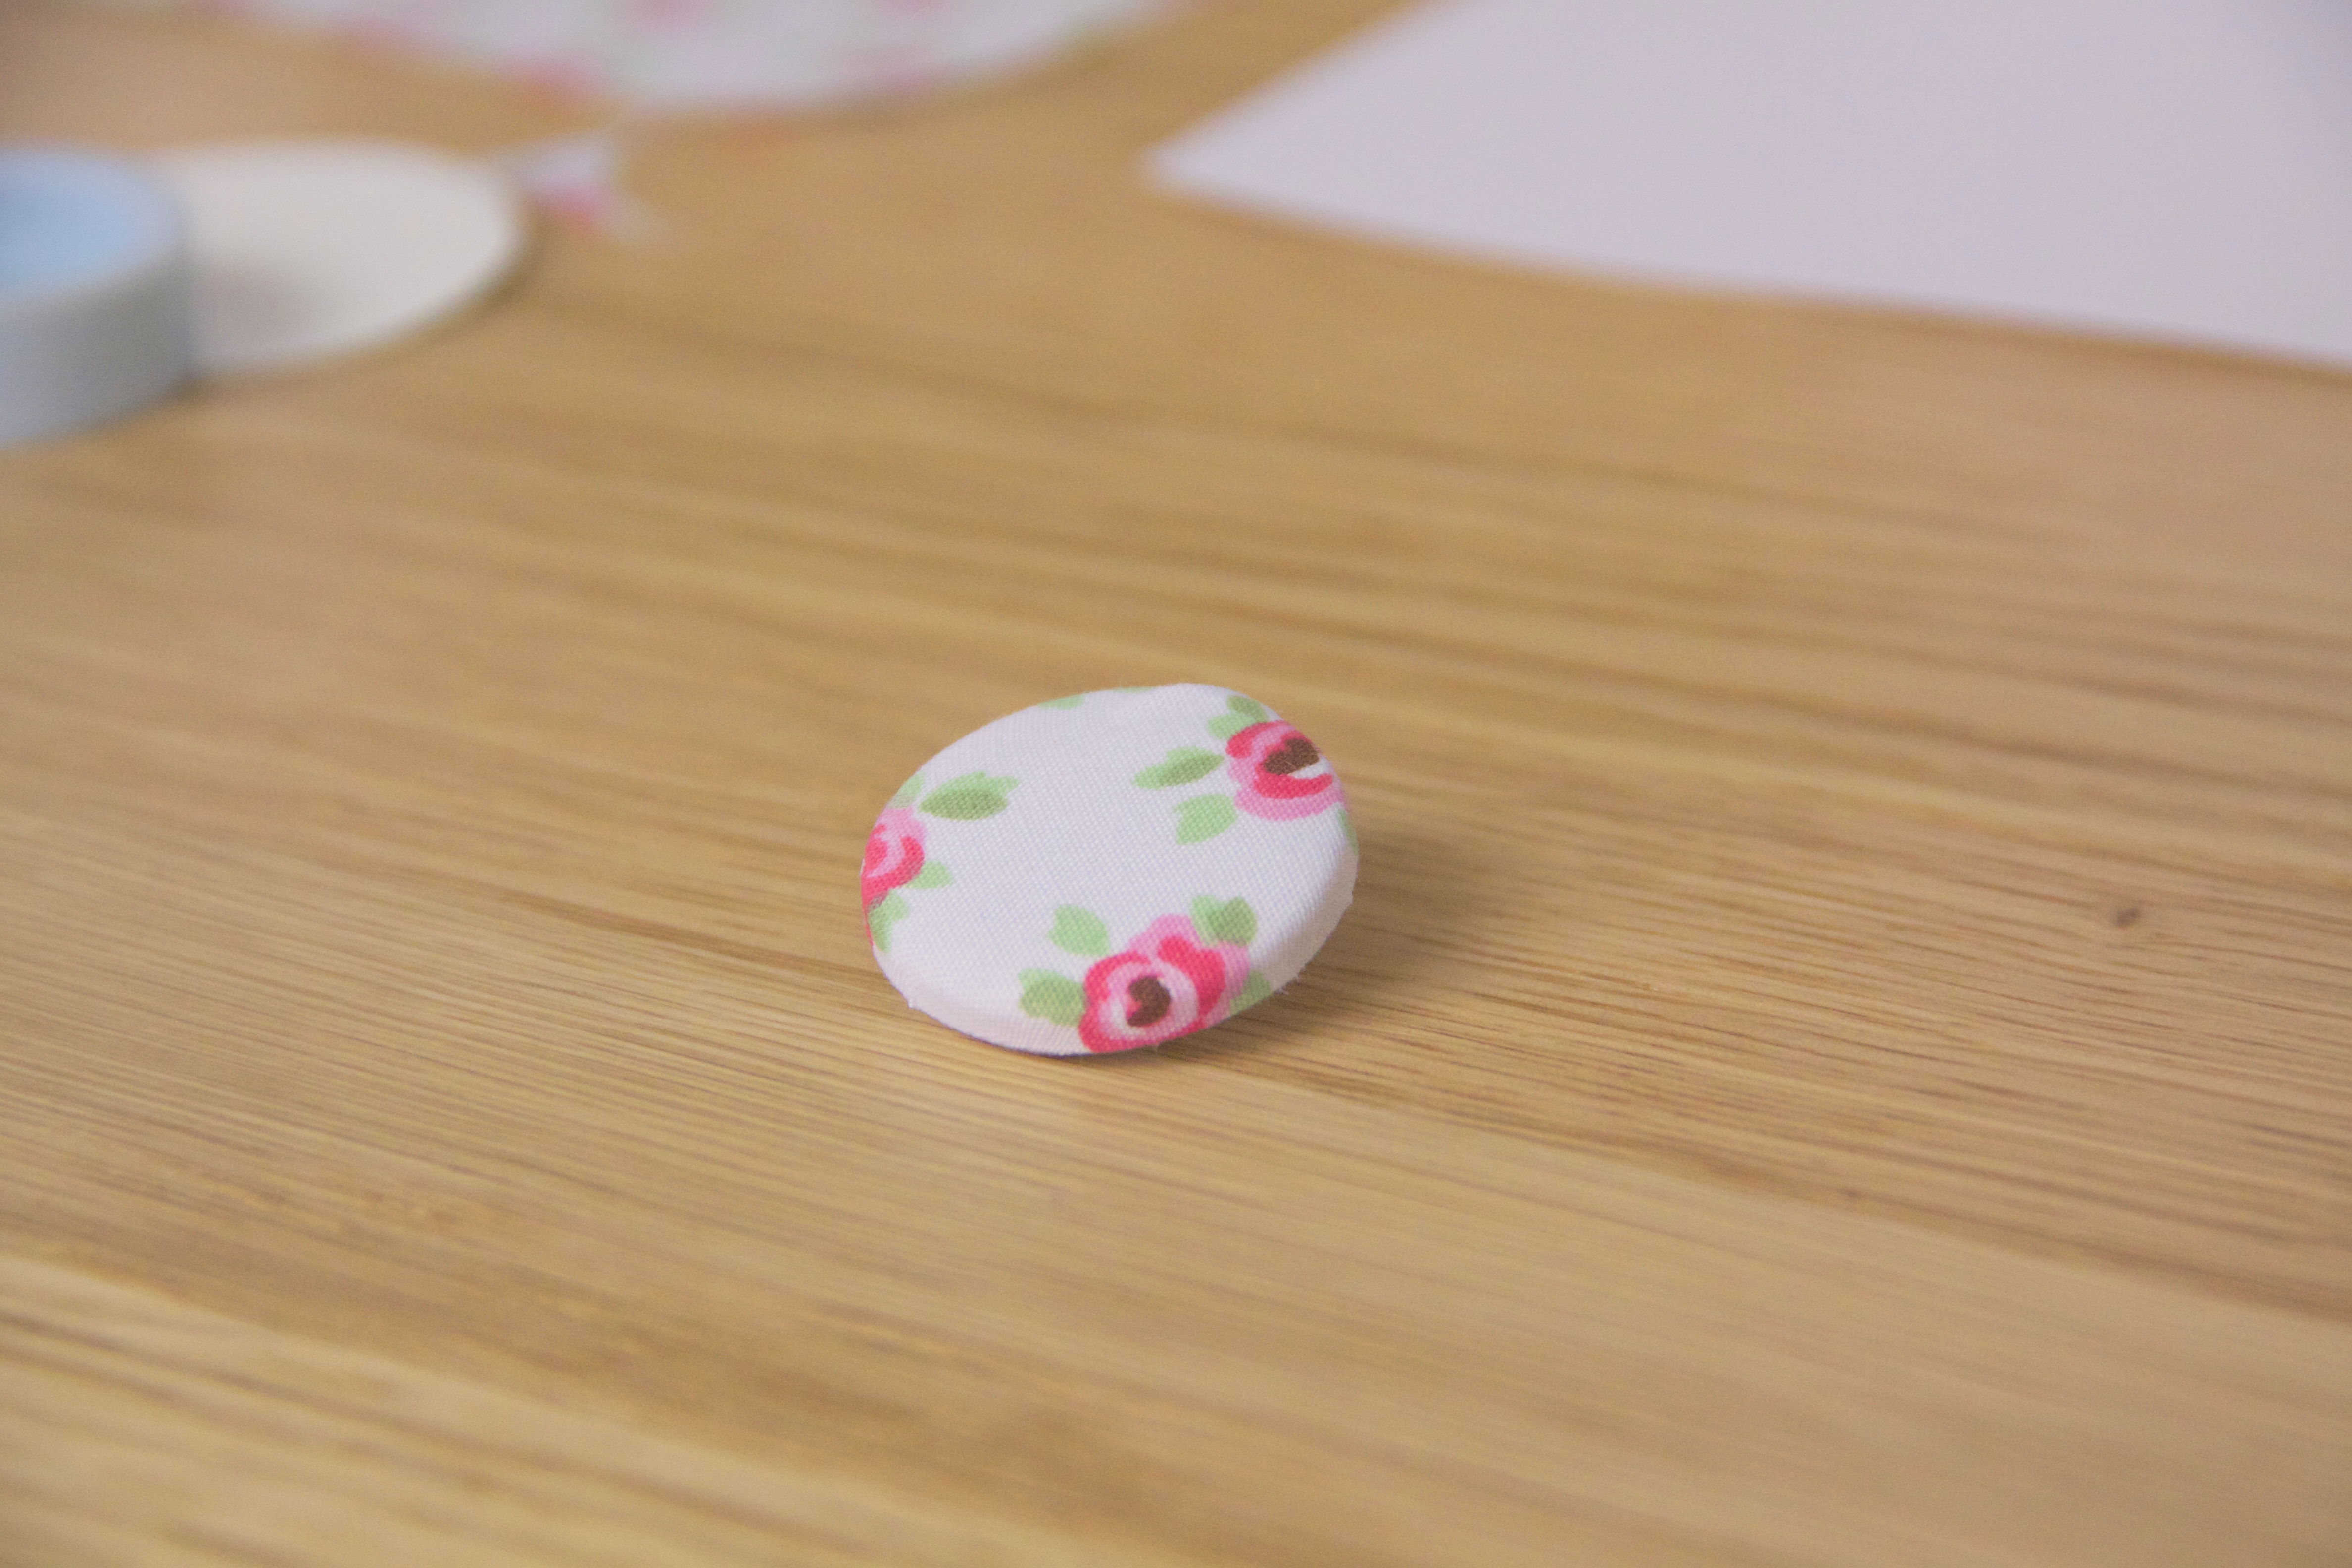
You’ll end up with something looking like this;

IMG_8303

As you may be able to guess, I had some difficulty with a little tuck on the final product, so make sure to go around each gather before you press in the back to ensure that the fabric on the front will be flat.

So how does my Daiso buy compare?

IMG_8316

I decided to have a bash with these 18mm buttons as the 22mm were a similar size to my Cath Kidson Factory.
IMG_8318

The kit comes with a similar number of button backs and fronts, a mould and plug, as well as a template.

IMG_8336 2-001

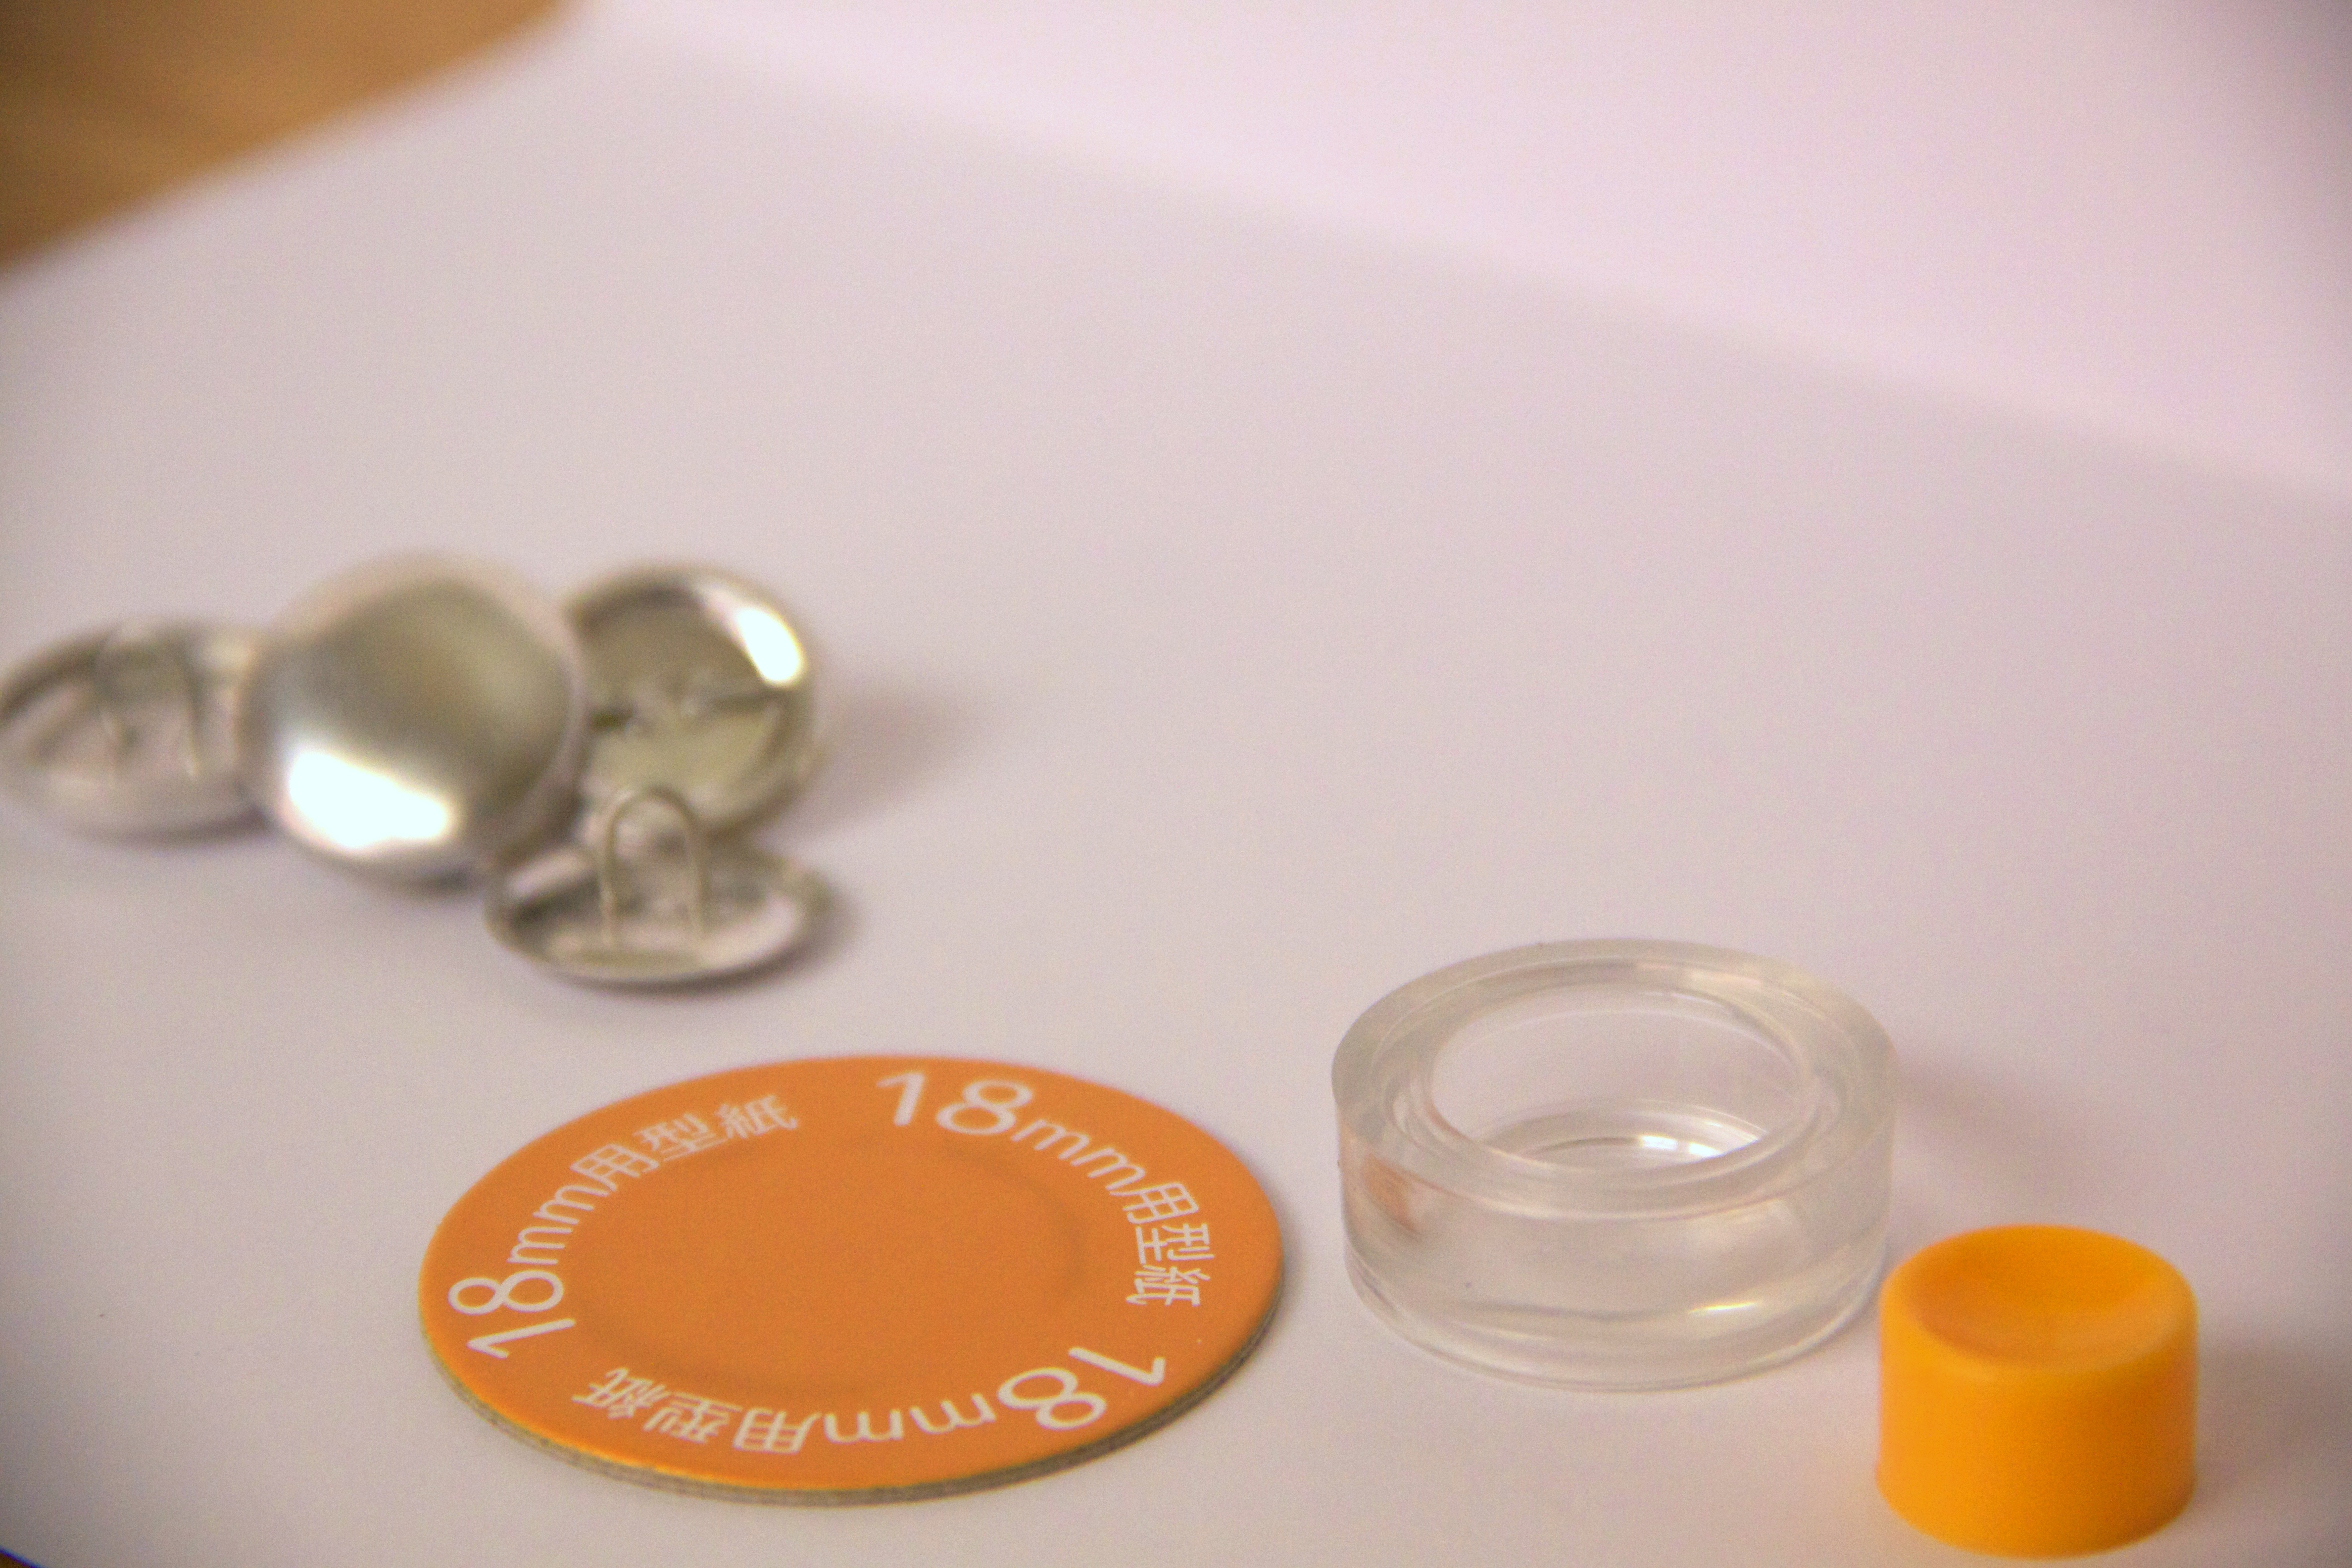
The process is just the same, although the mould is a little stiffer so pushing the button-front in can take some time….

IMG_8326

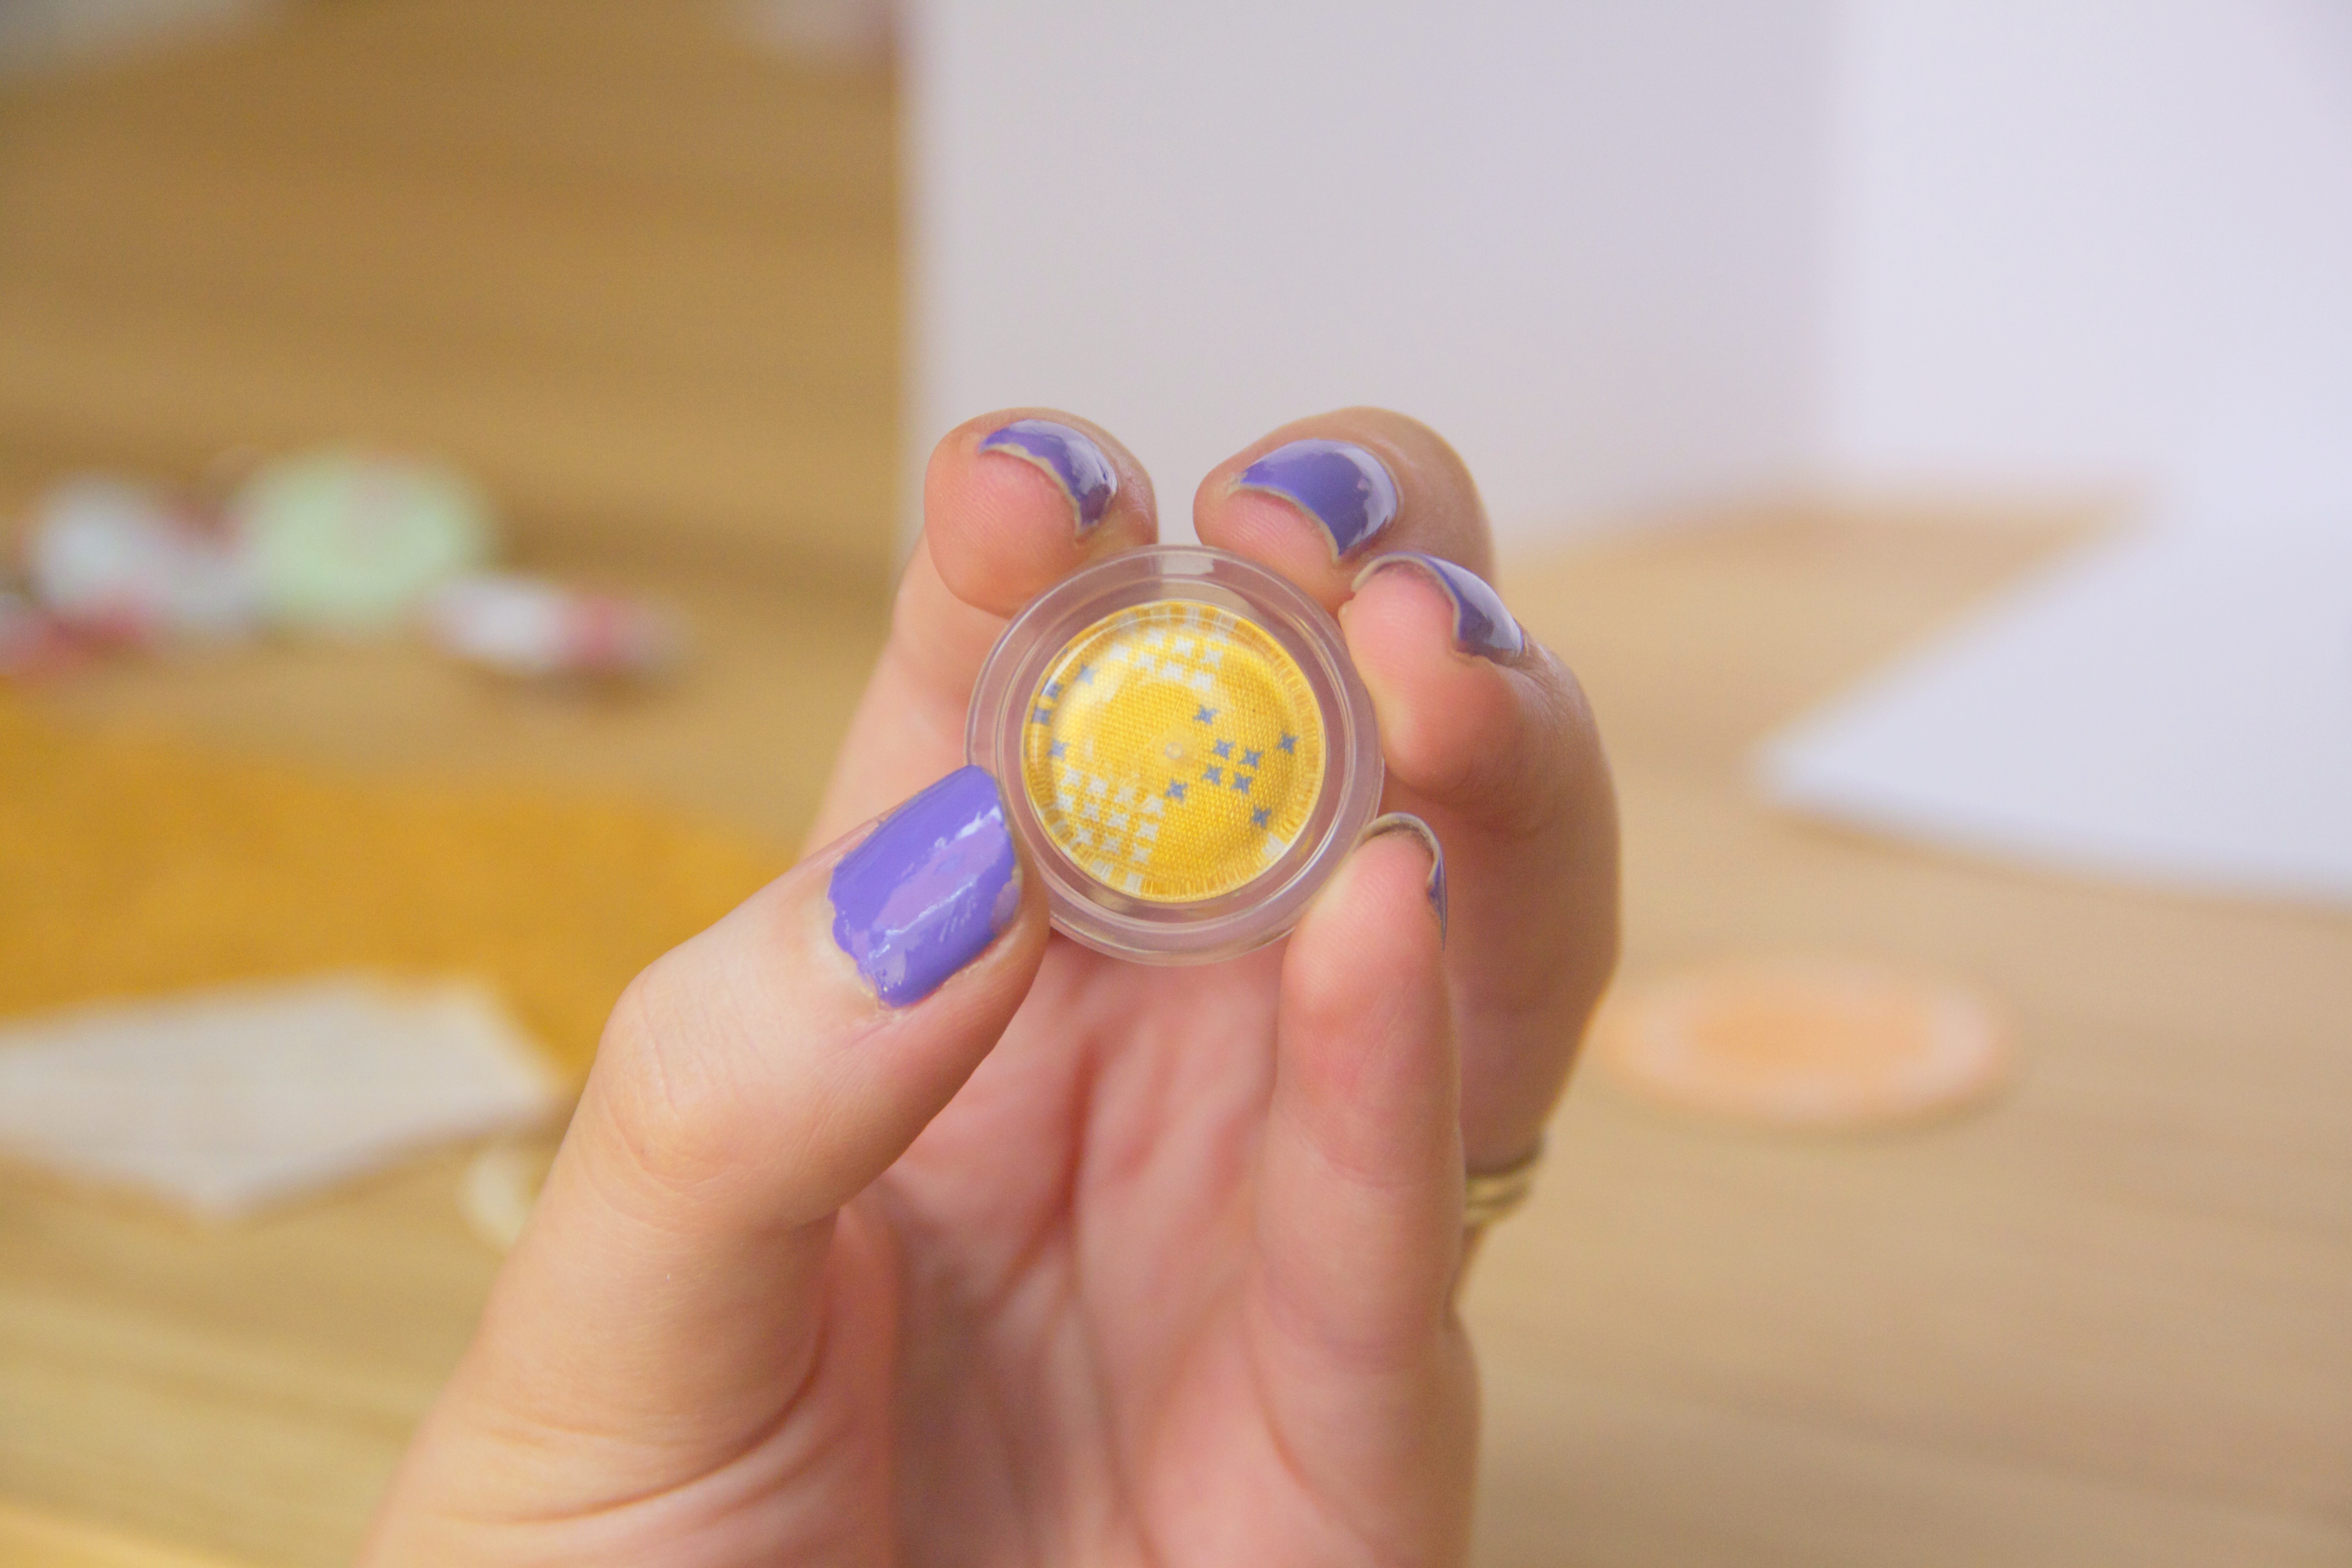
…however because the mould is clear, it’s easy to see if there are any problem-tucks in the fabric.

Fast forward half an hour and I have a jar of beautiful buttons at my disposal!

IMG_8362 2-001IMG_8354-001IMG_8352 2-001IMG_8351-001

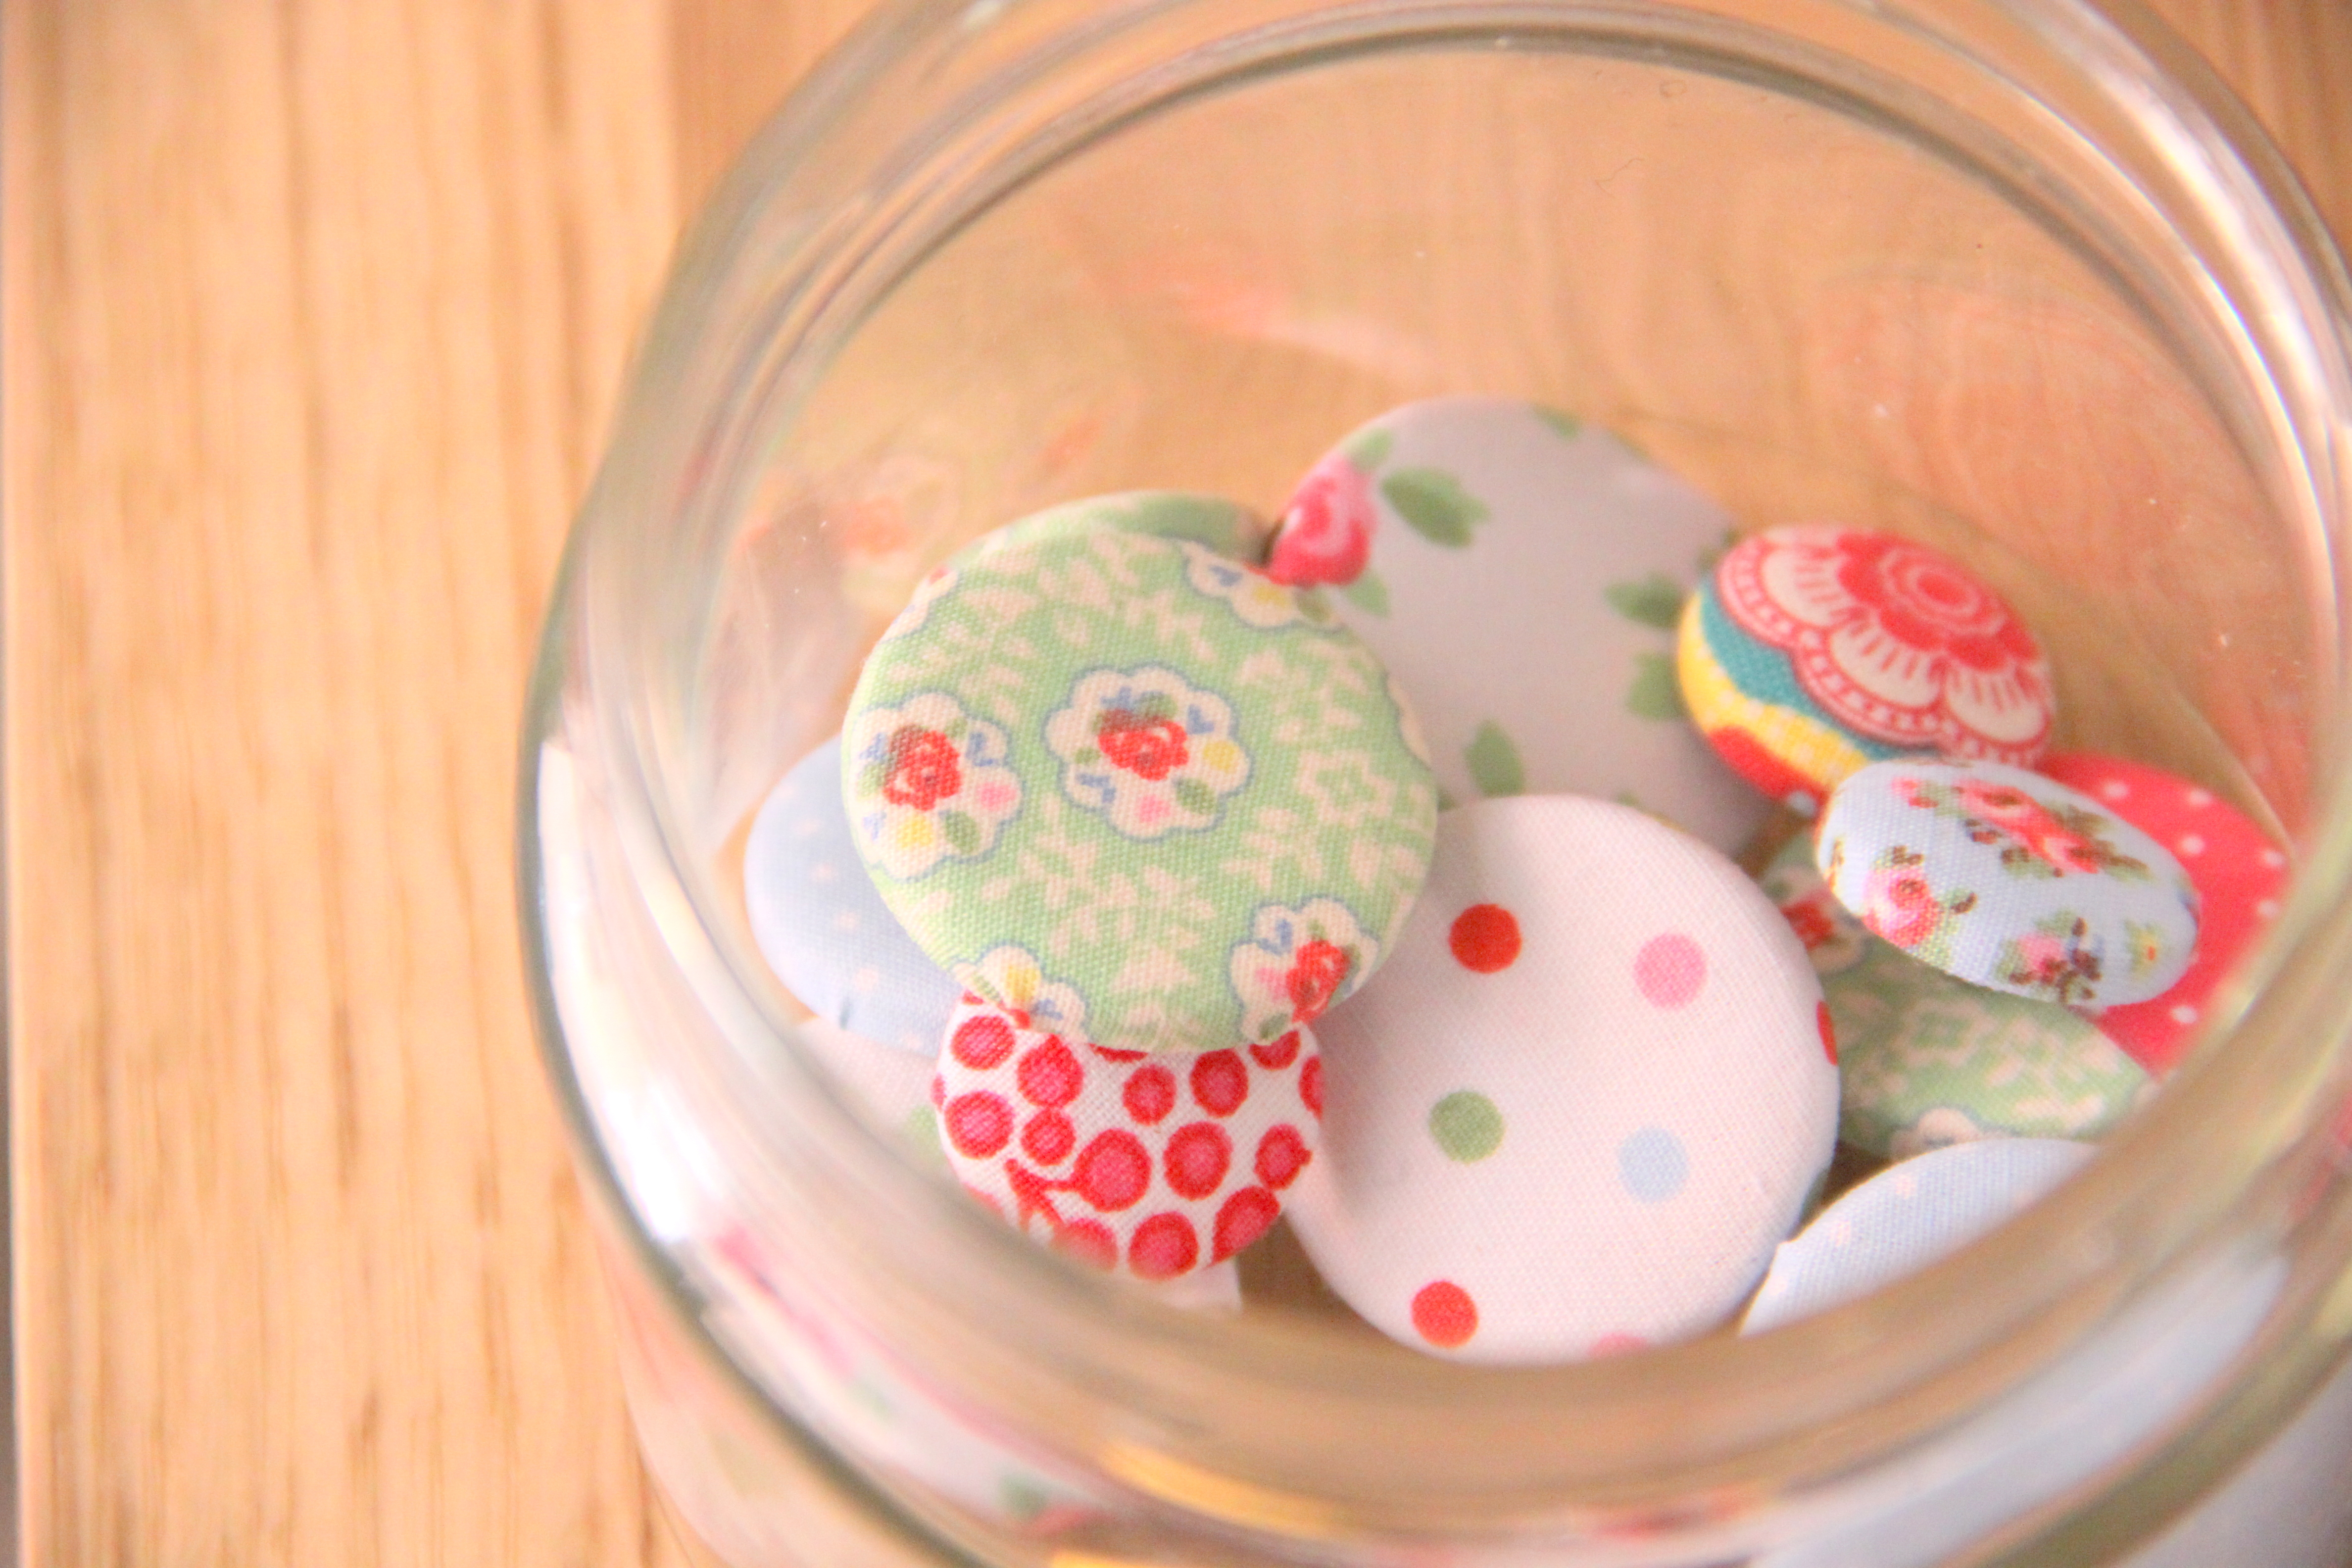
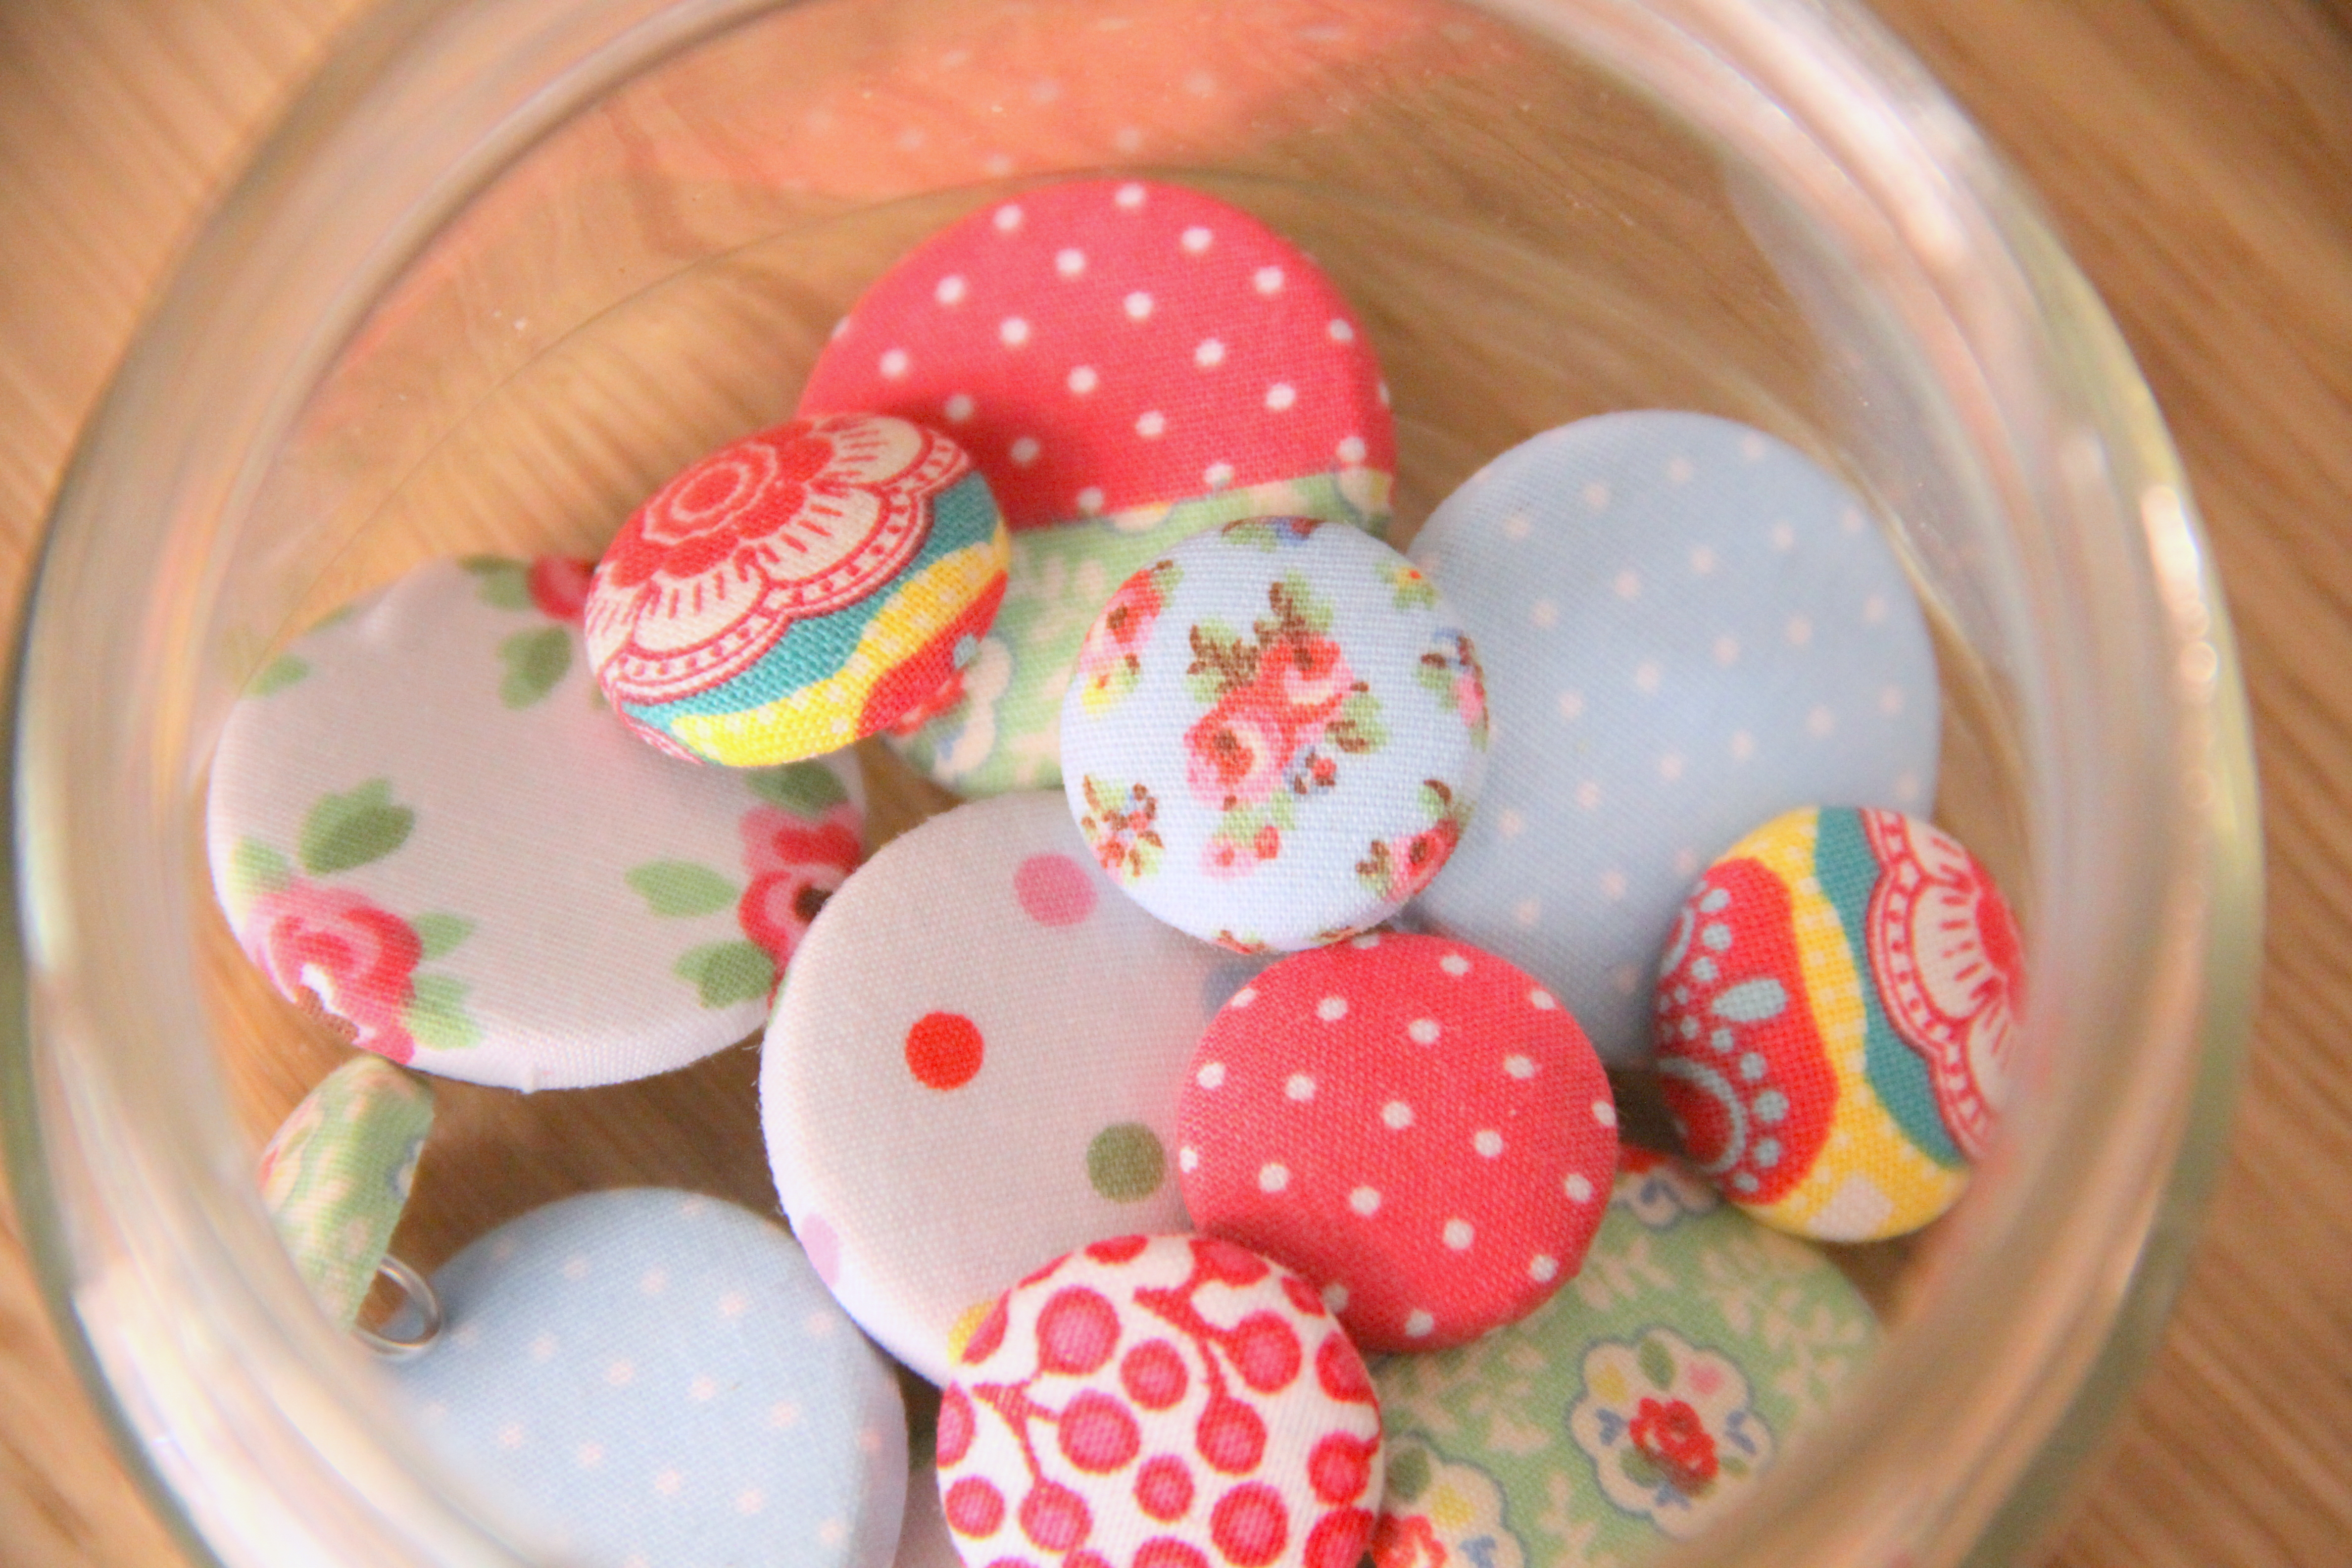
The verdict: completely obsessed with Cath Kidson’s Button Factory, and completely delighted that I can continue my button making days thanks to Daiso.

Stay tuned for some buttony-crafts 🙂

DIY Flower Crowns

Let’s make flower crowns!!!
IMG_8478

You’ll need some fake flowers, some wire (this is florist’s wire, but you can use anything), ribbon and perhaps a glue gun

IMG_7792-2

IMG_7800-2
grab a piece of wire and make a general rounded shape (you can use the shape of your head as a guide)

IMG_7807-2
with your fingers (or some pliers if you have a thicker wire) bend back the wire into a loop, and twist the wire around itself

IMG_7809-2

so now your crown should look something like this

IMG_7816-2
the flowers I’ve bought are attached to two wires. most fake flowers won’t be, so you may need to pop off the flower from the stem and hot glue some of your wire into the flower (there’ll often be a little hole from the original stem as shown below)

IMG_7823-2
IMG_7814-2

line up your flowers on your wire to give a bit of an indication of how it might all fit together.

IMG_7815-2

if you have a focus flower, like I do, wire it on first

IMG_7819-2
so that it looks something like this ^^^

IMG_7830 2 IMG_7838 2
after you’ve put all your flowers on, grab two lengths of ribbon (I’ve chosen cream).

IMG_7864 2
and tie them on to your pre-made loops.

IMG_7874 2

 The final product!!!

IMG_8464 2IMG_8469  IMG_8442 IMG_8451  IMG_8478

Let me know if you have a bash – I’d love to see!

DIY Bon-bons!

Bon-bons! A cute way to add a personal flair to your Chrissie table with this quick and easy table deco.IMG_8509 2

What you’ll need:

IMG_8489

Crackers – I got a pack of 10 at riot for $2
Toilet paper rolls – you can buy these in a pack with the crackers at
Spotlight but I just saved ours up!
Wrapping paper – I got this pack of three from Typo for $15 but I
suggest you go with the thinnest paper available ’cause it was a little hard to rip!IMG_8493 2

You’ll also need things to fill your bon-bons with. This time I’m using a bell (10 pack of red, gold, silver $2 for The Reject Shop) a Ferrero Rocher and some tea-light candles. If you’re keen for more ideas to put in your bons stay tuned for a list at the end of other things I’ve used.

IMG_8504 2

You’ll also need a pair of scissors, sticky tape, and some ribbon/sting/twine to tie the ends.

IMG_8491

First up place some sticky tape in the middle of your cracker to help secure it.

IMG_8492

Then place it inside your toilet paper roll and press down the tape.

IMG_8498 2

Put your goodies in then wrap with paper. I cut mine a little longer than the length of the cracker to allow for bunching around the end of the role.

IMG_8501 2

IMG_8502 2

Secure with tape. Now comes the part where your neat, carefully constructed bon-bon is destroyed with crushing as you bend and crunch the paper around the ends of the toilet paper roll.

 IMG_8506

Then secure with  your ribbon of choice!

I wrapped the girl’s bon-bons in spots and the guy’s in chevron, I also replaced the candles with Santa choccys for the guys.

IMG_8509

I tend to put a decoration, a chocolate and small gift in bon-bons. I’ve also put in bible verses, (good) jokes, recipes and fun facts as the paper product.

This year I’ve decided to do all the girls the same, and all the guys the same. Previously I’ve made individual crackers with gifts and fun facts tailored to the person – good fun but a bit of work!

I generally put a bit of pressure on myself with these things, but usually bon-bons contain pretty underwhelming treats so just remember that it’s really not a tough act to follow.

IDEAS

For everyone:
Chocolate Liqueurs
Chocolate Santas
Lindt Lindor Chocolate Balls
Key rings
Candy canes
USBs
Recipes
Guitar Picks
Comb
Magnets
Pet toy
Stationary (highlighters, pens, mini-post-its)

For Men:
Bottle openers
Shot glasses
Mini screwdriver
Mini deck of cards
Pocket Knife
Ear phones
Bookmark
Mini torch/keyring

For Women:
Cheap Jewellery (Equip etc. or tacky-but-fun Christmas light-up necklaces/earings)
Nail polish
Candles
Tea
Lip balm
Hair clips
Soap
Brooches
Thimbles
Bobby pins/hair ties
Mini cupcake cases
Mini cookie cutter

For kids:
Wrapped lollies
Bouncy balls
Bubbles
Lego
Toy cars
Plastic jewellery
Chalk
Grocery and party stores also have a selection of lolly-bag toys that I tend to raid for bon-bons

Would love to see your bons and hear your ideas for goodies to put inside!

Note: I have to give credit to James for helping me to think of ideas, however he started with “bottle openers” and “recipes” and he ended up on the floor covered in a pink sarong with my laptop charger on his face suggesting “laundry powder”, “a mouse” “chicken salt sachets” and “as many pizza shapes as you can stuff in there”.