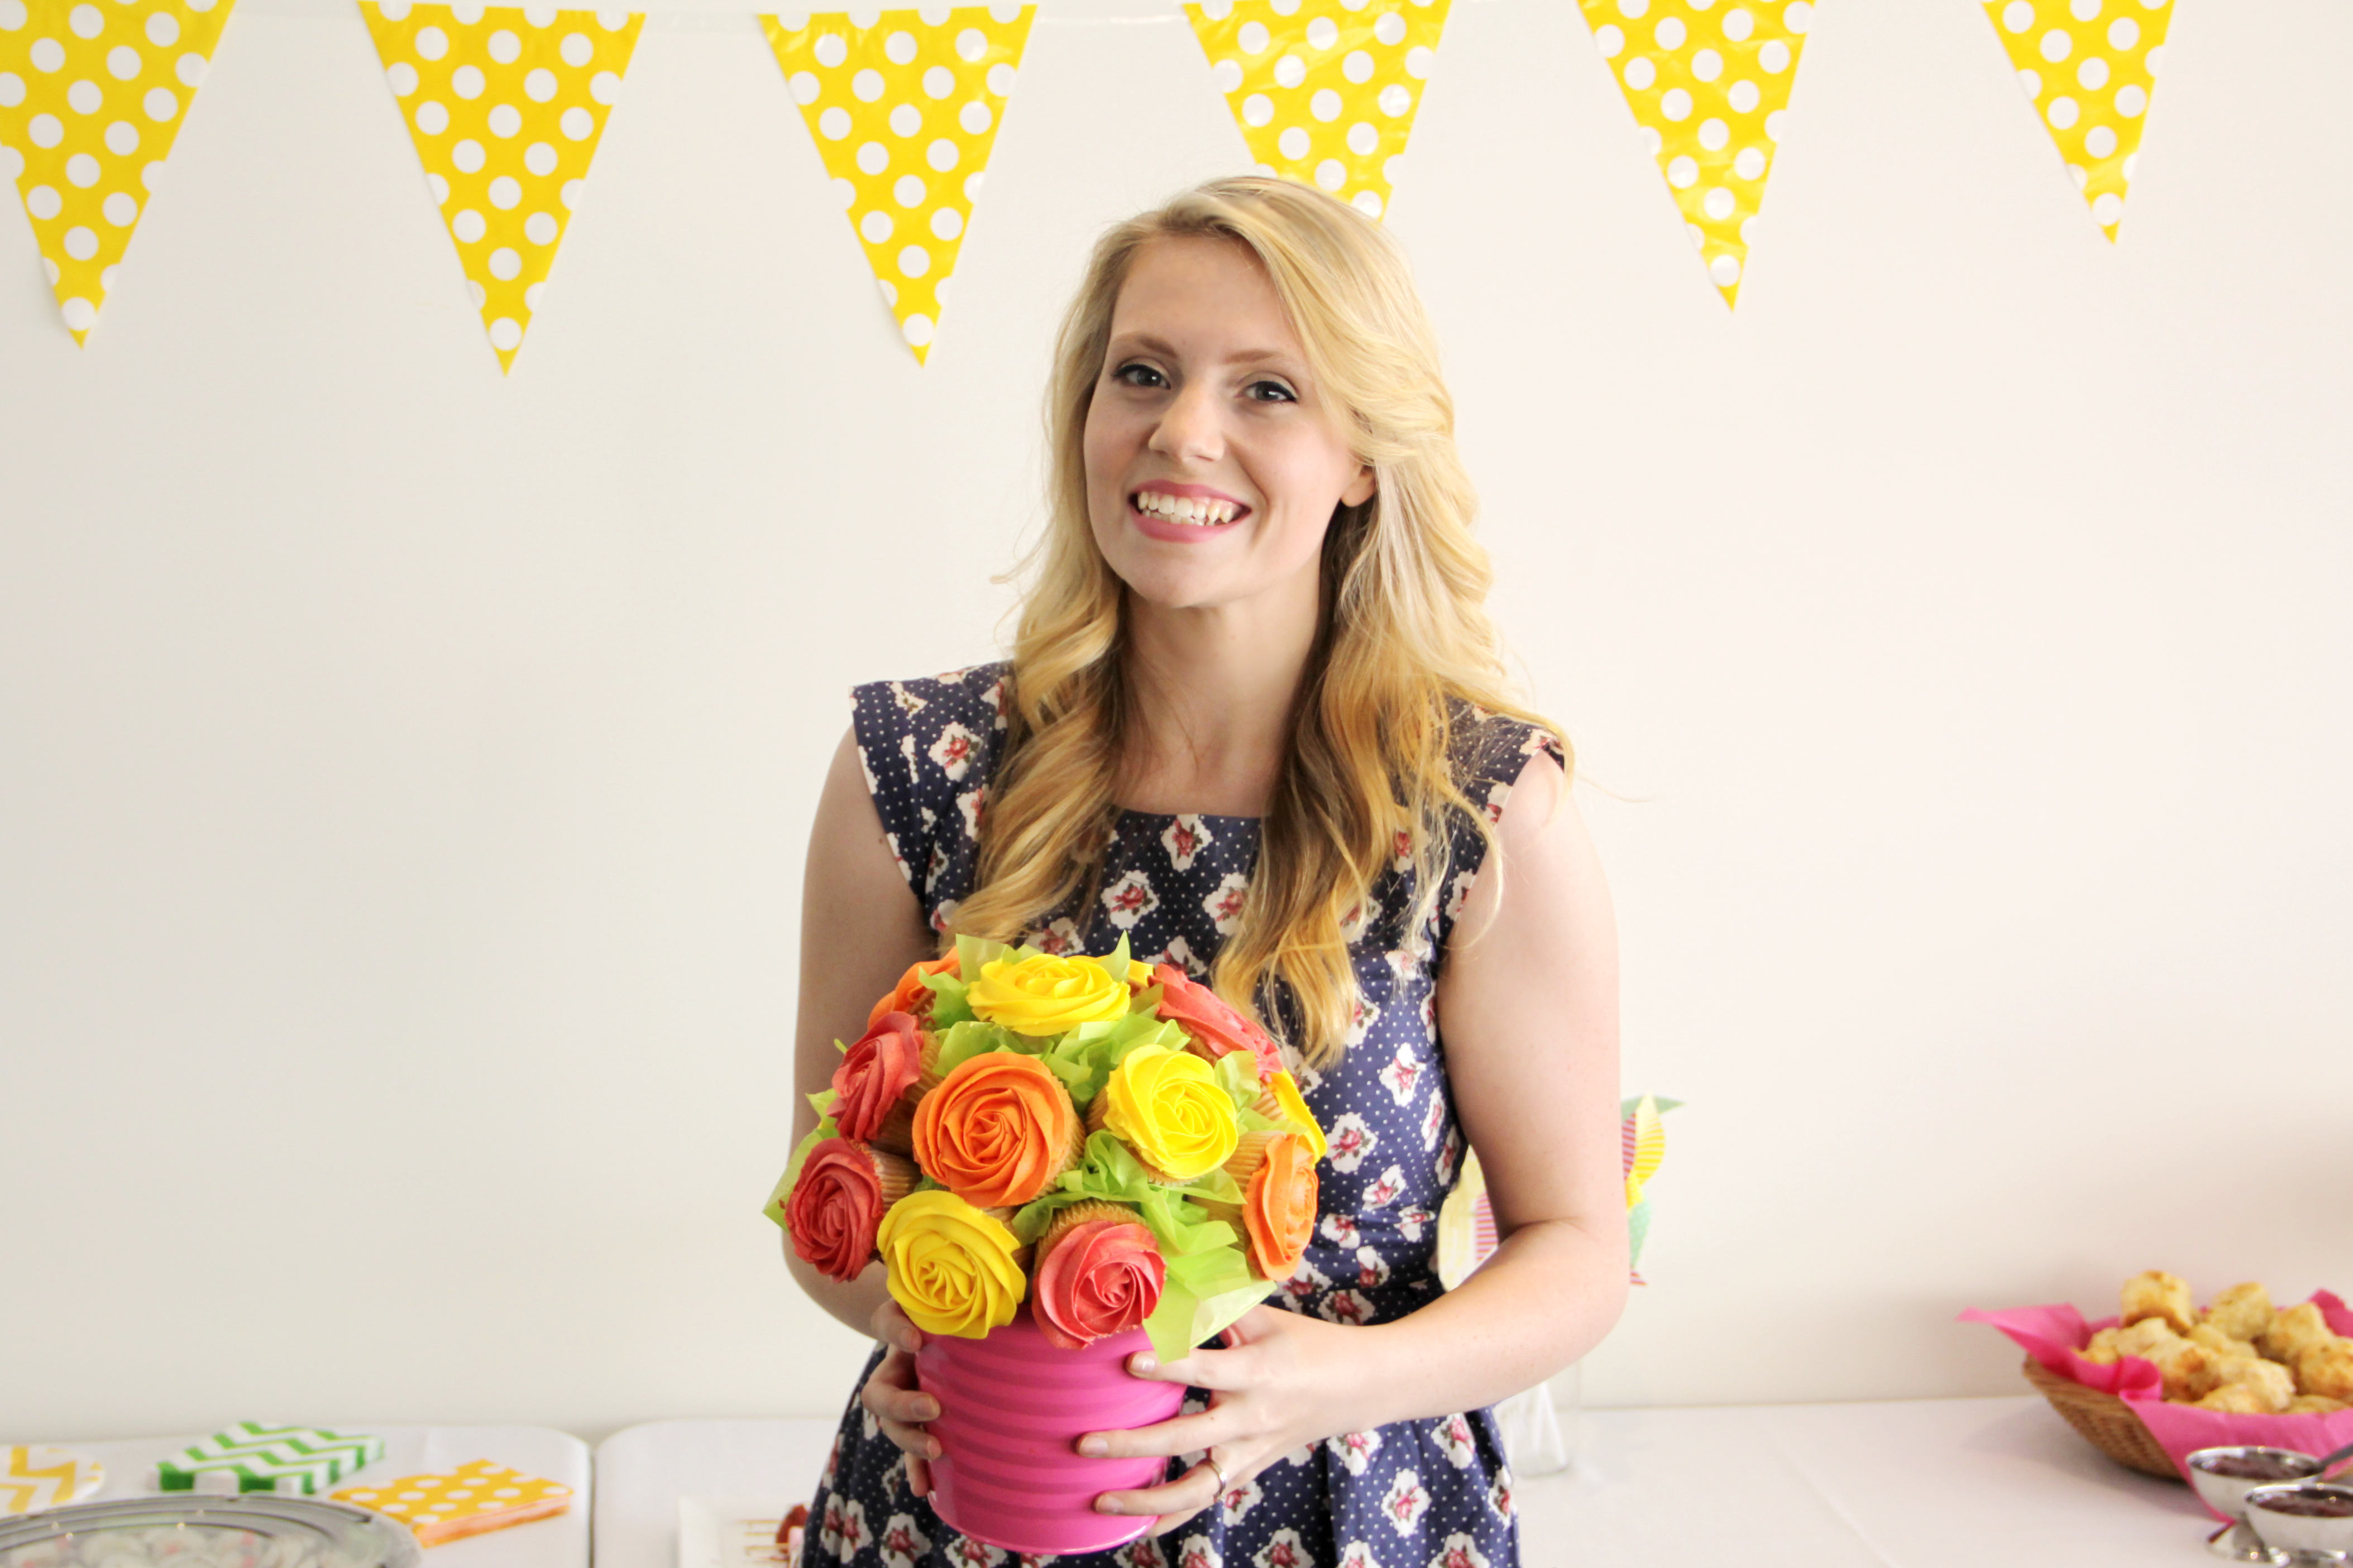
So my bestie just had her Kitchen Tea and I thought it was a good excuse to take a bash at a bouquet of cupcakes!


Super simple and super effective. Here’s how to make ’em:
You’ll also need about a batch and a half of buttercream, split and coloured into the different flower colours you want to use. I’ve chosen yellow, orange and pink to match the “citrus” decoration theme of the party.
You’ll also need a styrofoam ball and a pot/bucket thats a little smaller than the diameter of the ball. The ball I’ve chosen has a diameter of 15cm.
You’ll need some green tissue paper in a suitable hue to match your colours, some tooth picks and piping bags & nozzles.

First up, pop your ball into it’s container. Space 15 toothpicks spaced evenly around. I found it easiest to poke one in the middle at the top, then poke in two more in line, either side, to create five toothpicks in a line. Then, three fit in underneath that line on each side, with another two on each side at the bottom.
Then, start putting your cupcakes on the toothpicks. You’ll need to re-angle, change positions and even add more toothpicks in as you go. I found that the ones at the bottom generally need two as they’re working against gravity. 
Then you’ll have something that looks kinda like this ^^^
As you can see, there’s some white parts poking through and ruining our bouquet illusion. This is where the tissue paper comes in! 
Chop your tissue paper into triangles. Or squares. Or pentagons – it doesn’t really matter, they just need to be in little chunks.

Holding a piece or two in the middle, scrunch the paper up until it looks kinda leafy and then poke a tooth pick through the middle. The paper will sit in between the cupcakes without the toothpick but as the cupcakes are removed it’s good to have the tissue paper secure.
Once you’ve put all the “leaves” in it should look something like this ^. Try to have the paper lower than the cupcake cases when they come in contact with the sides. This just helps when icing not to get the icing on the tissue paper.
Then it’s time to start icing the cupcakes. I’m using a closed star tip to make roses by keeping my swirl low and even, but there are plenty of other flowers you can create with different tips – if you’re keen for some variation have a look on Youtube or Pinterest.
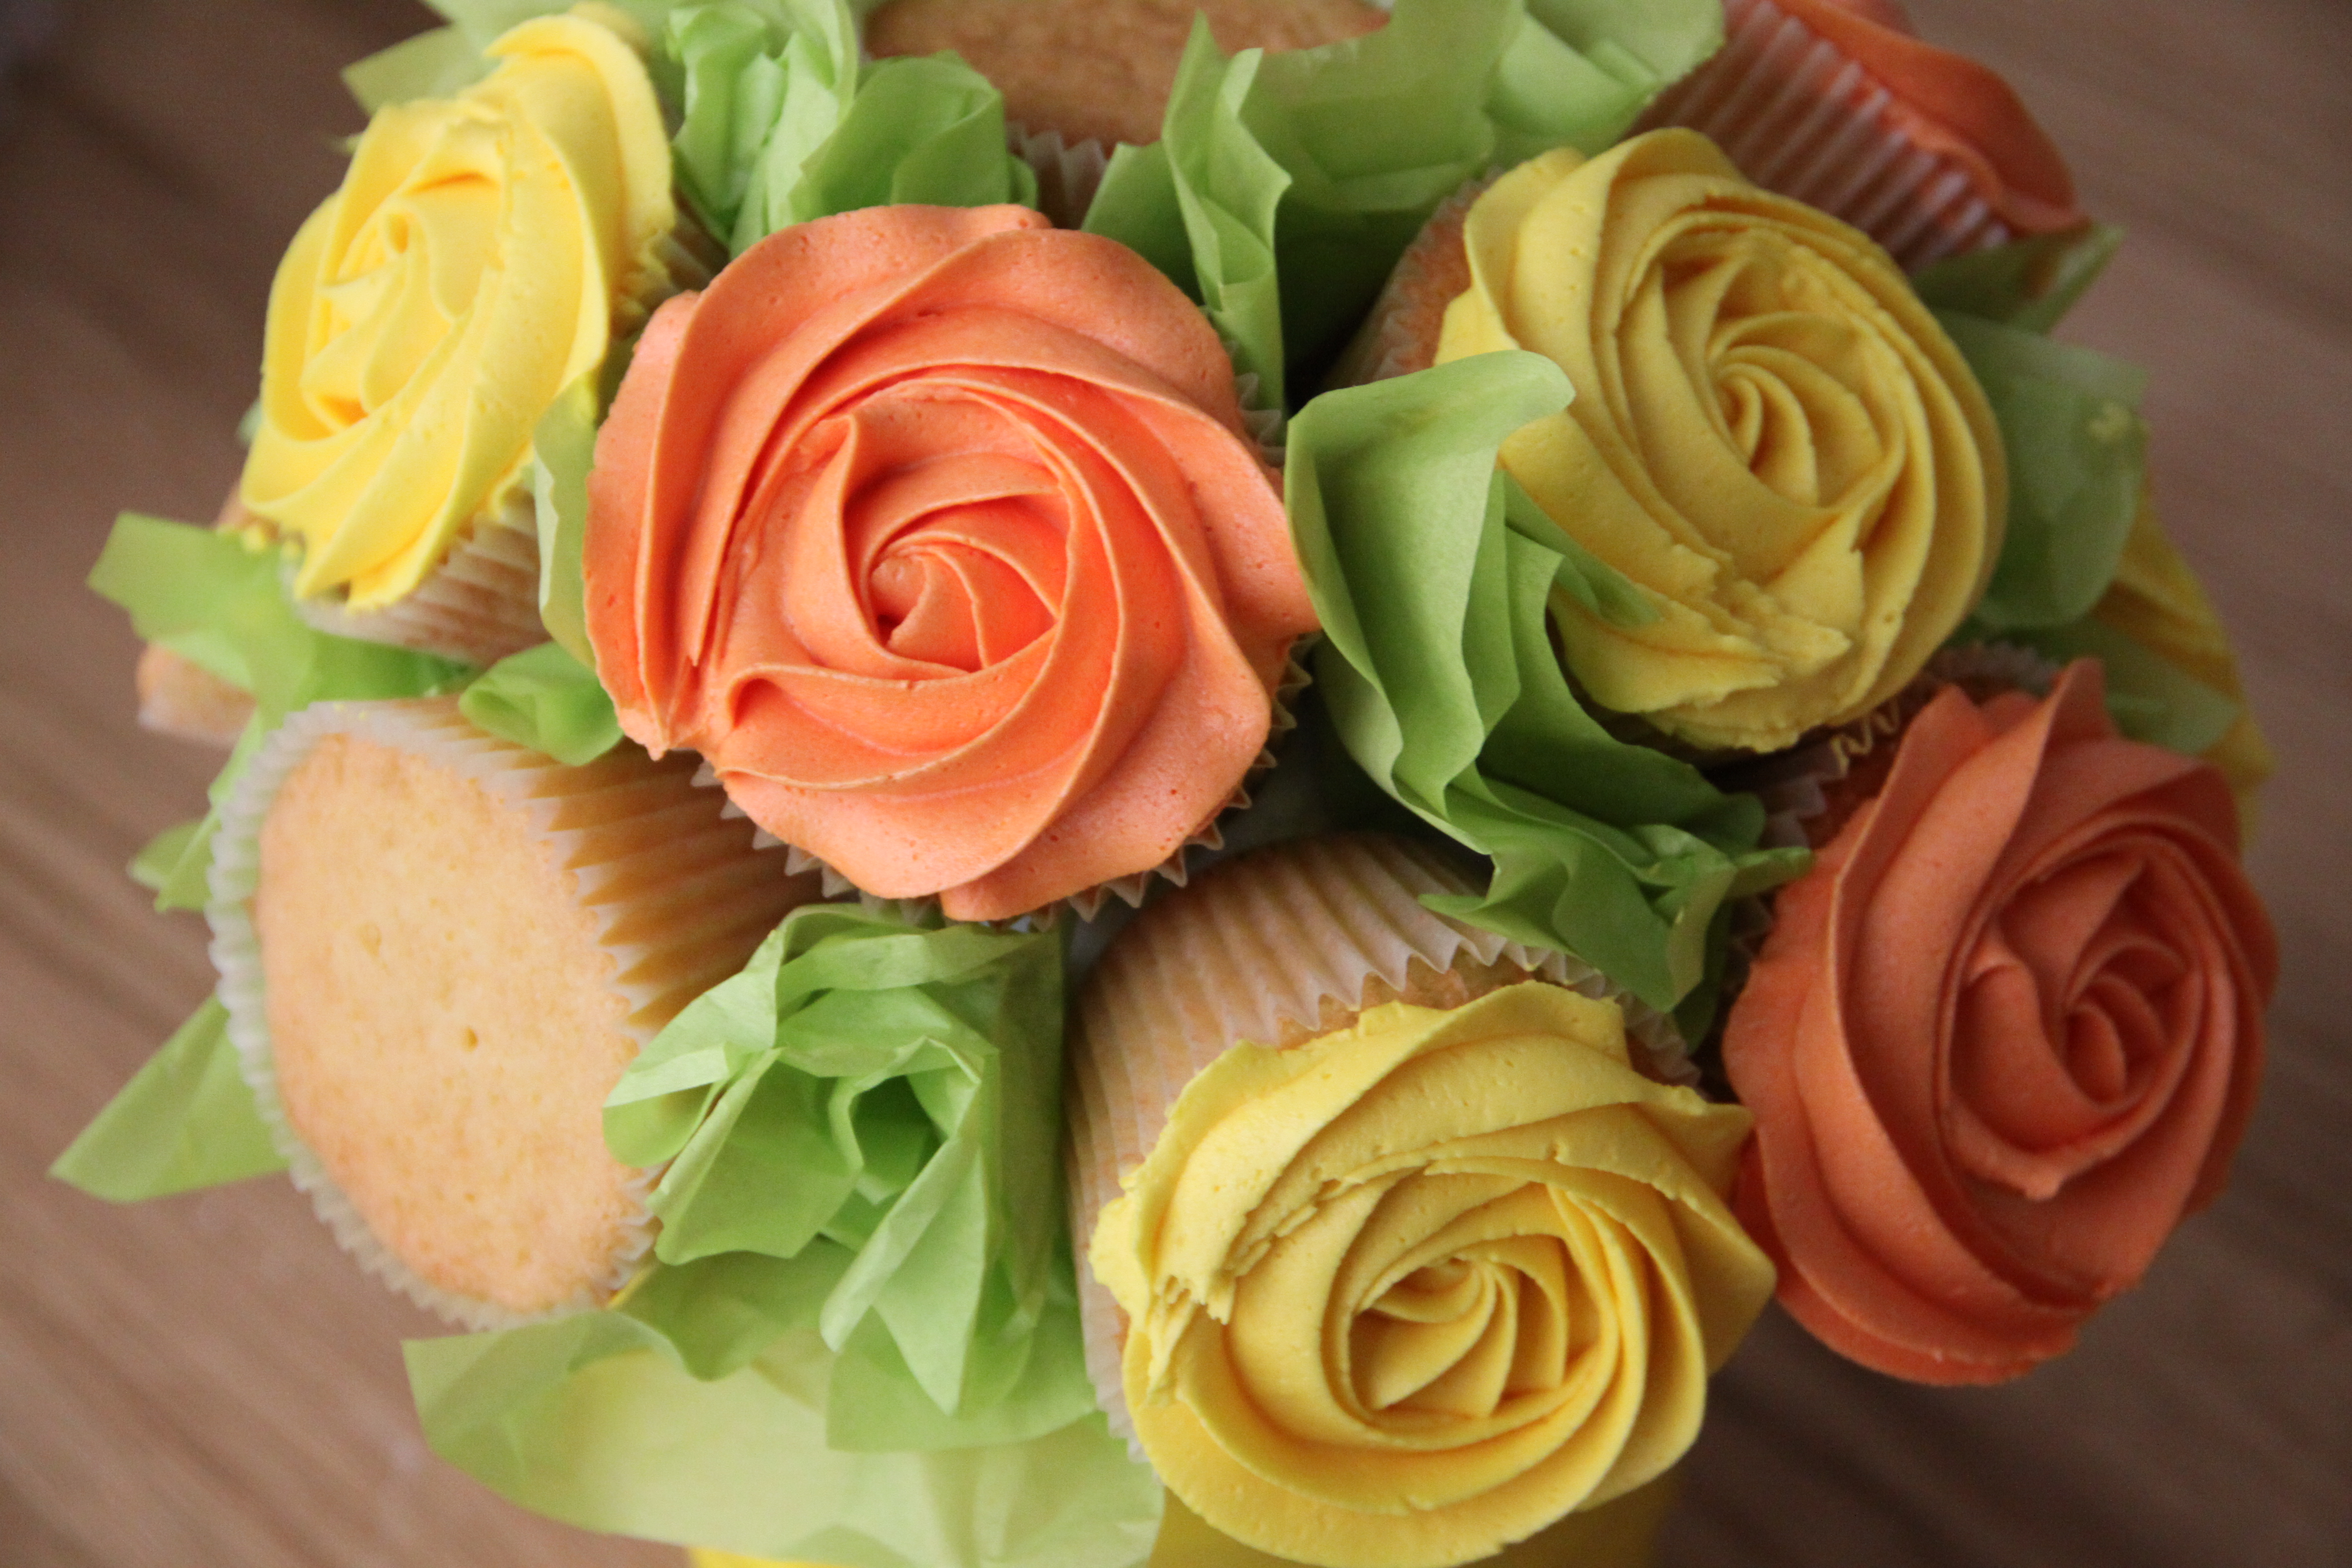
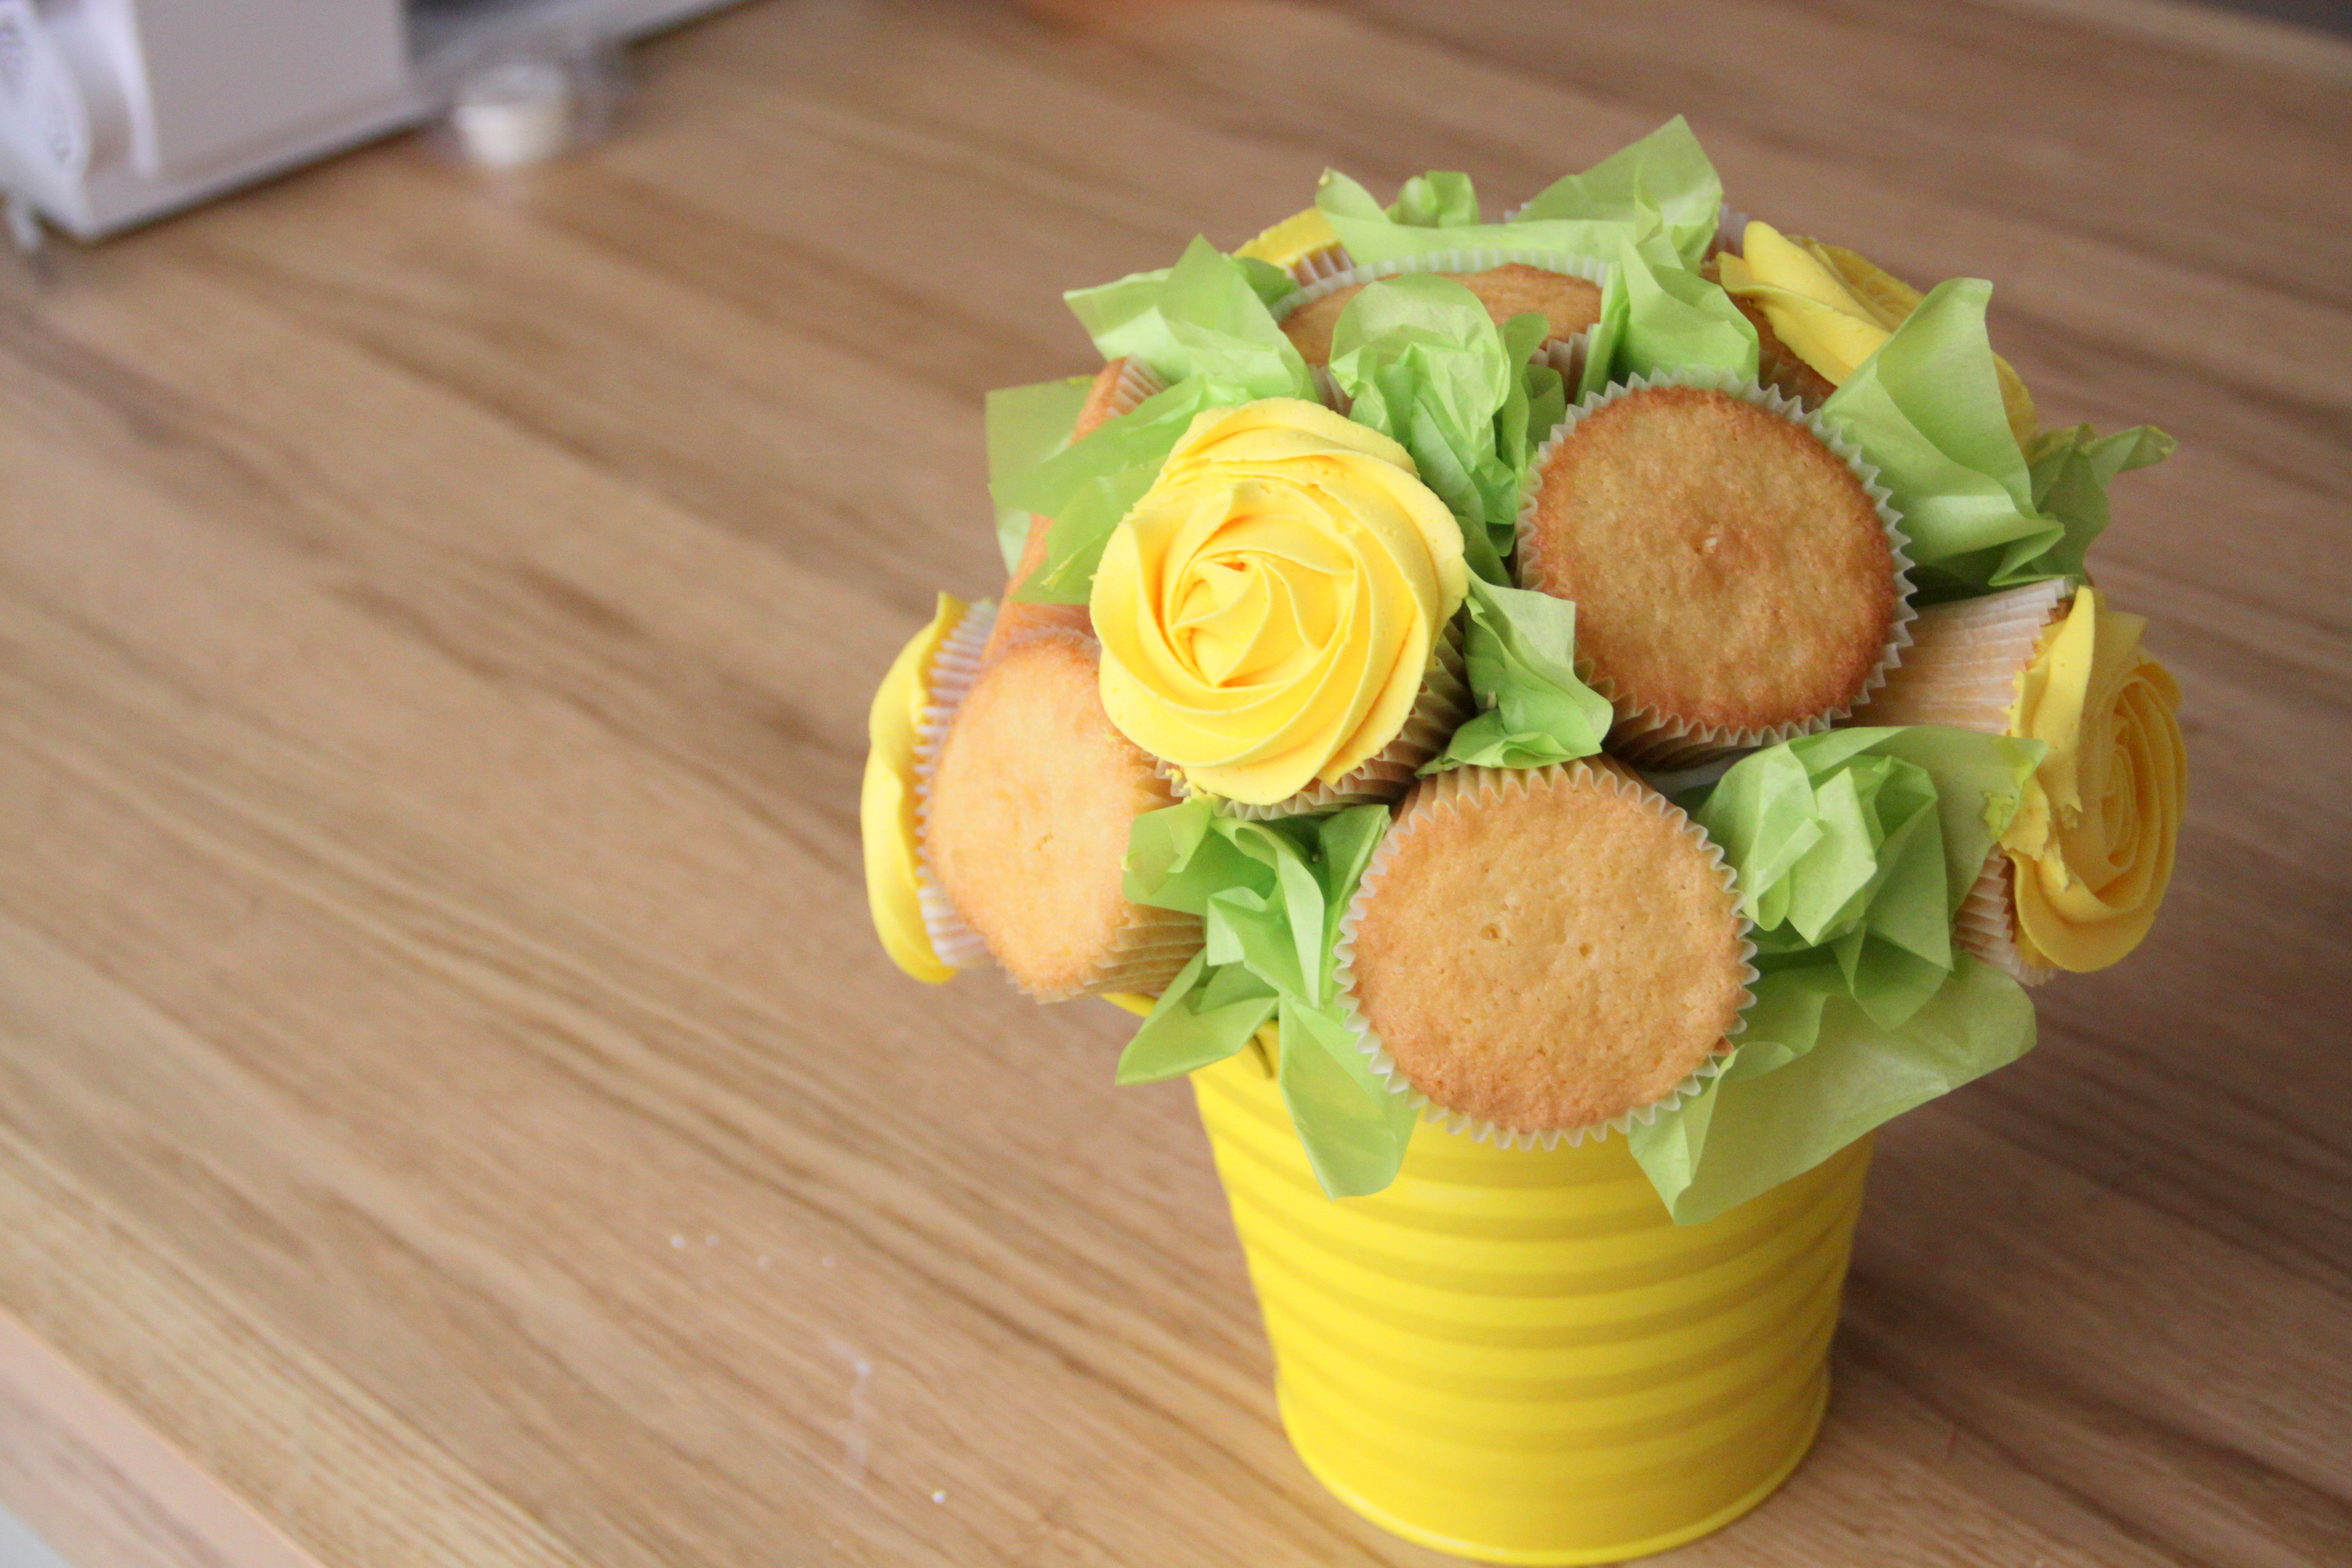
Then add you second colour in…
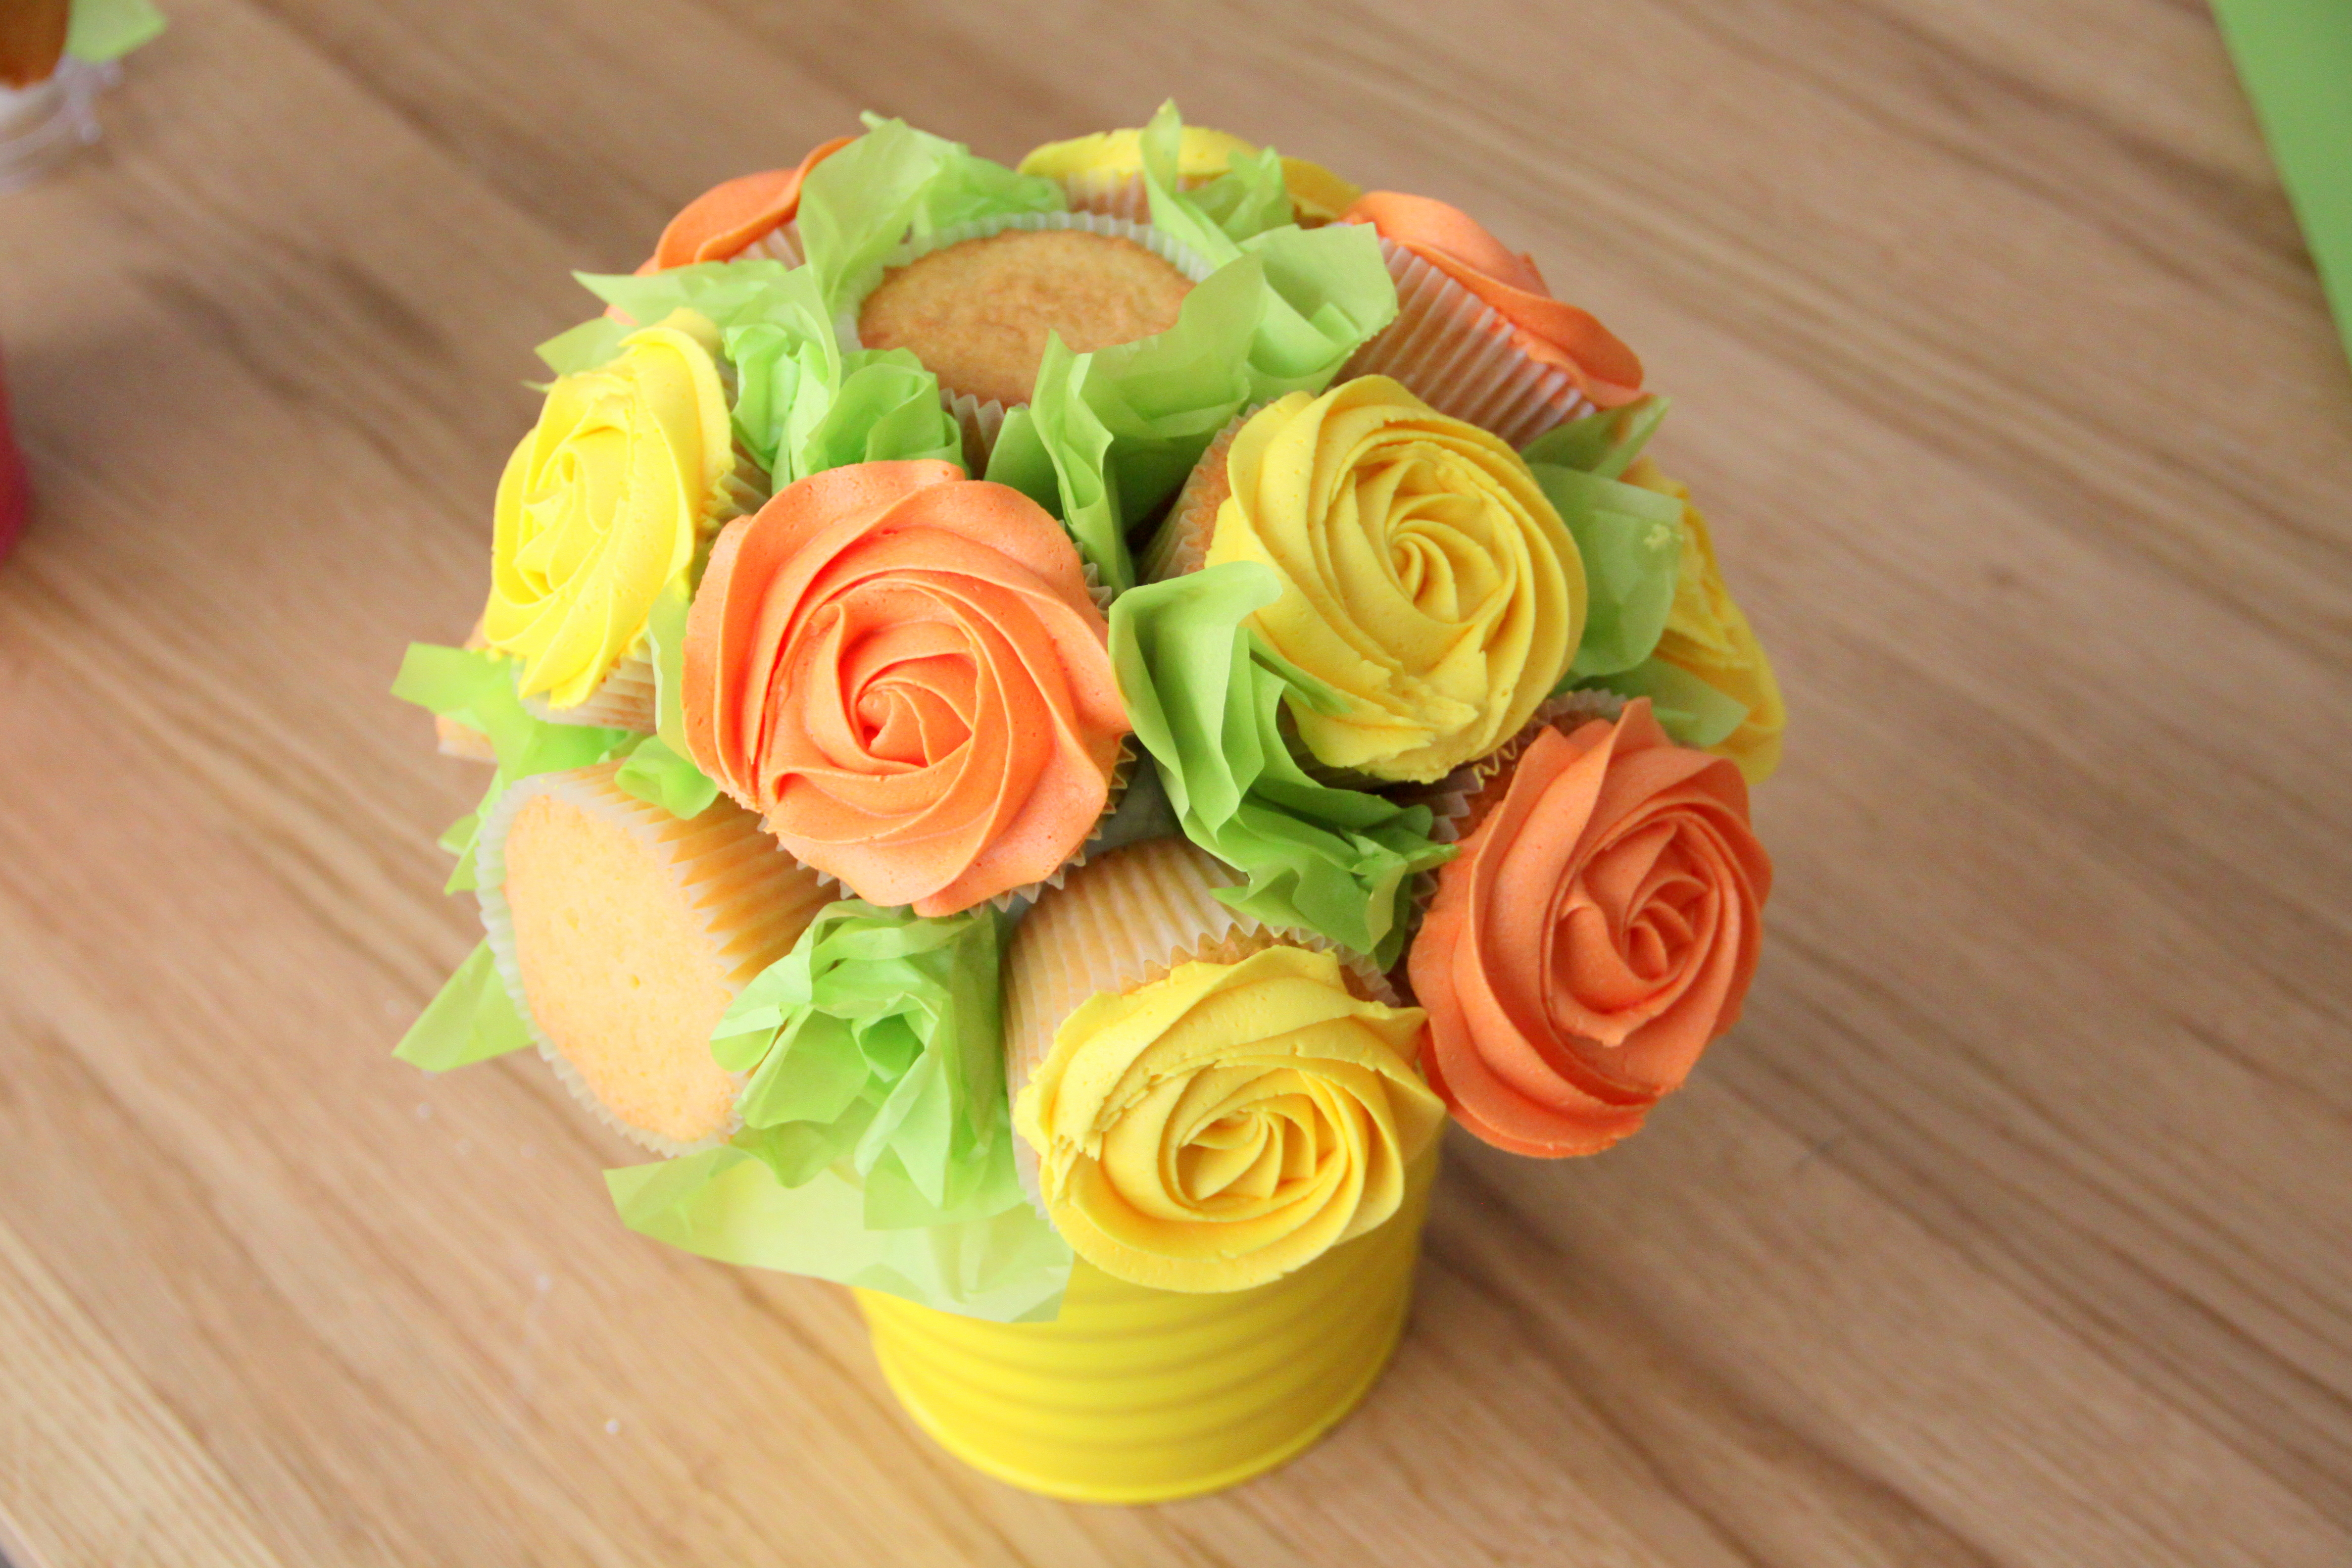
And your third!
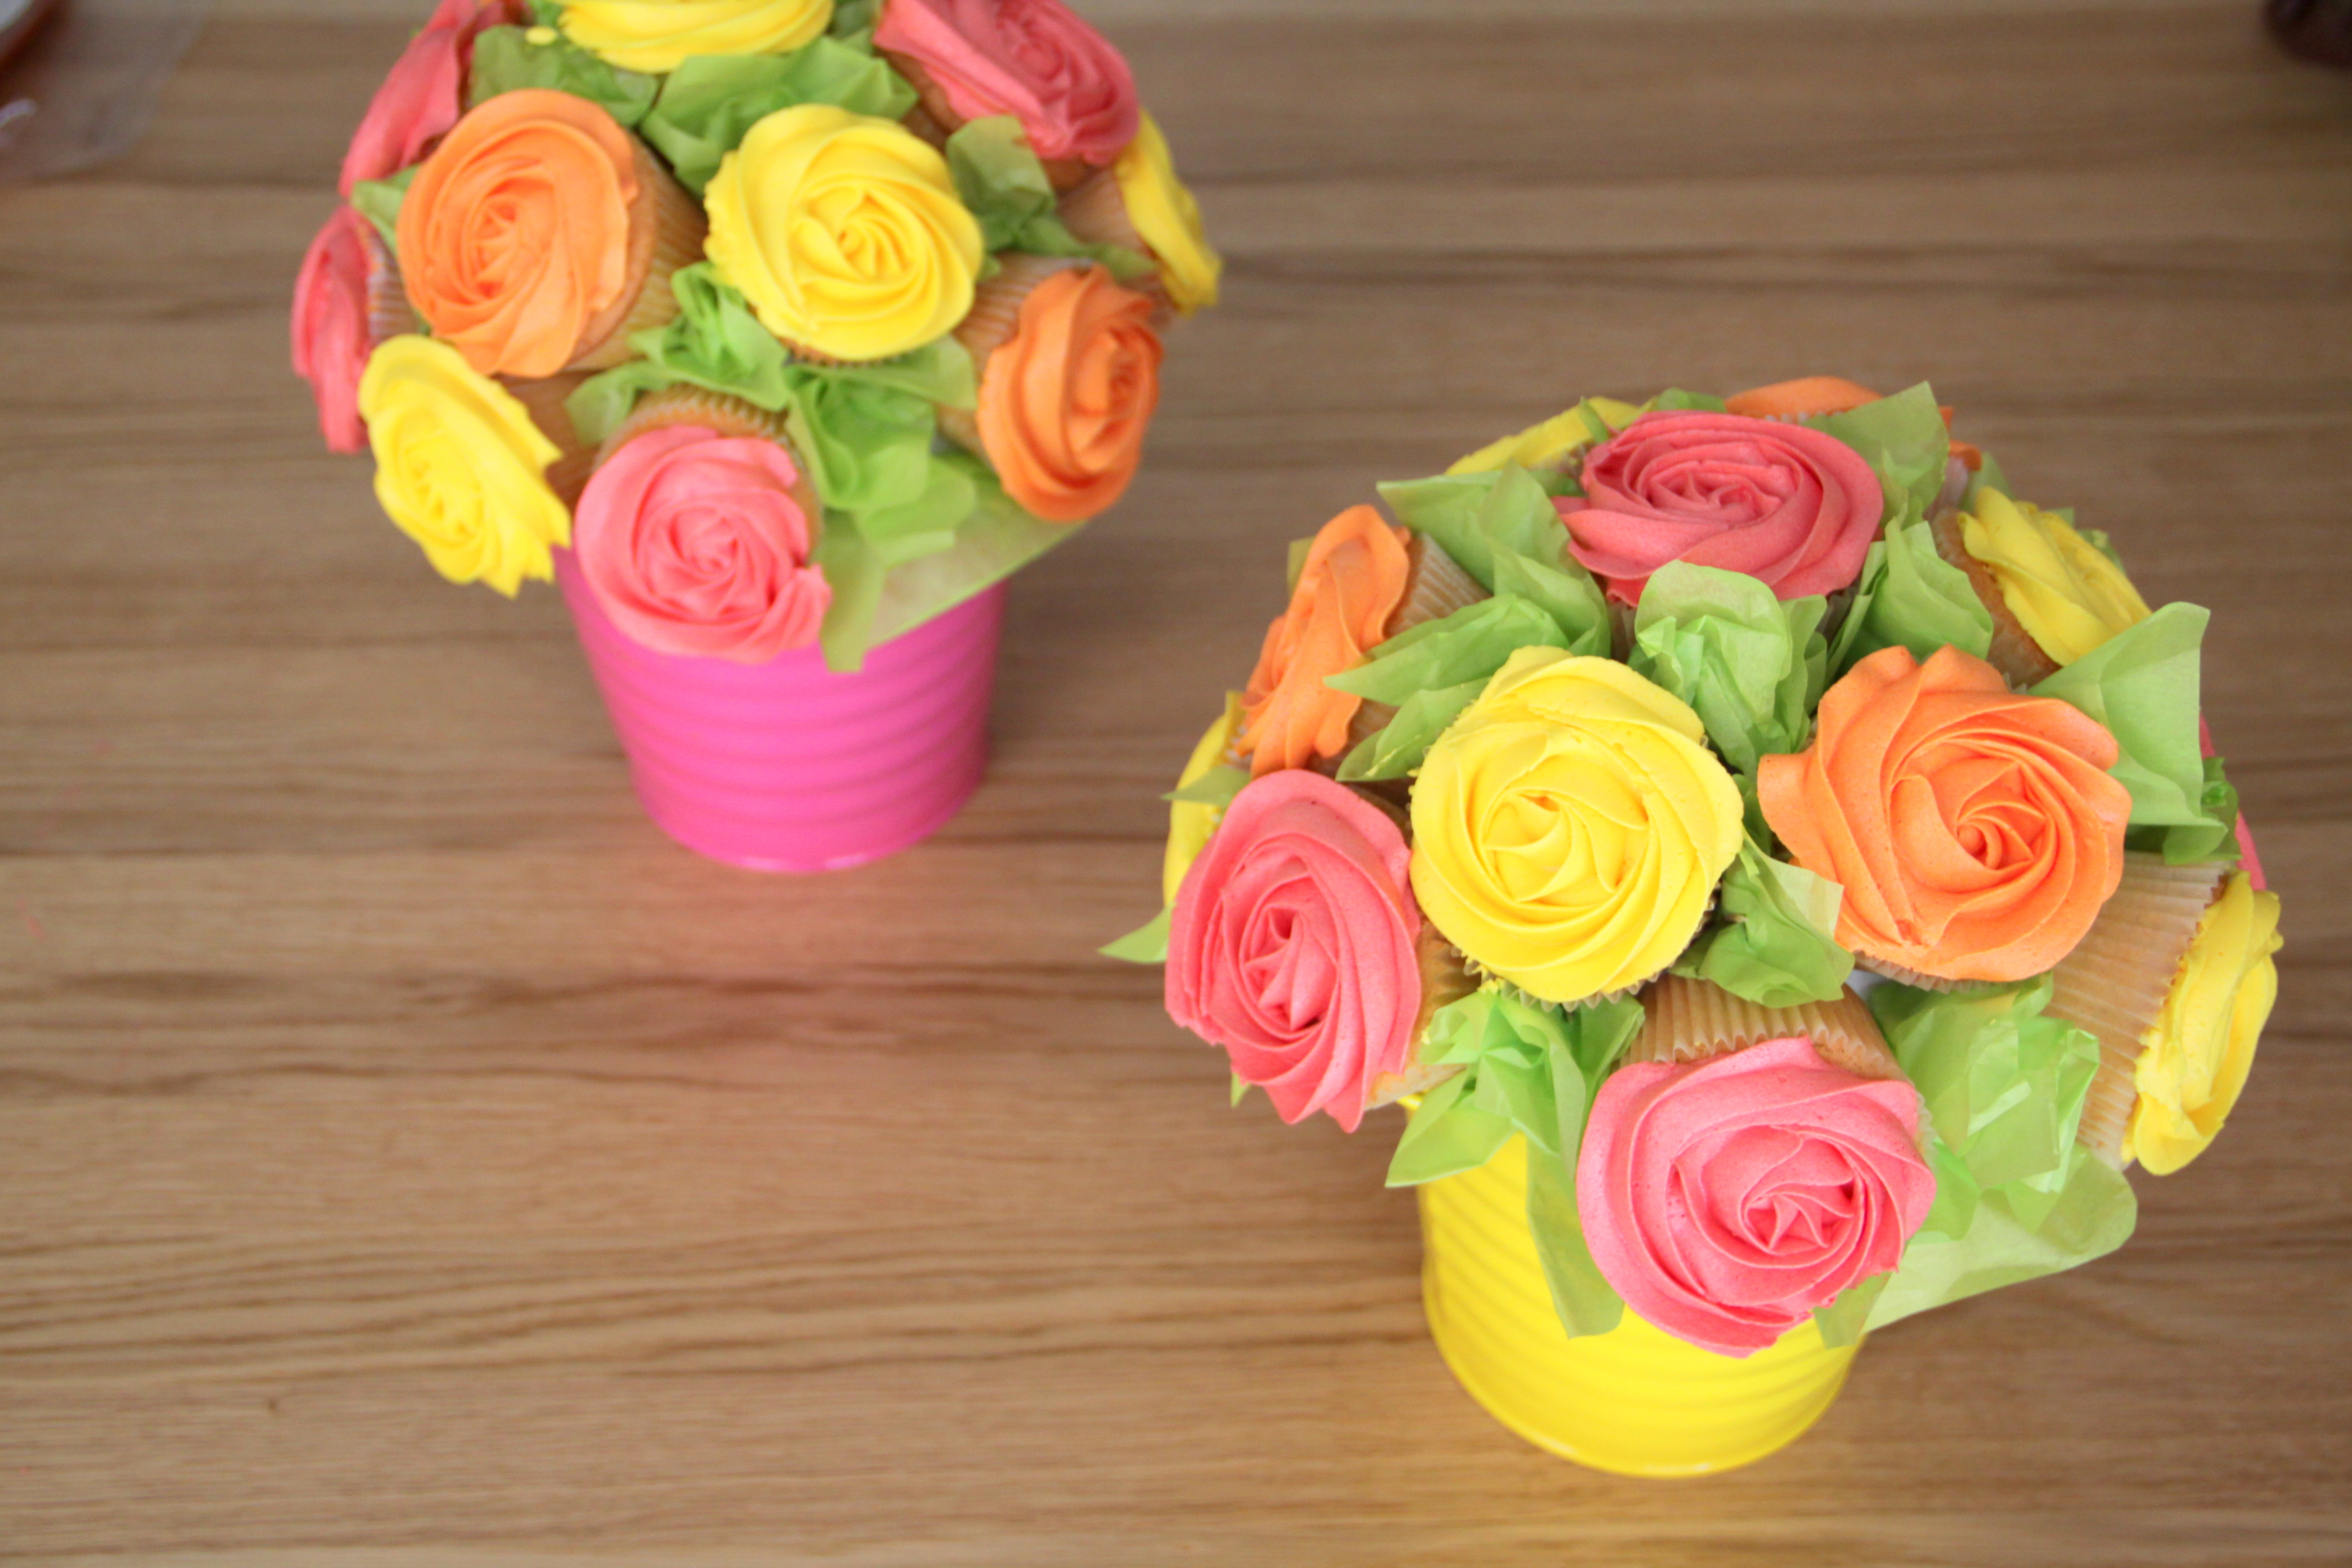

And there you have it! A bouquet of cupcakes!
And in action…