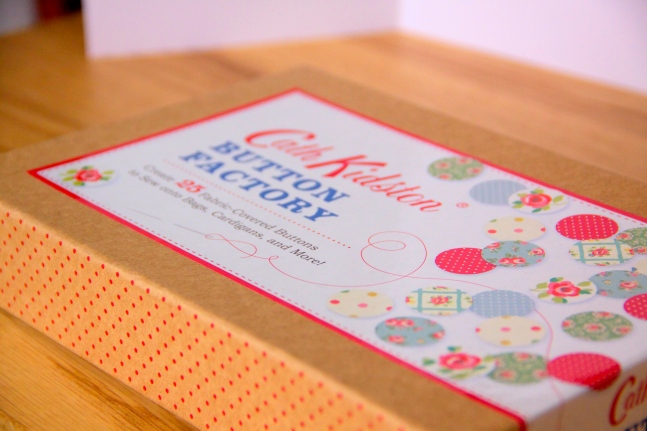
For my Birthday, my beautiful friend Claudia gifted me Cath Kidson’s Button Factory – a kit for making ab-fab fabric buttons. Before I even got the chance to sit down at have a bash, I came across a similar system for covering buttons with fabric at Daiso, for, you guessed it, $2.80. I grabbed them in the hopes that once my Button Factory is out of business, I can continue on. I decided to test both out at the same time and this is how it went!
The Daiso “Cover Button Kit”s in 27 and 18mm, and Cath Kidson’s Button Factory.
First up; I could not wait to try this beauty out!
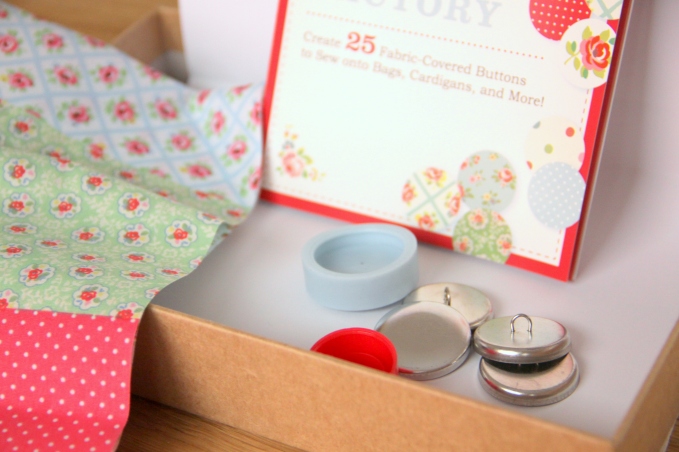
What you get in your kit; some beautiful Cath Kidson fabric in 7 different designs, a instruction and ideas book, the backs (the silver guys with the loops) and the fronts (the plain silver guys) for 25 buttons, and a rubber mould (blue) and plastic plug (red) to help create your buttons!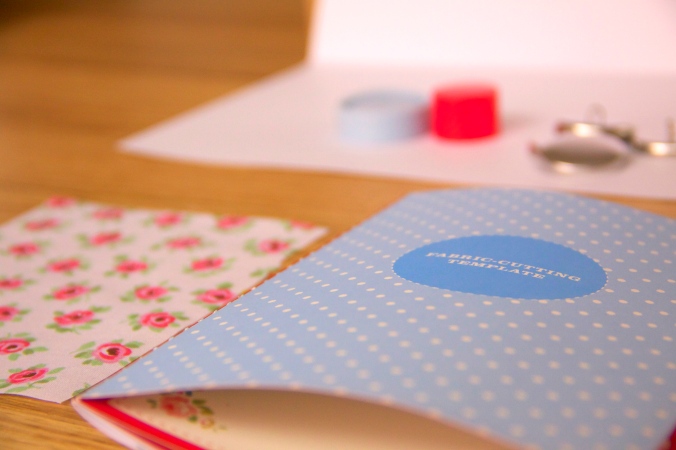
As per the instructions, I cut off my first square of fabric. The last page of the book provided gives a template so you know how big to cut your circle.
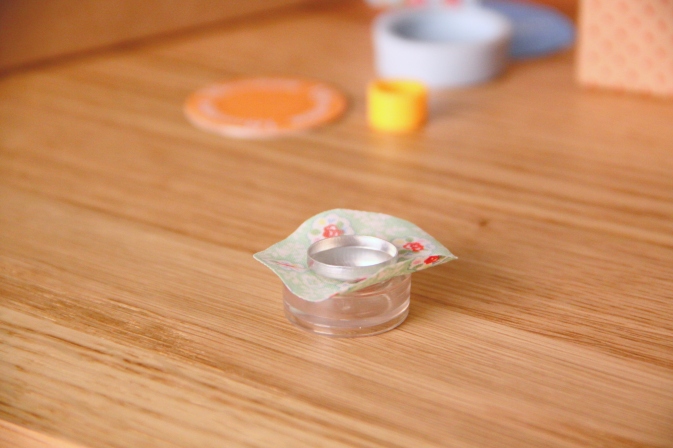
The fabric then sits in the blue mould, before placing in the silver front. Then, after tucking the edges under, the red plug assists you in pressing the back into place. It’s pretty self explanatory. and the instructions given in both kits are clear.
You’ll end up with something looking like this;
So how does my Daiso buy compare?
I decided to have a bash with these 18mm buttons as the 22mm were a similar size to my Cath Kidson Factory.

The process is just the same, although the mould is a little stiffer so pushing the button-front in can take some time….
…however because the mould is clear, it’s easy to see if there are any problem-tucks in the fabric.
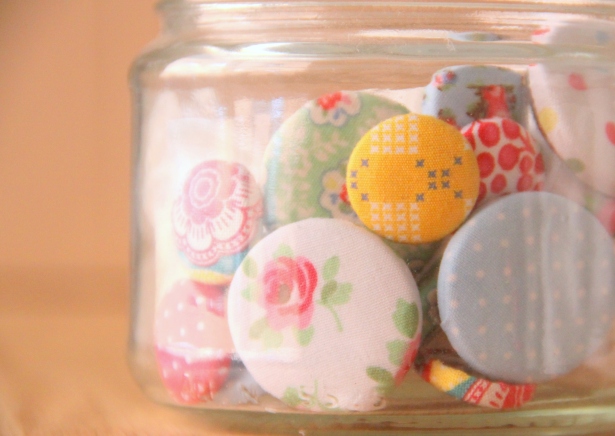
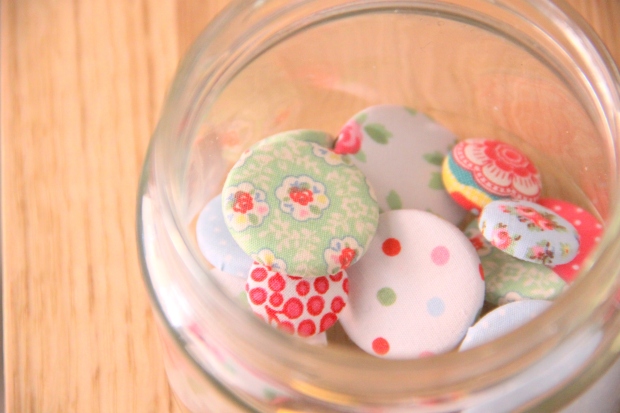
Fast forward half an hour and I have a jar of beautiful buttons at my disposal!
The verdict: completely obsessed with Cath Kidson’s Button Factory, and completely delighted that I can continue my button making days thanks to Daiso.
Stay tuned for some buttony-crafts 🙂
