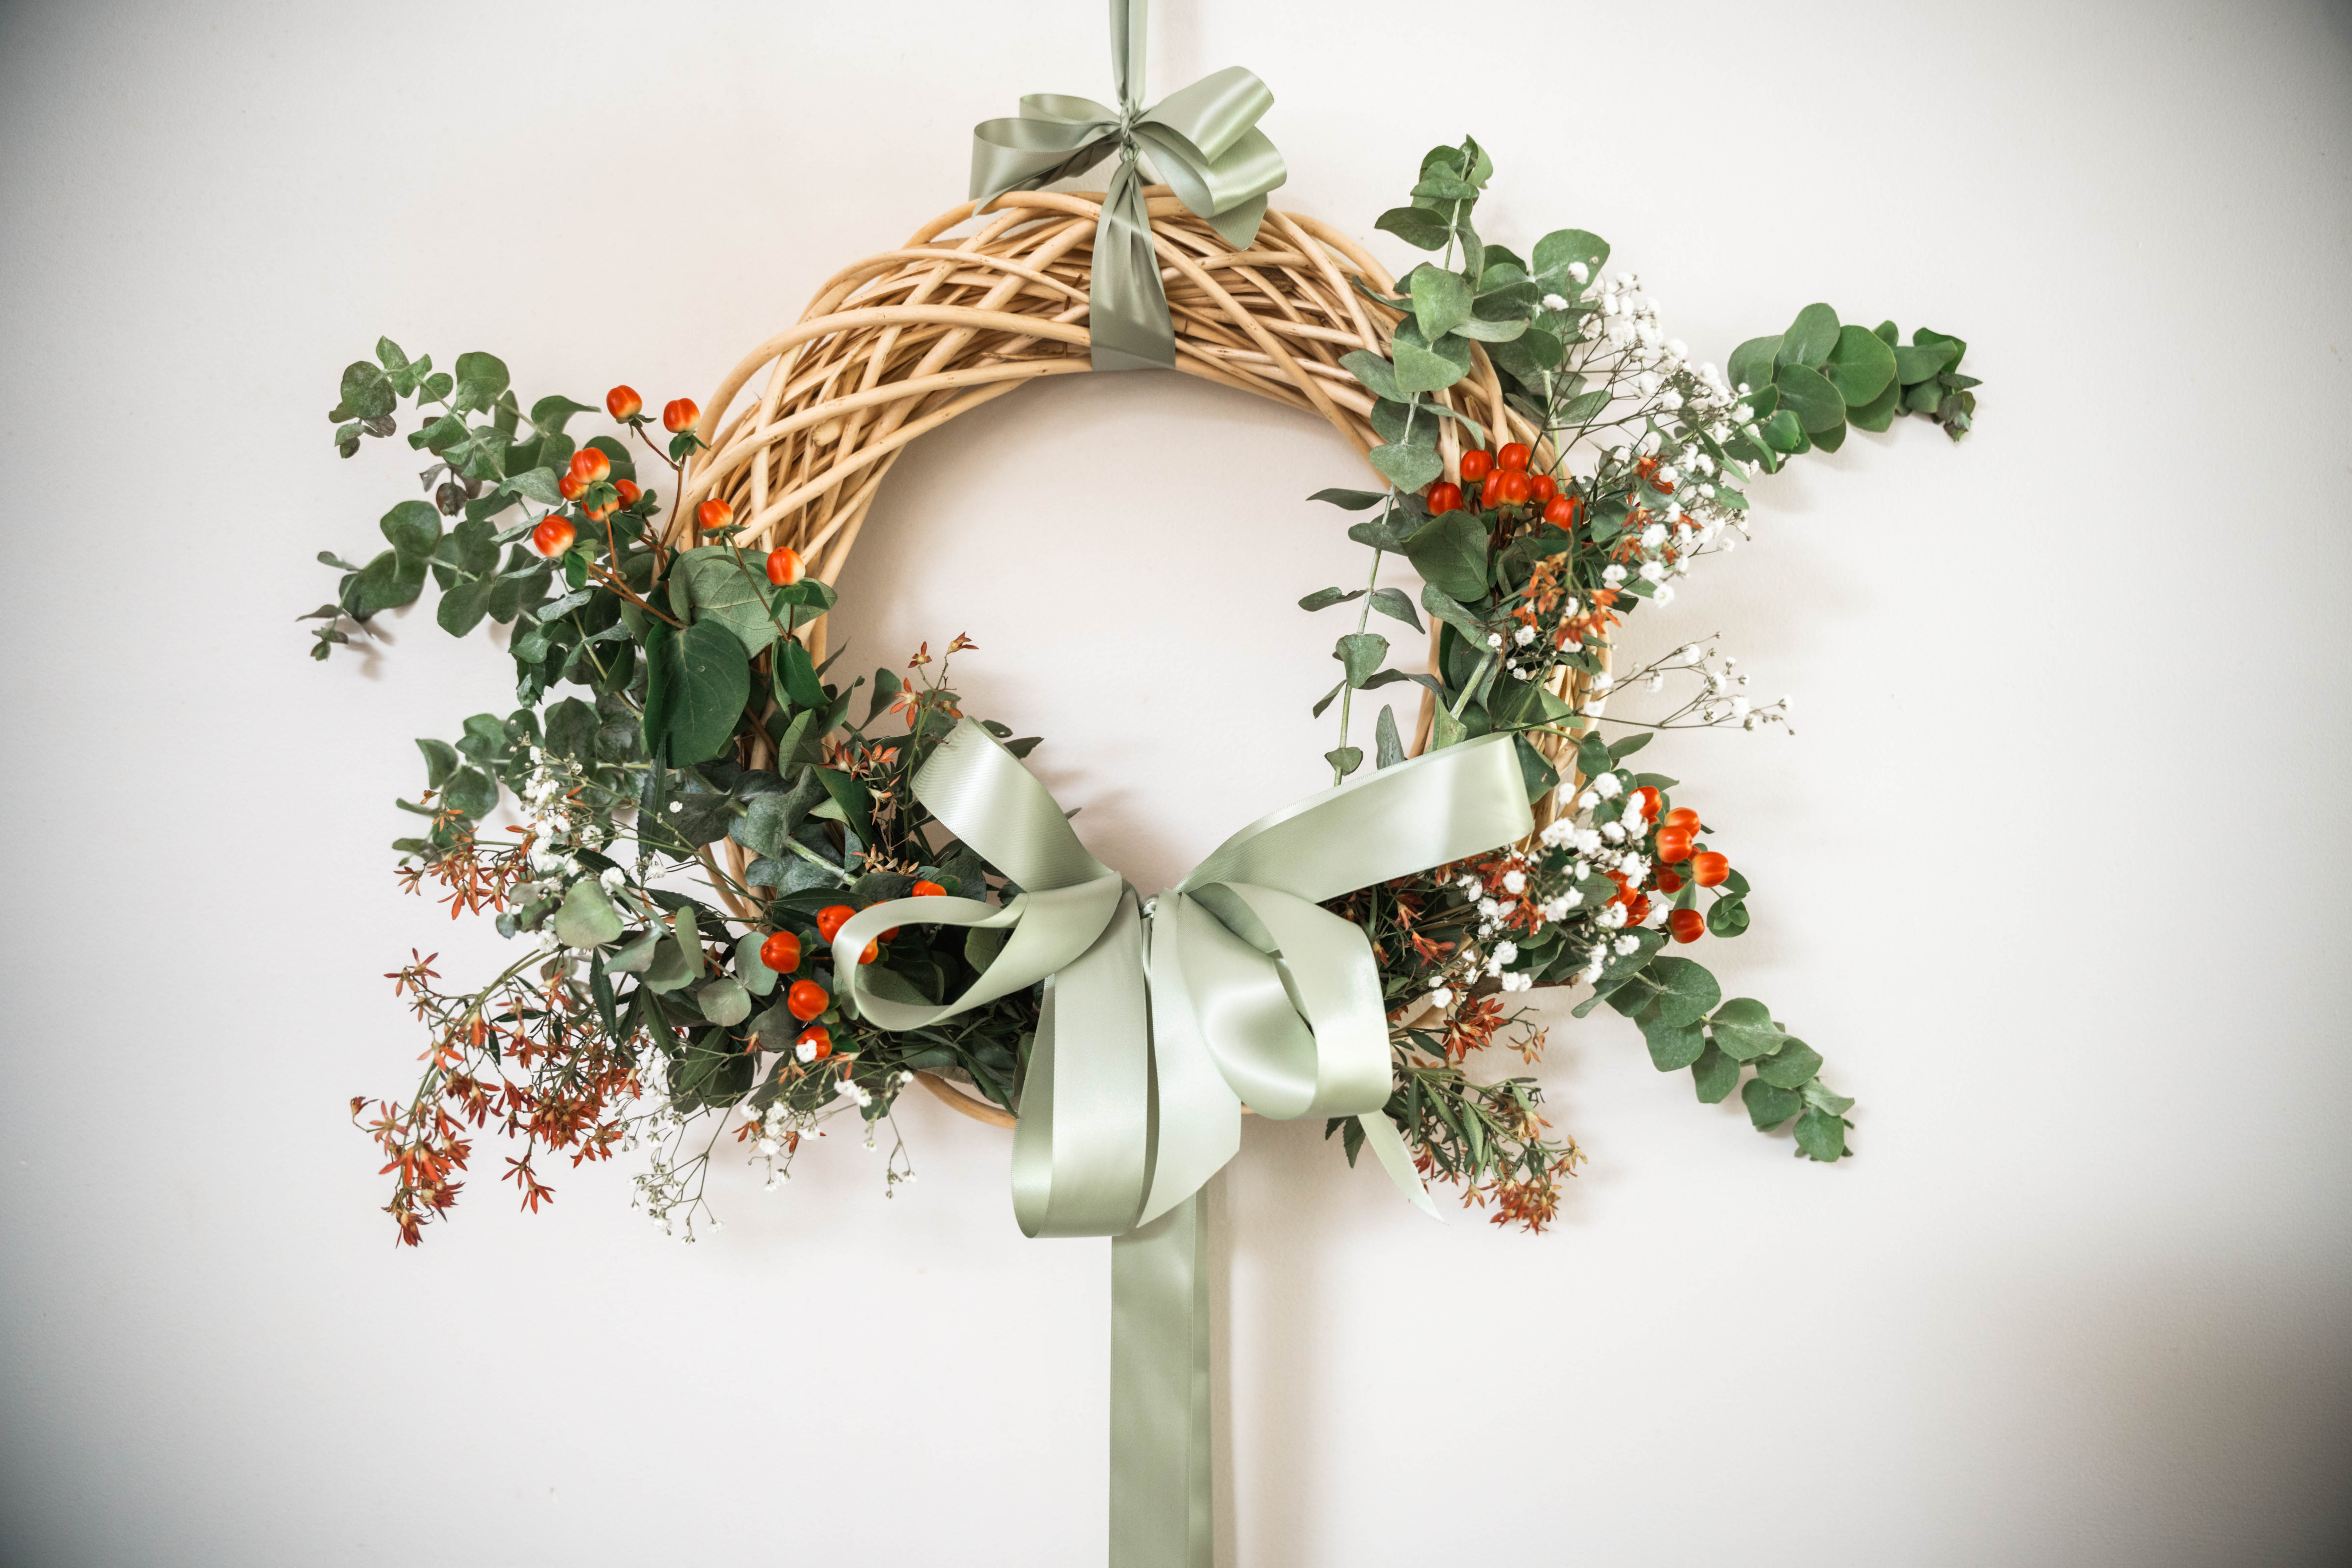
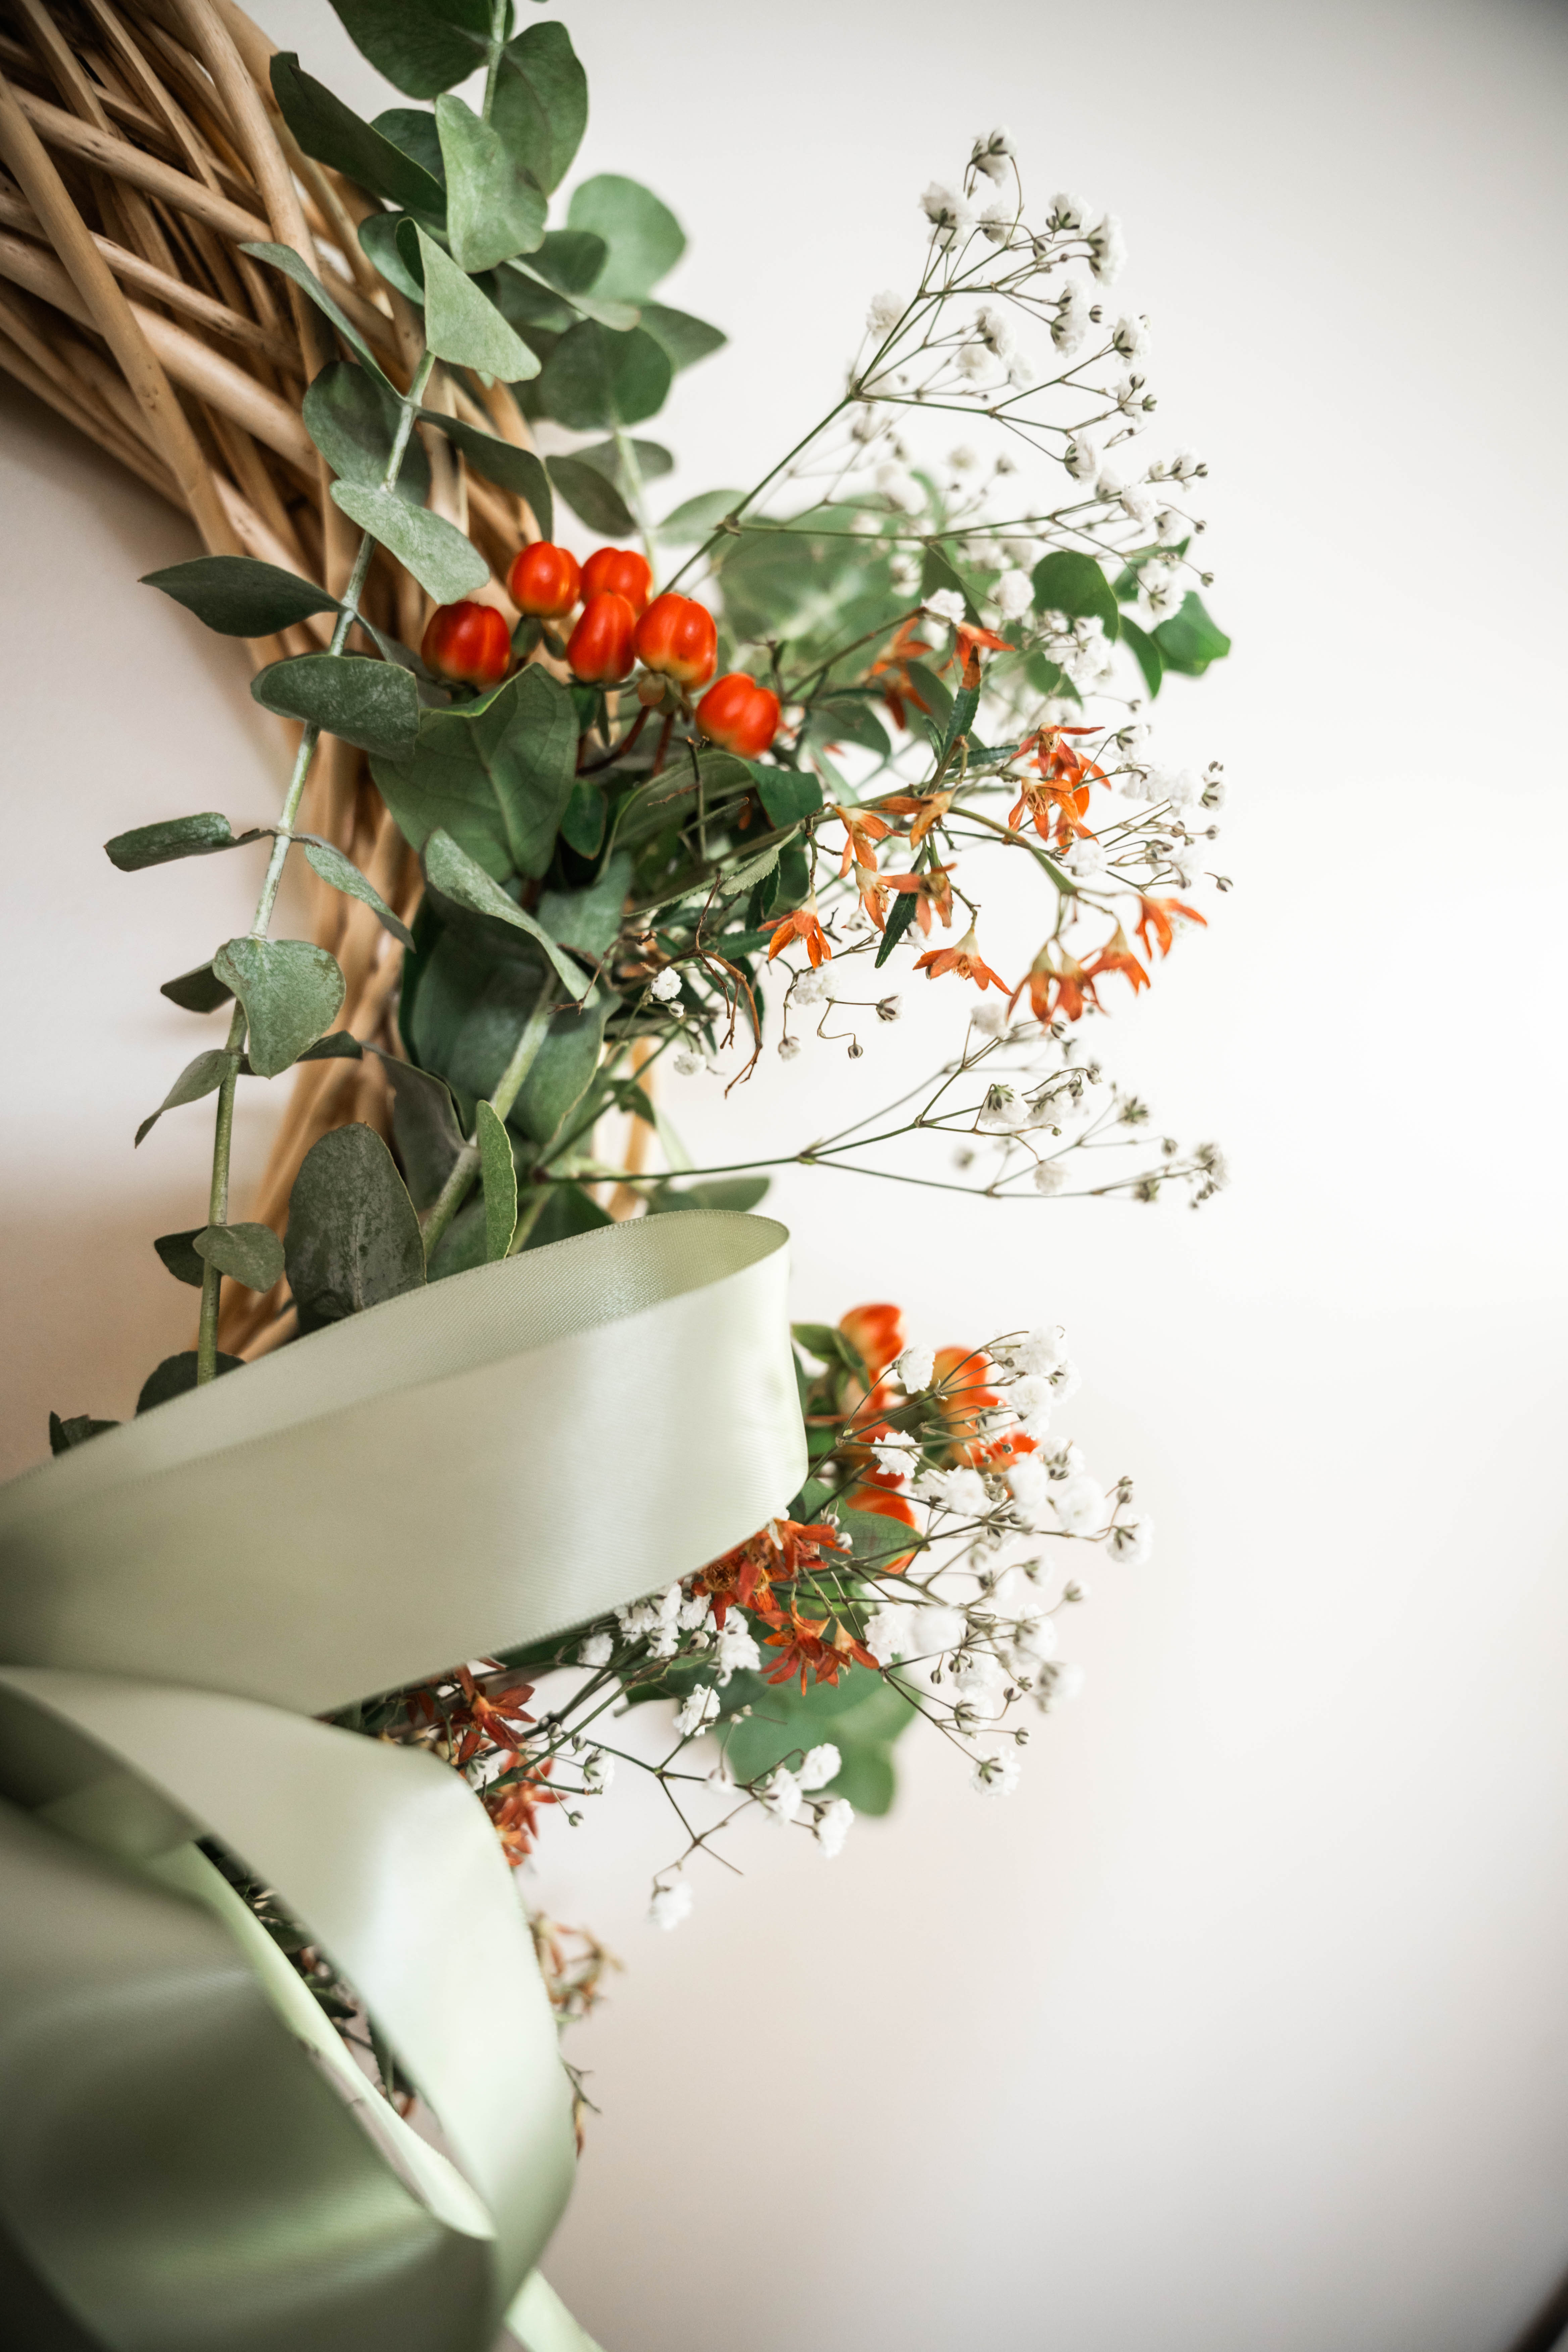
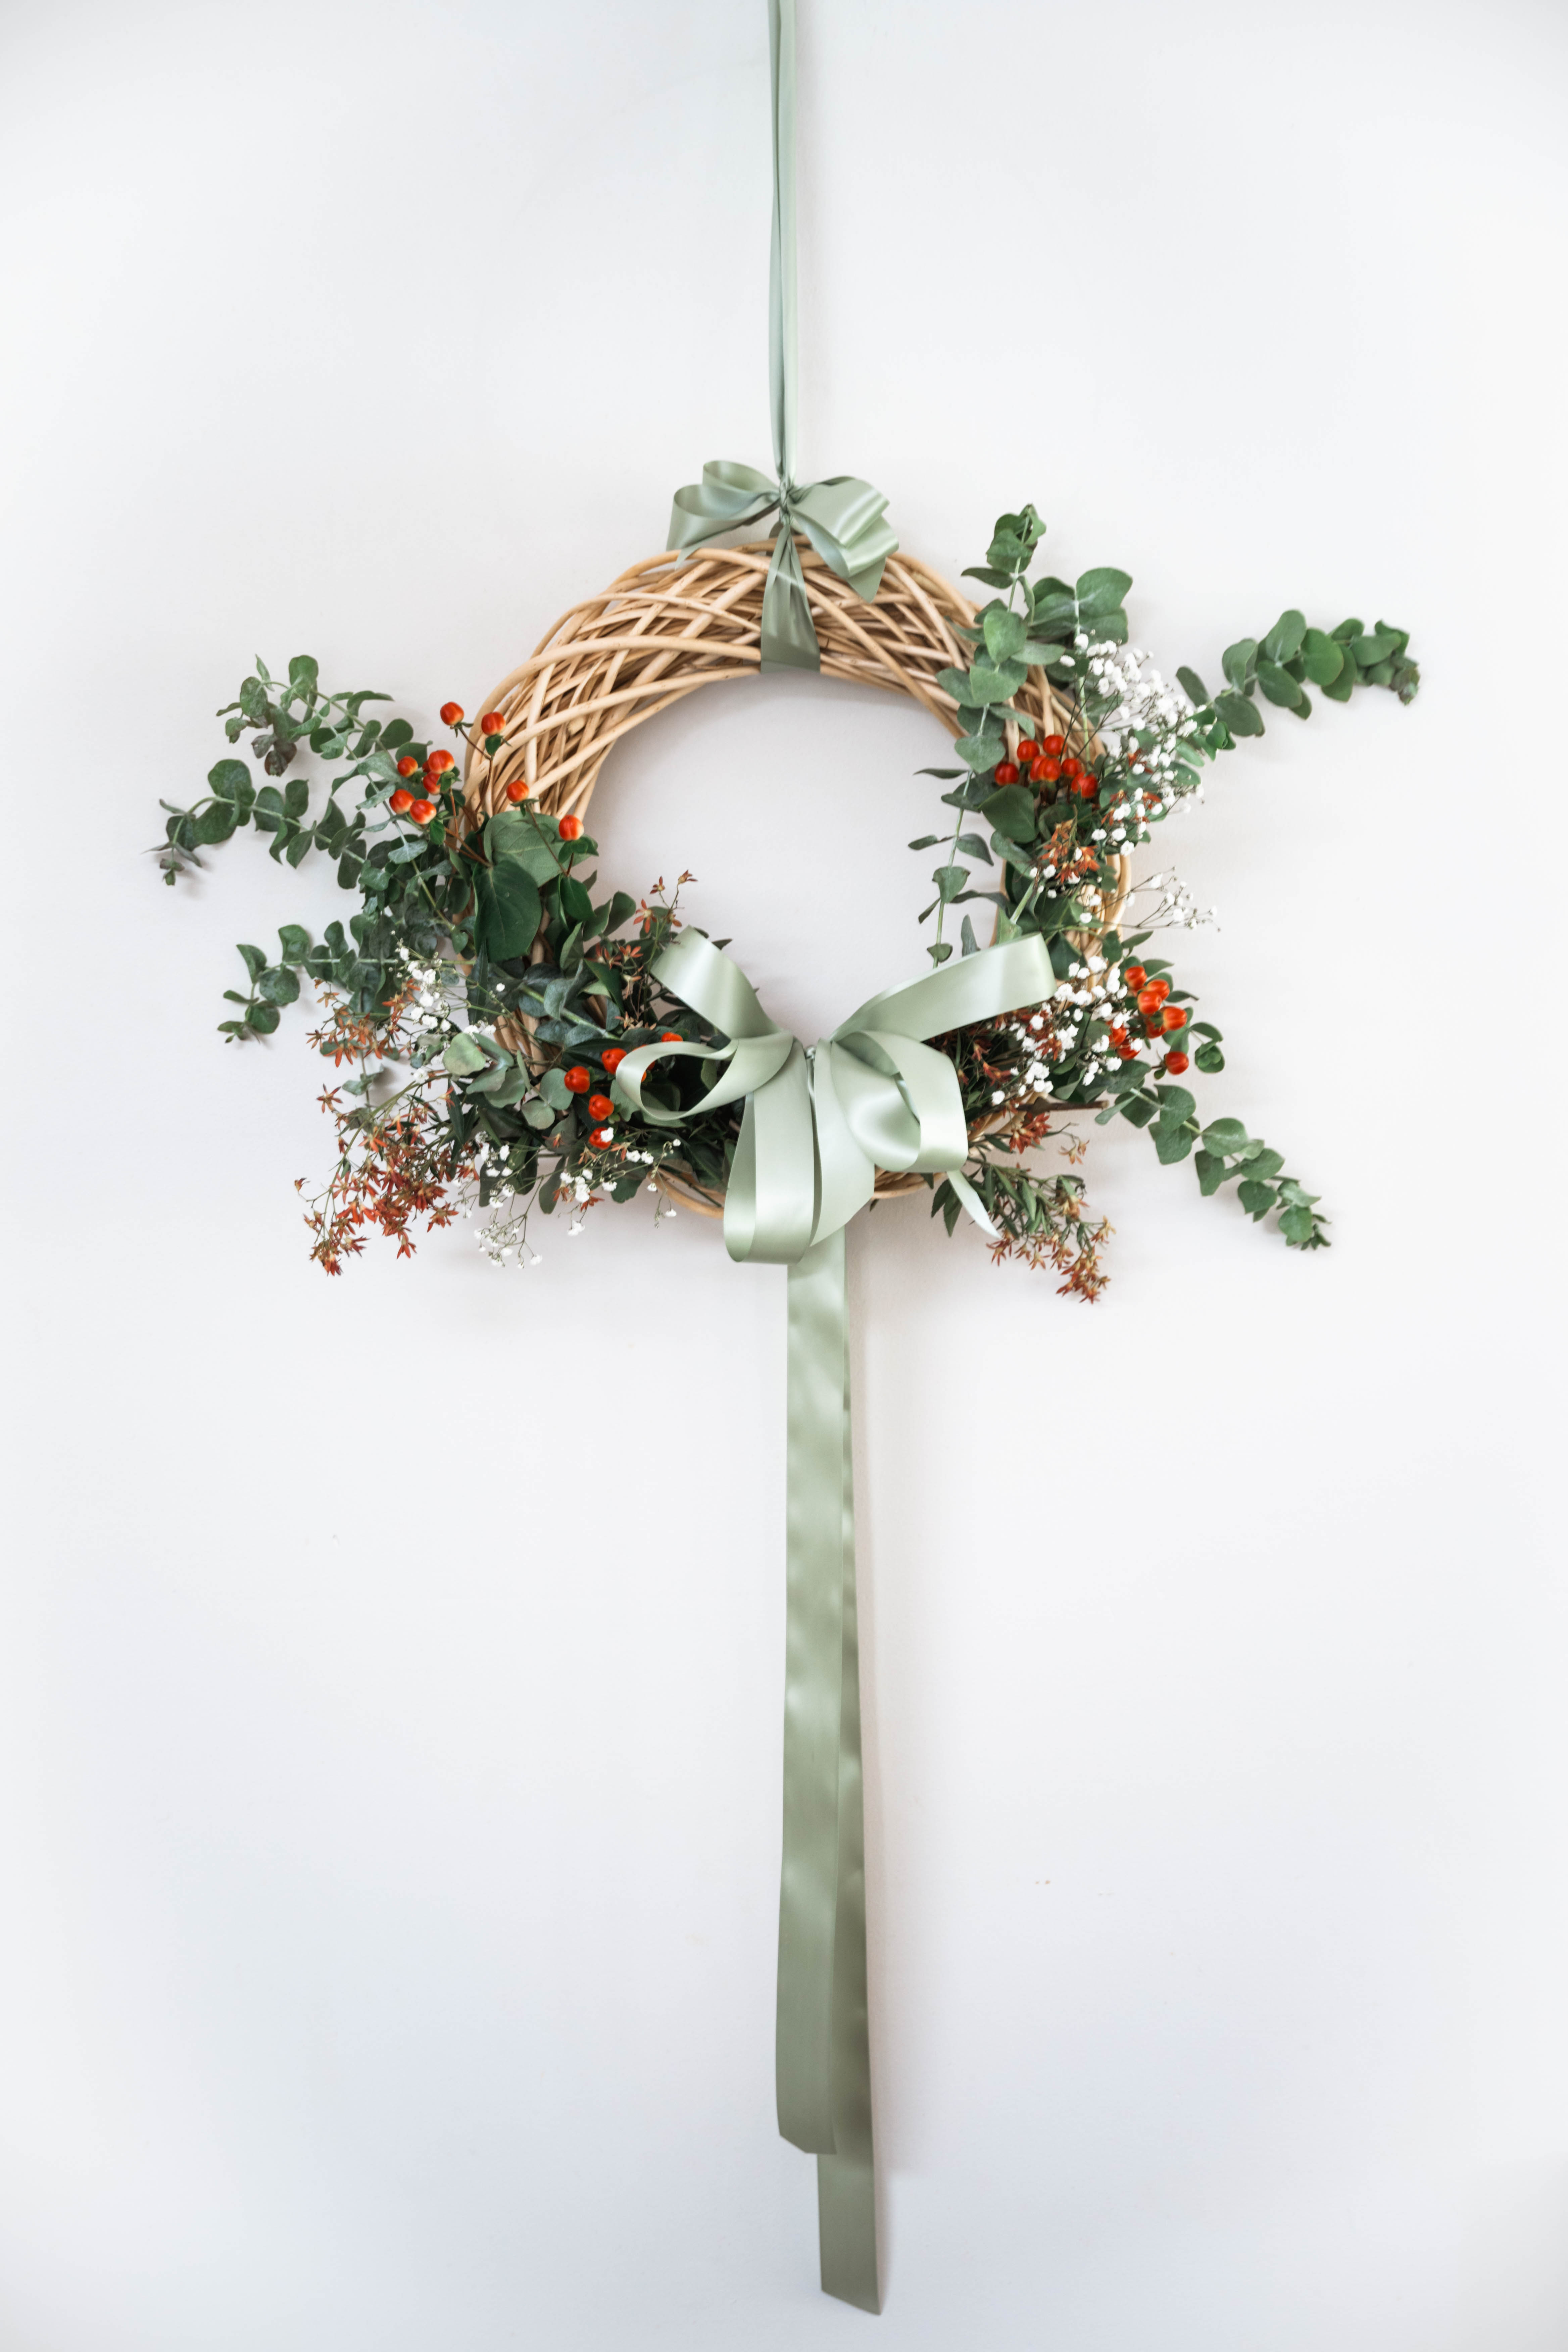
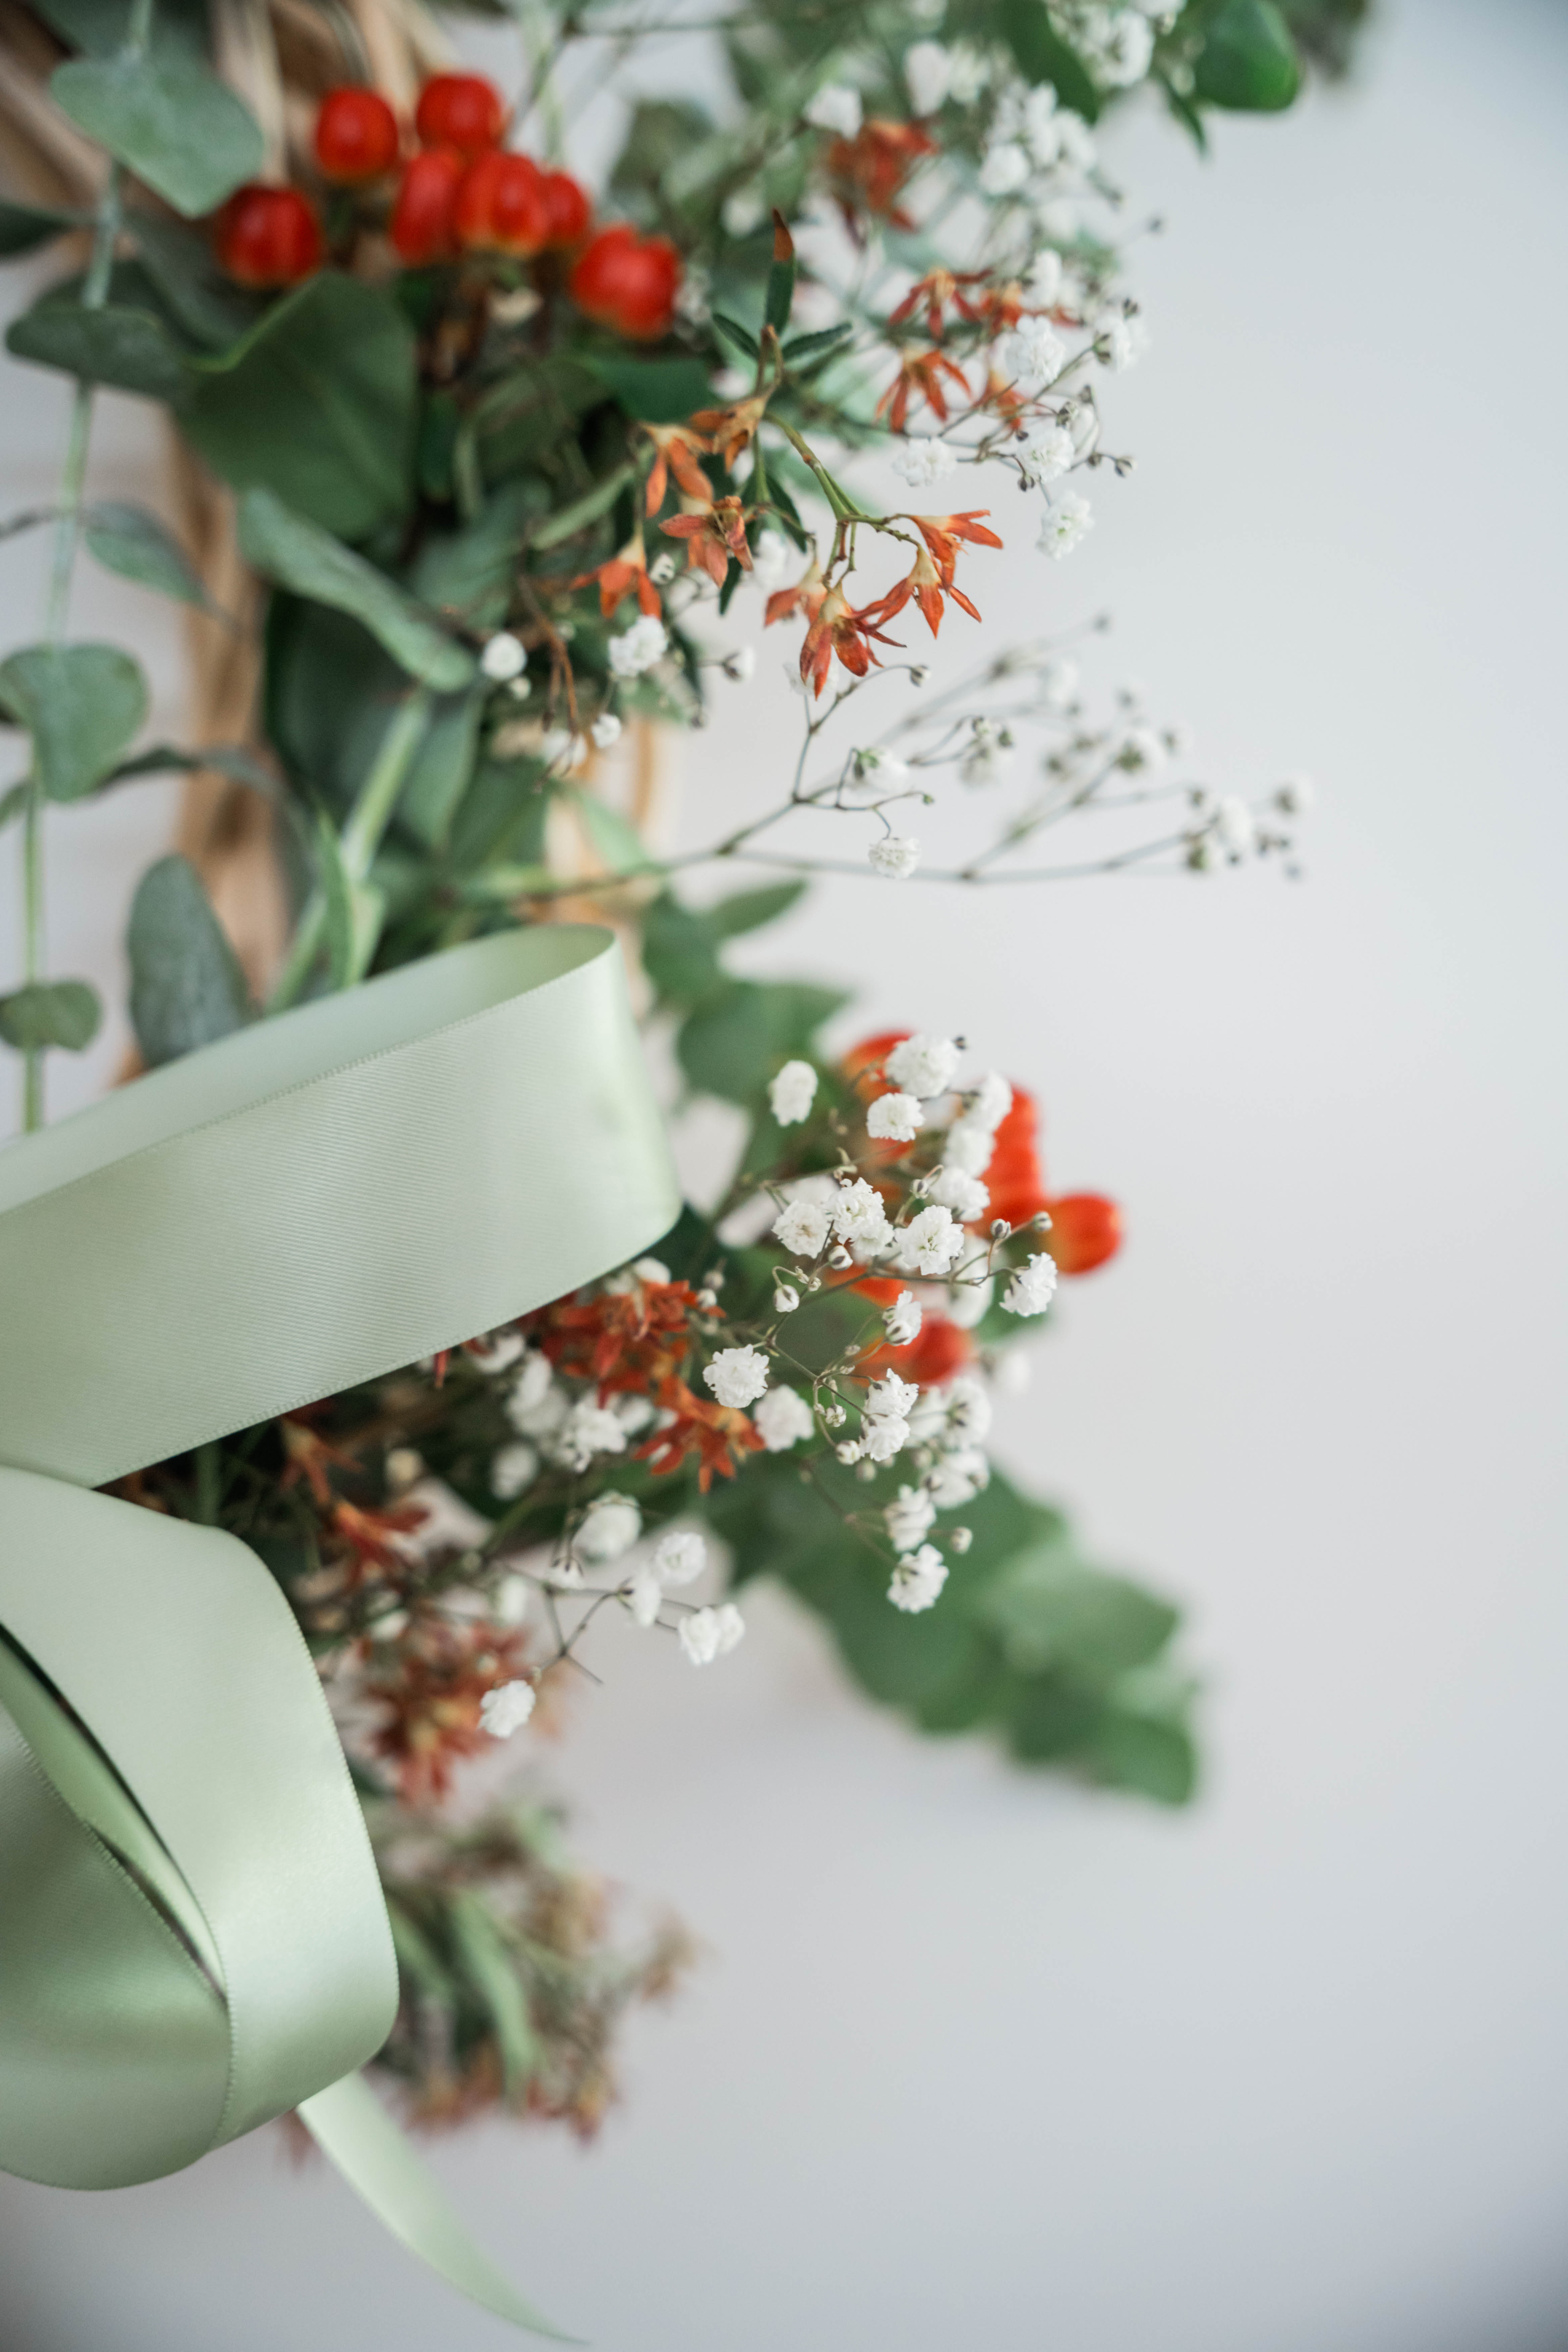
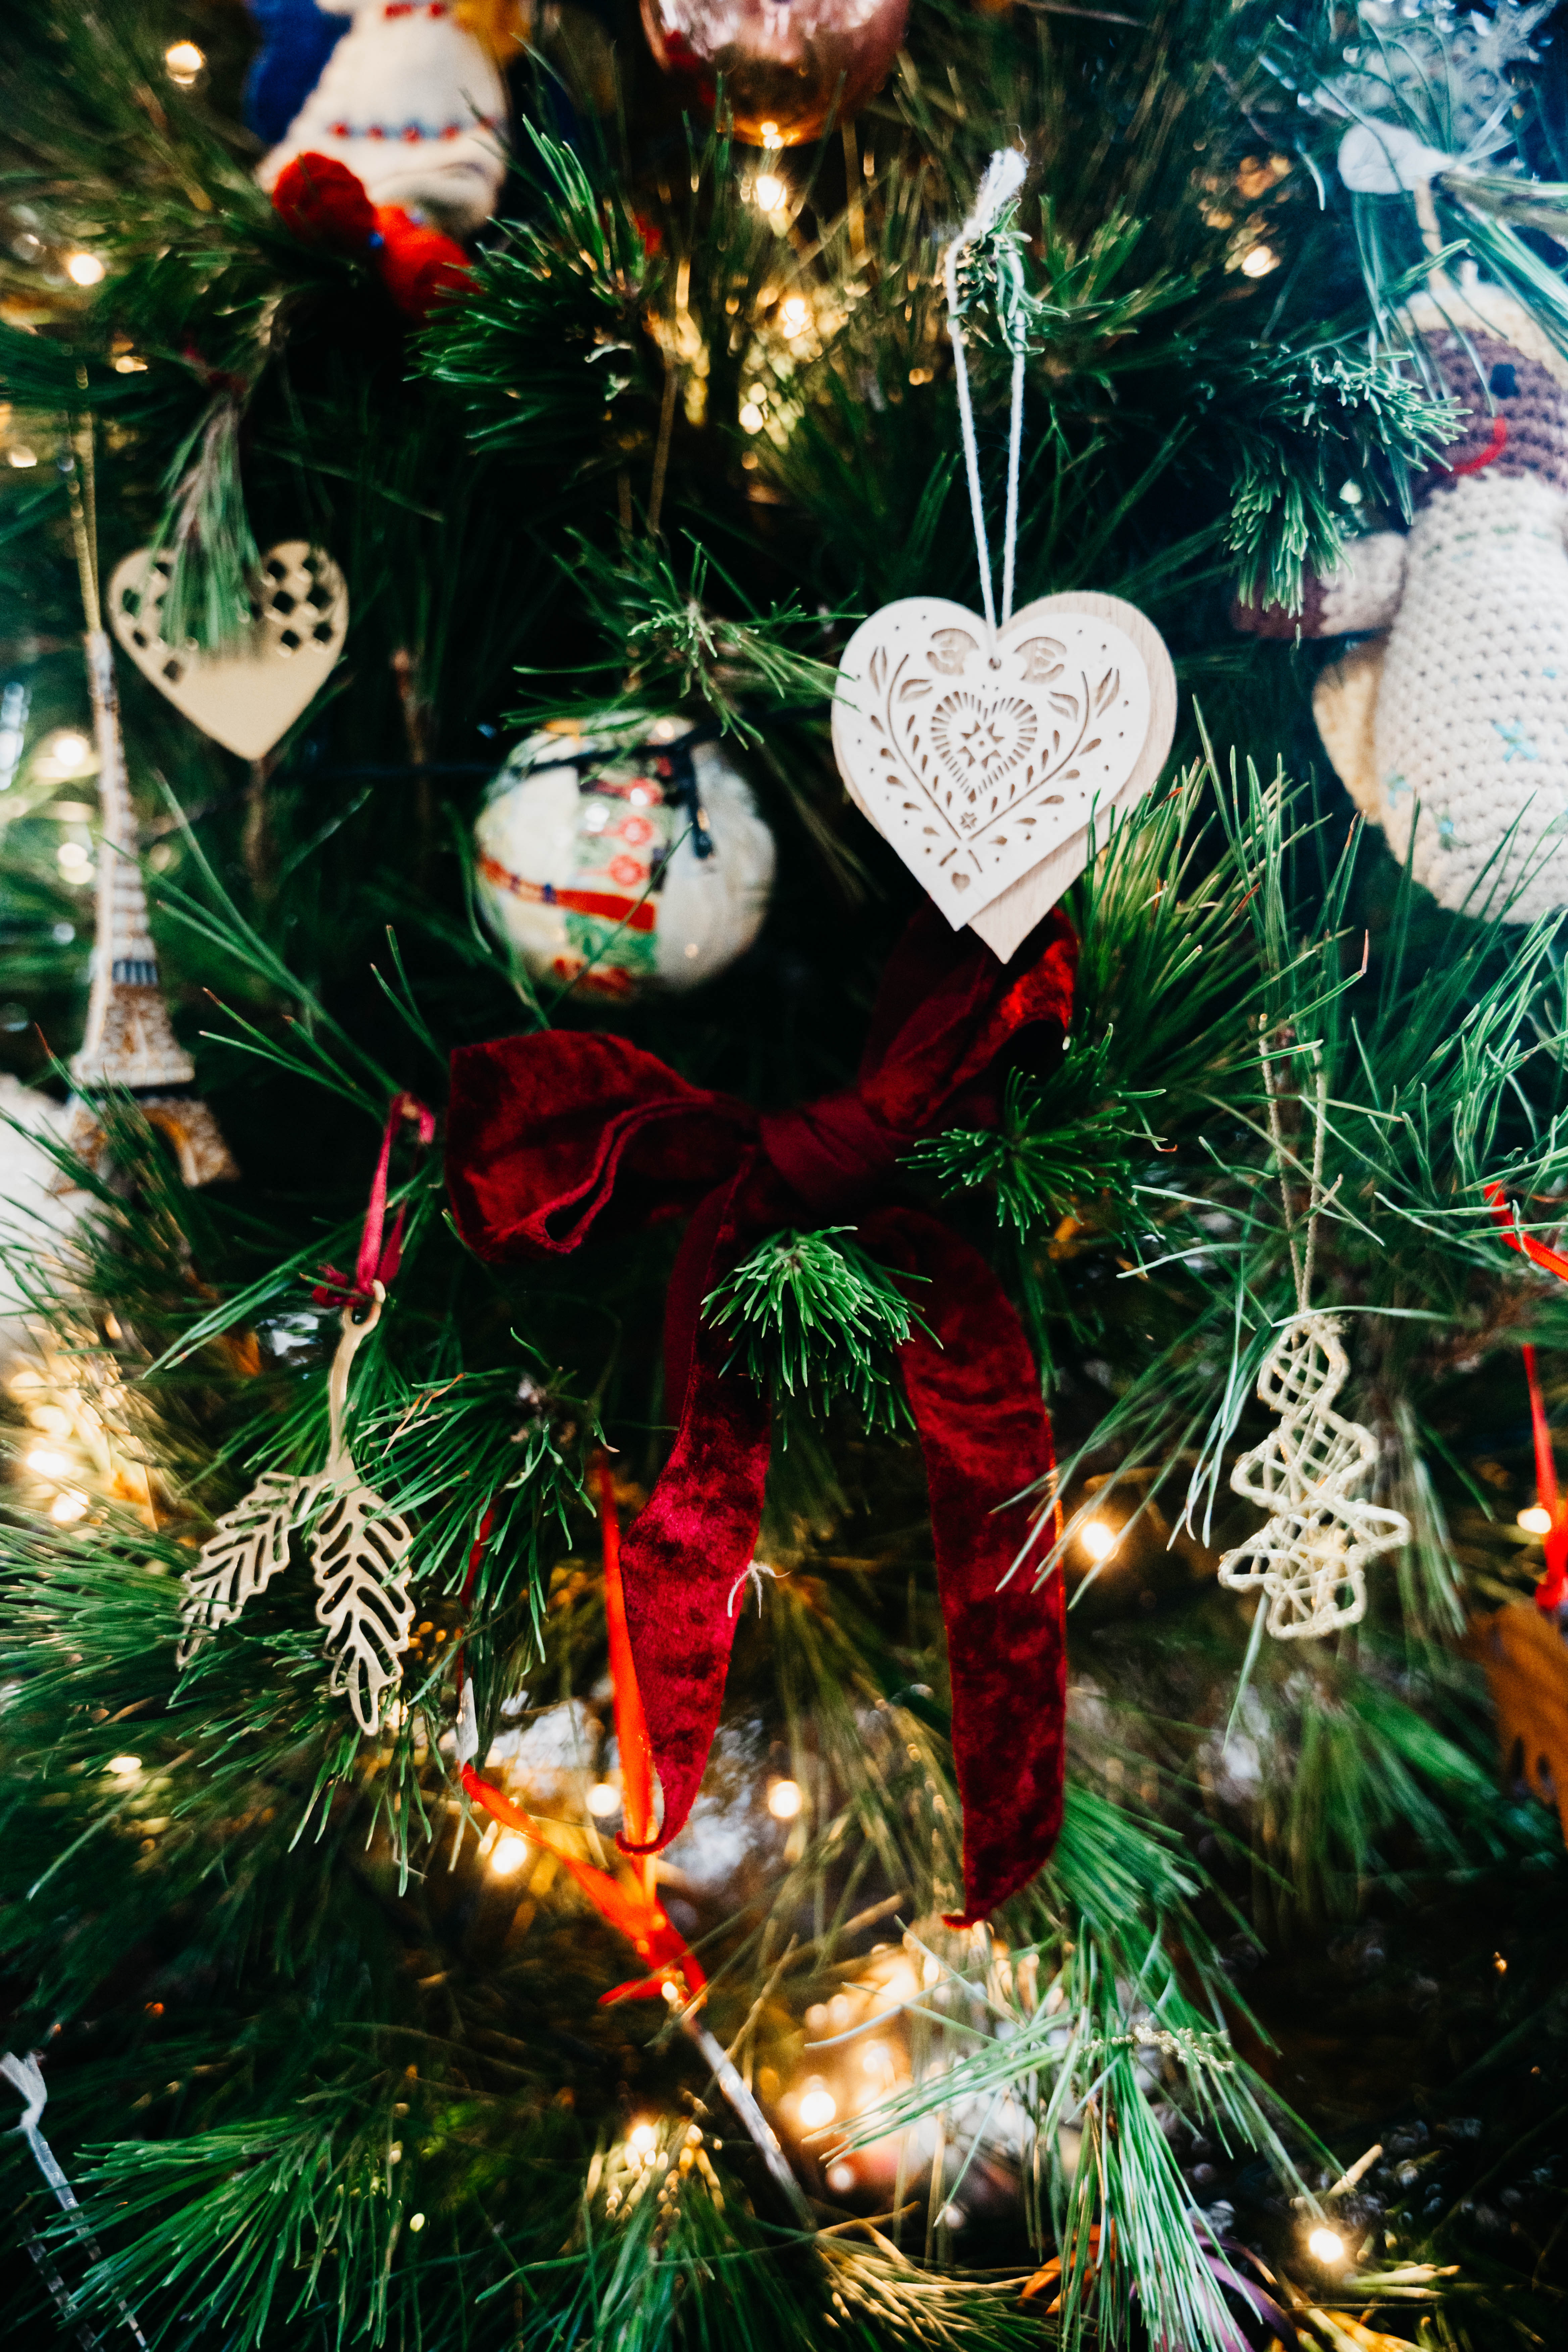
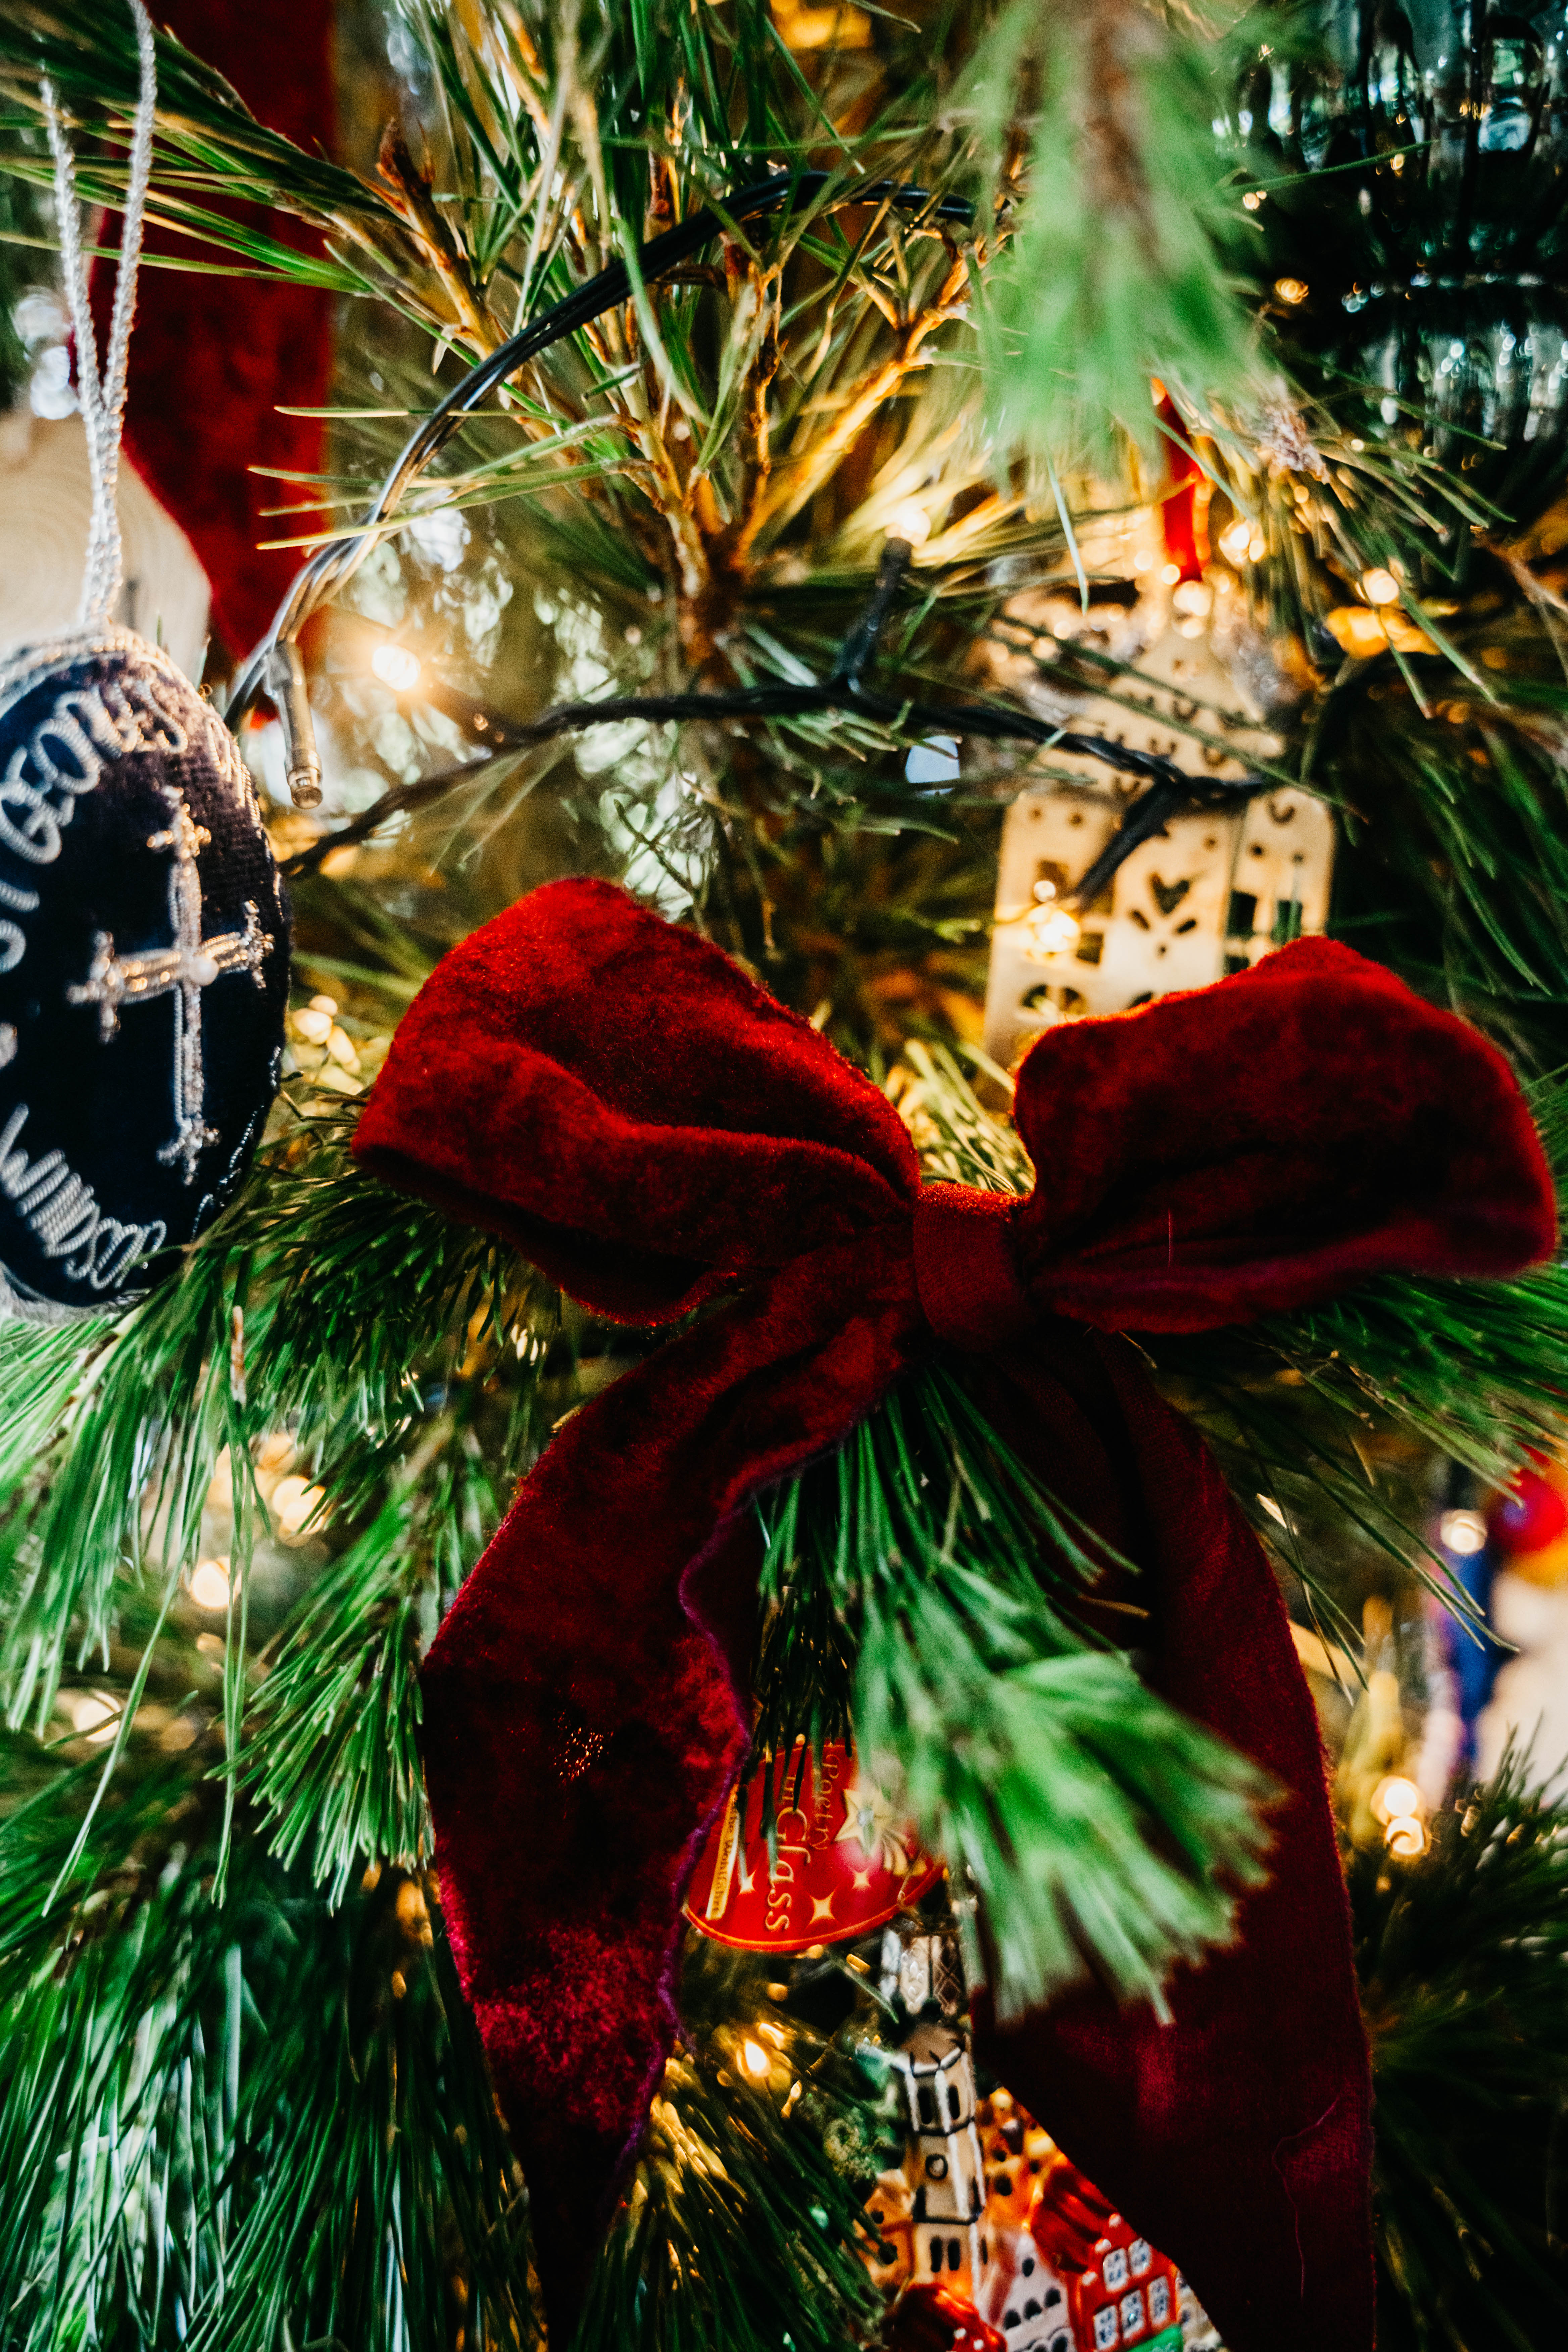
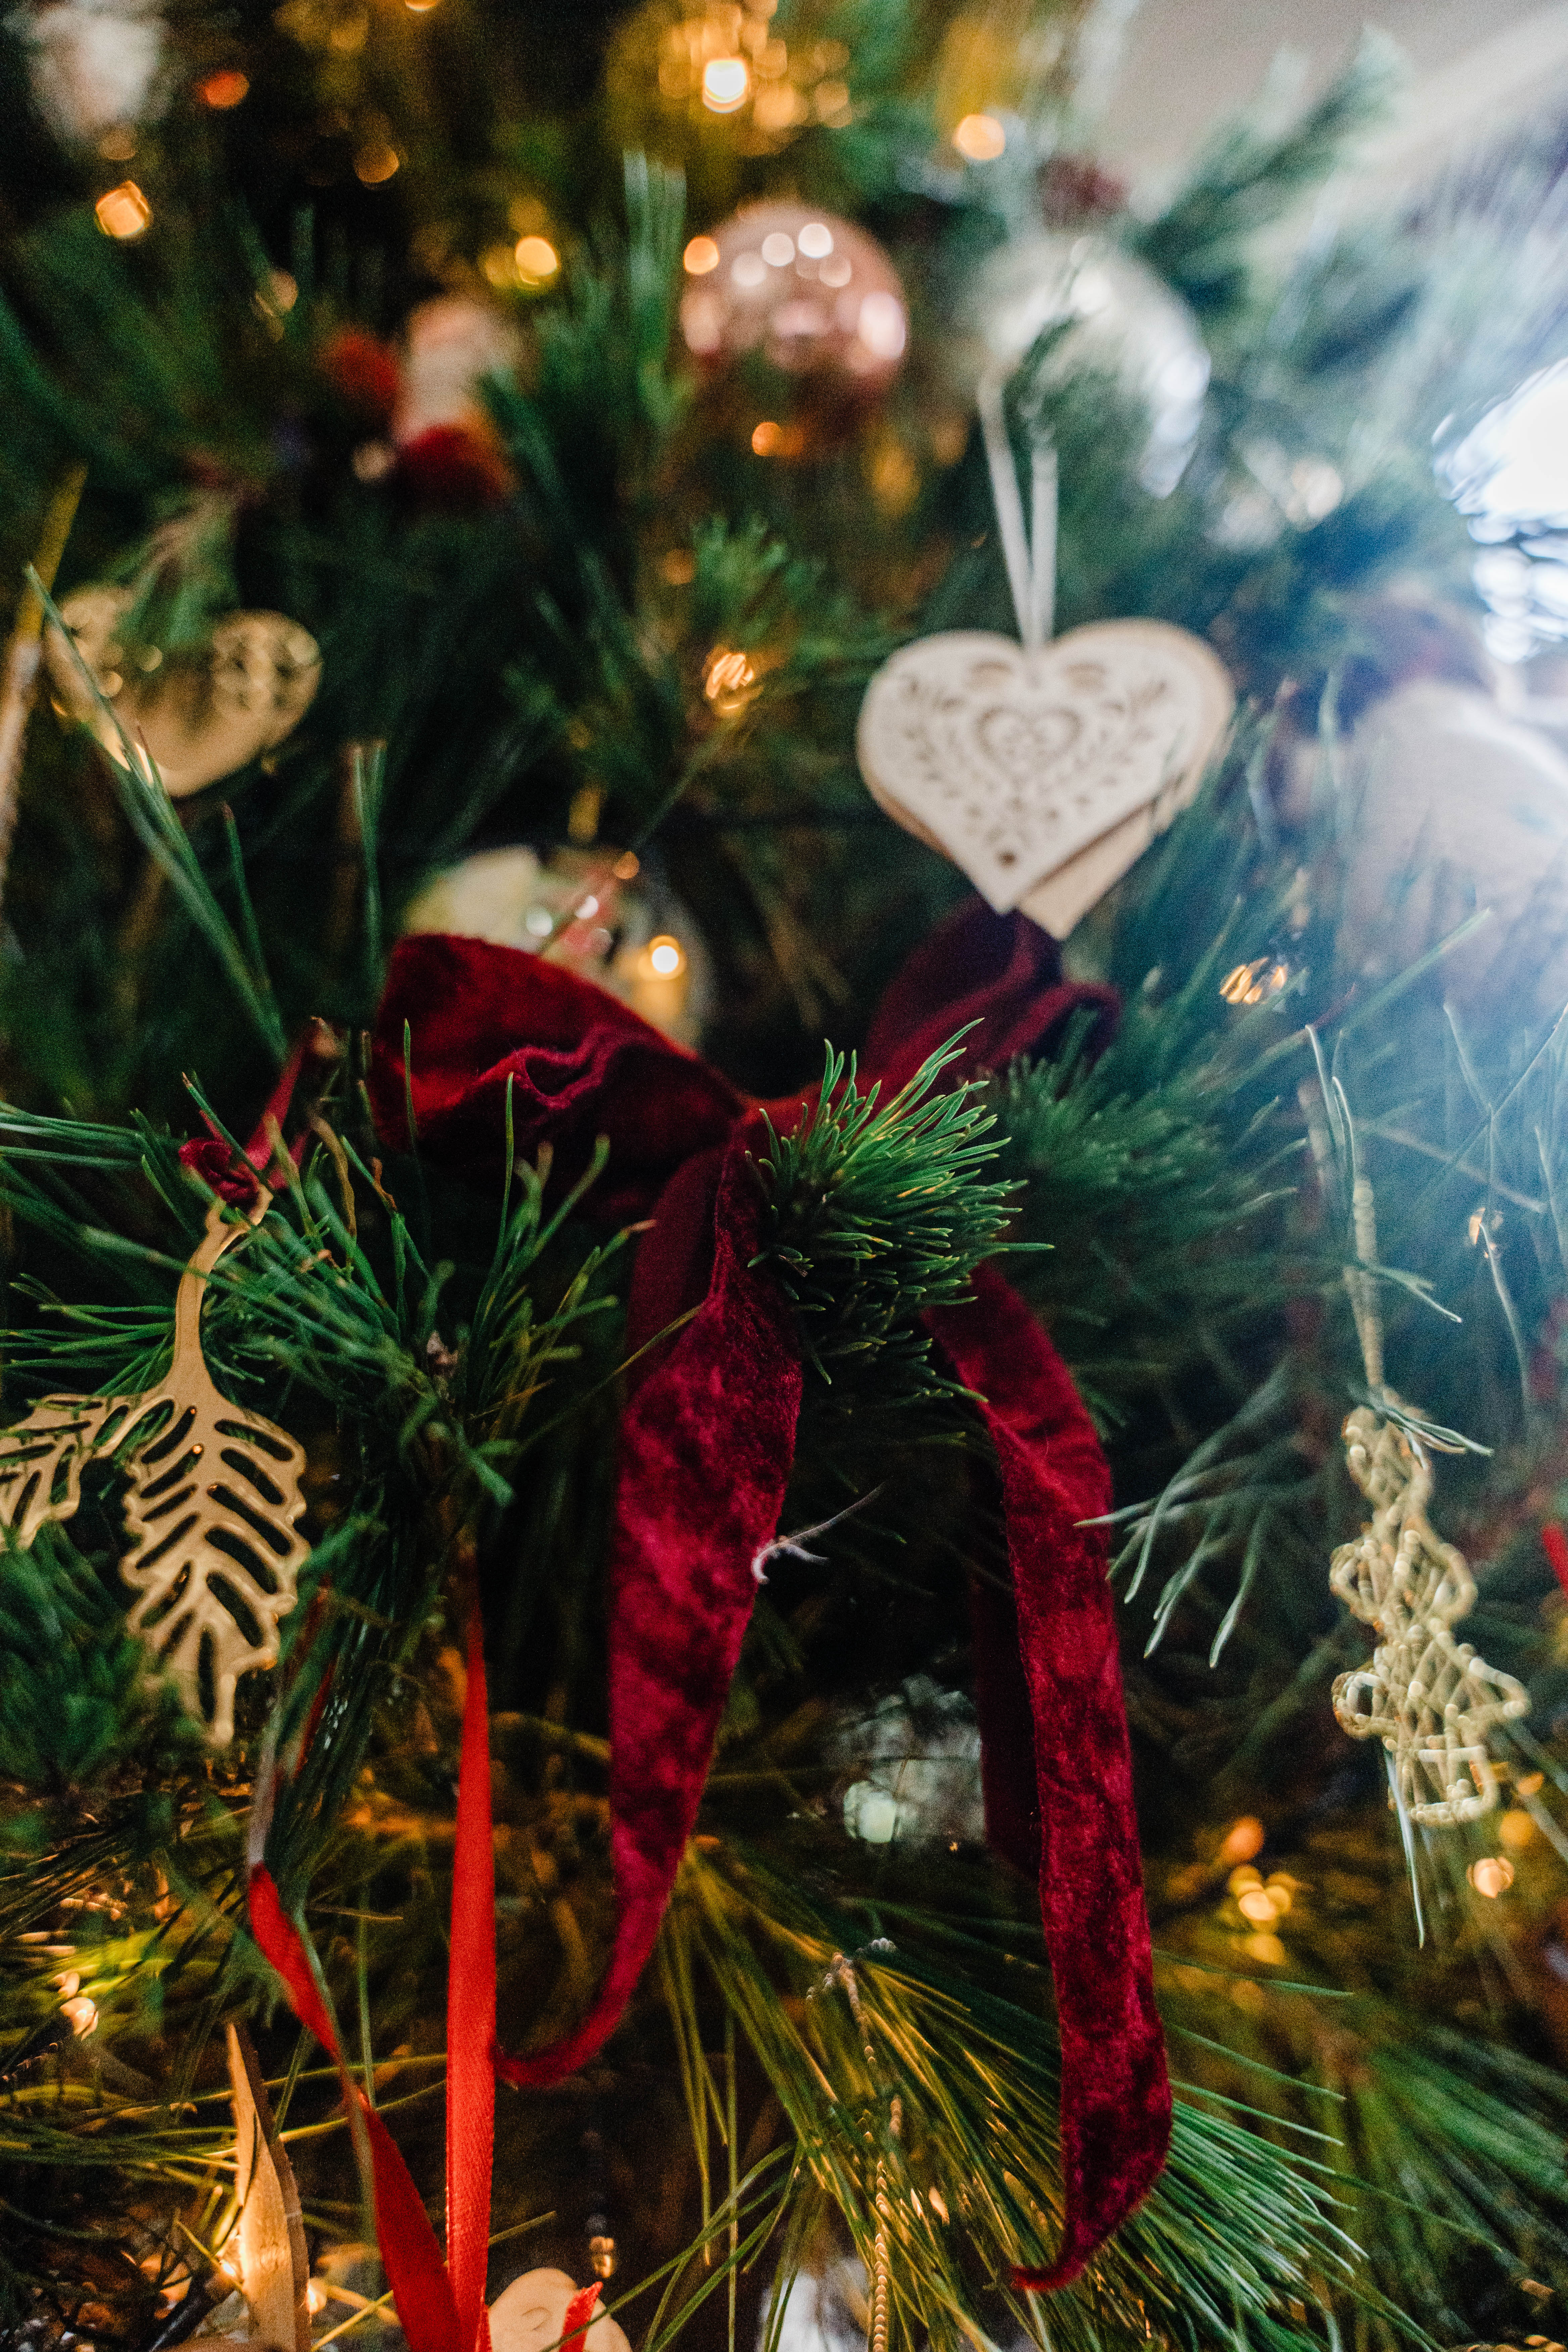
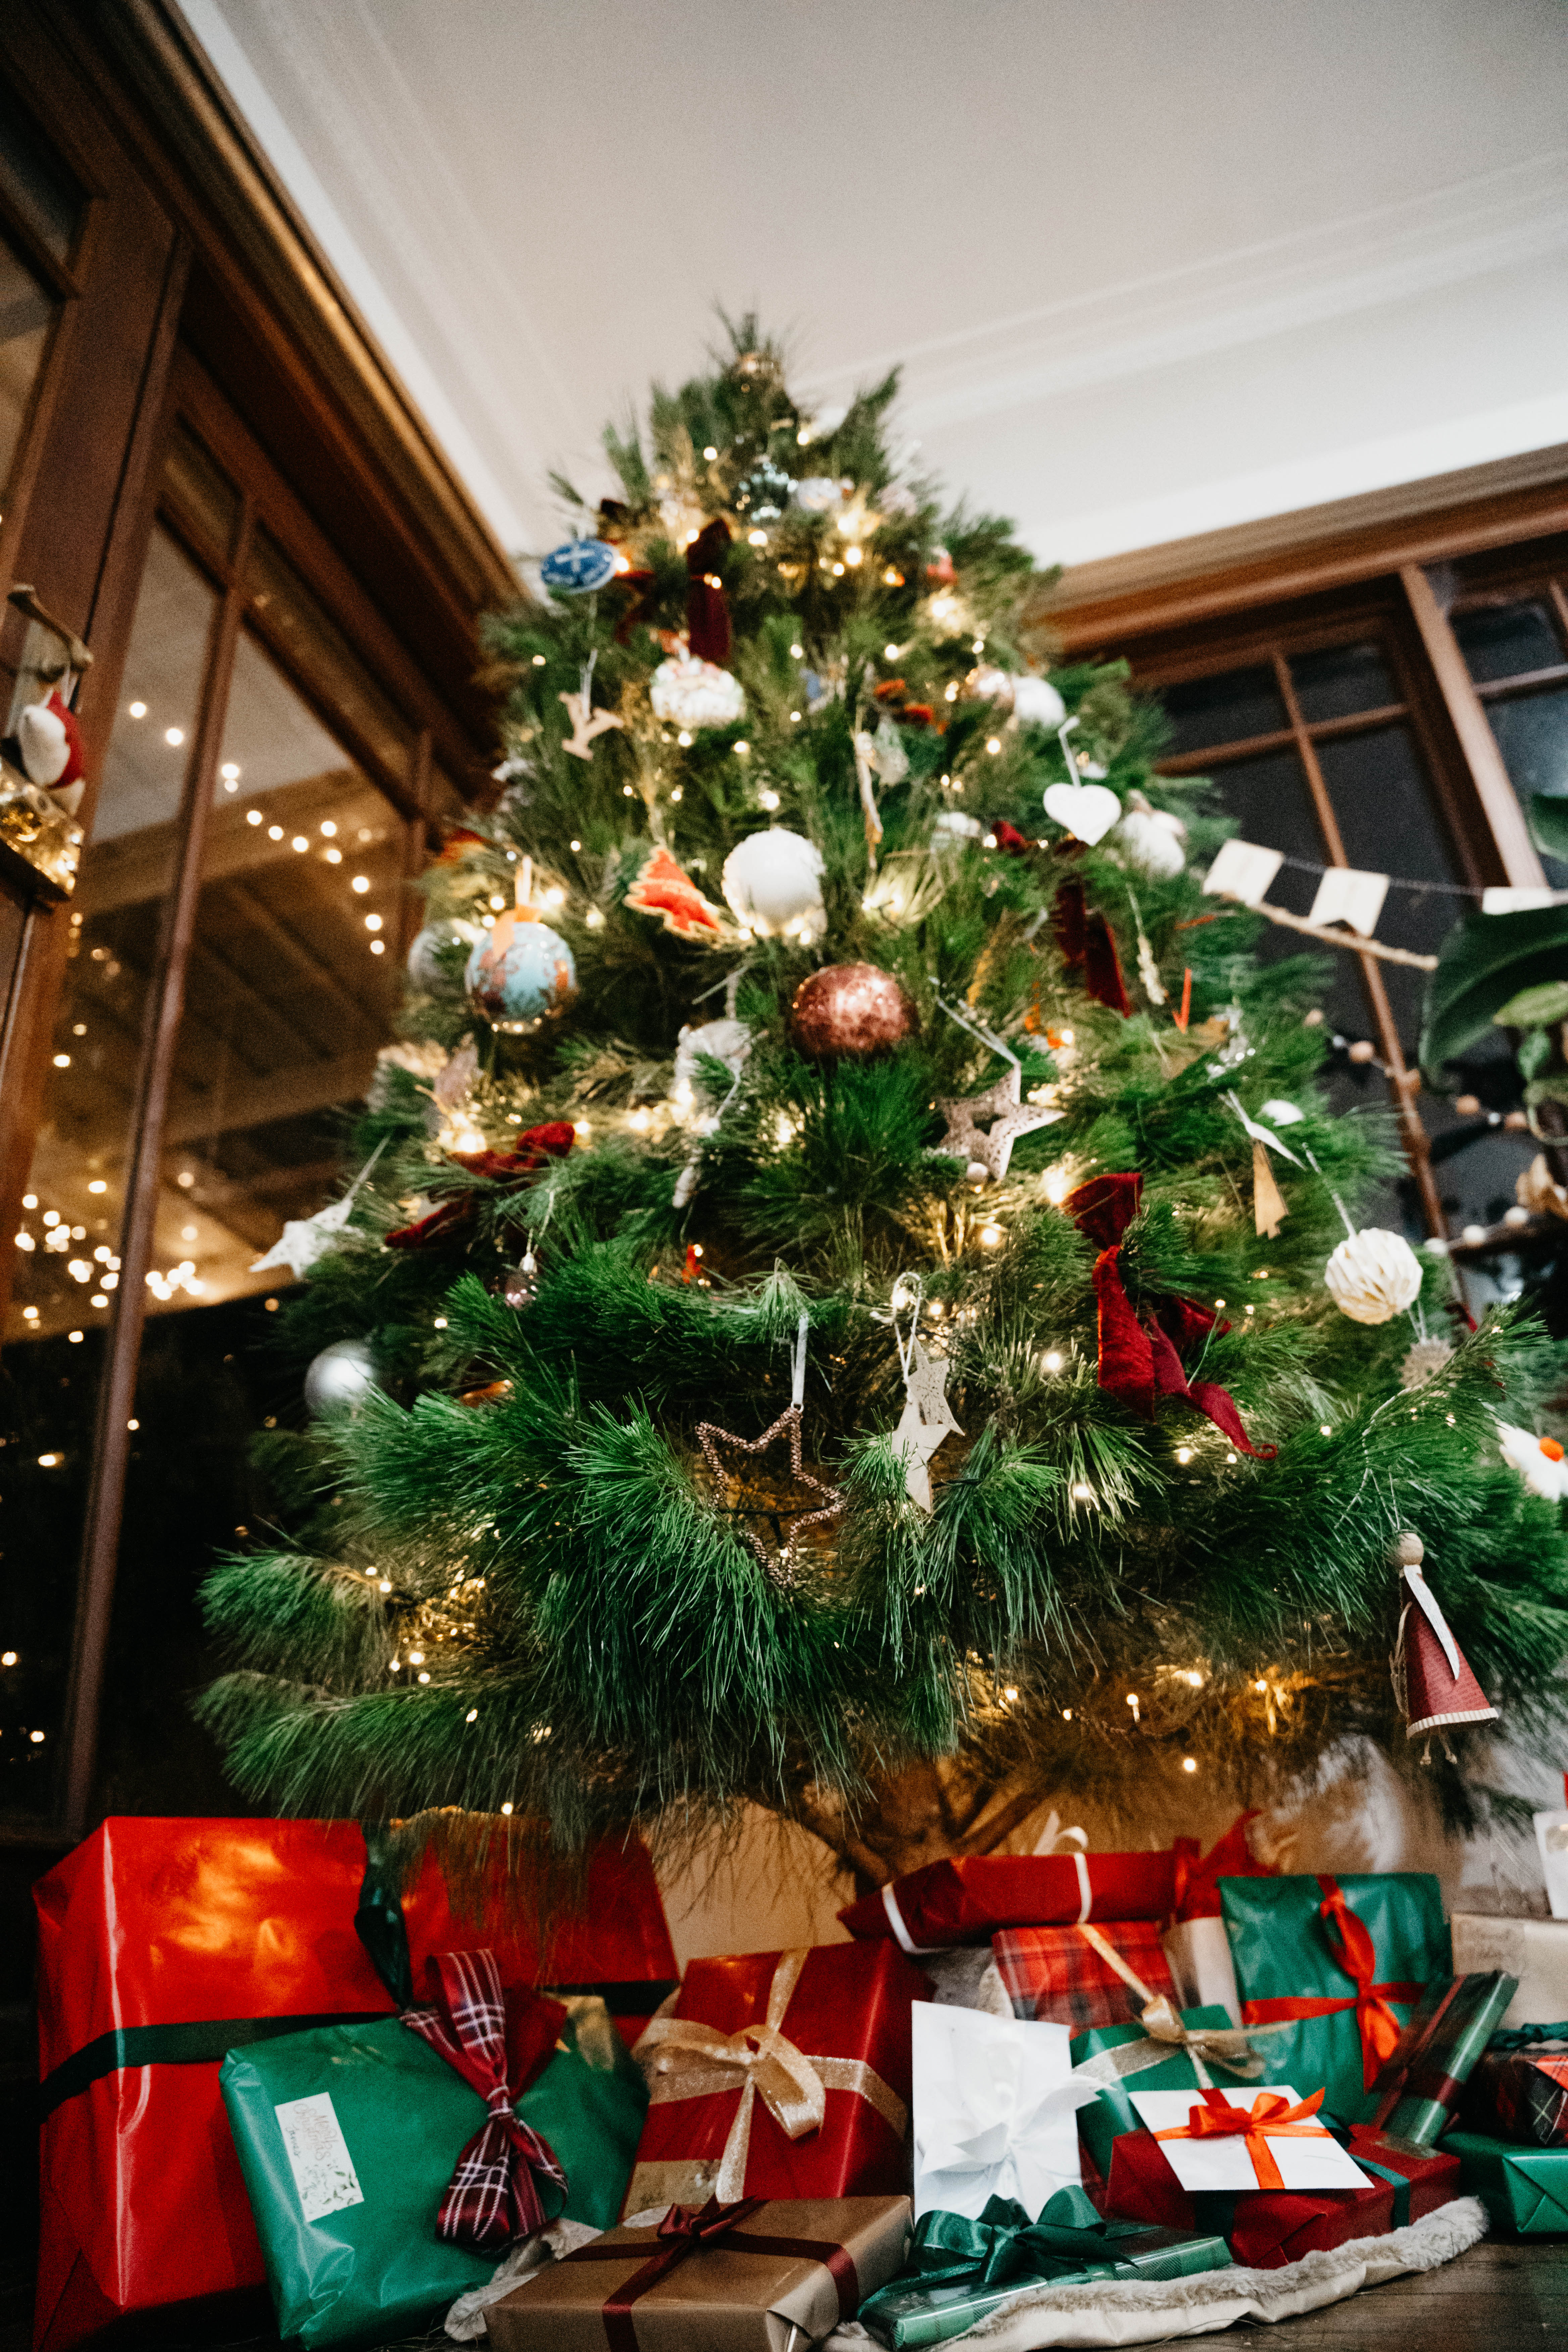
- Home Decor: Wreath and bows
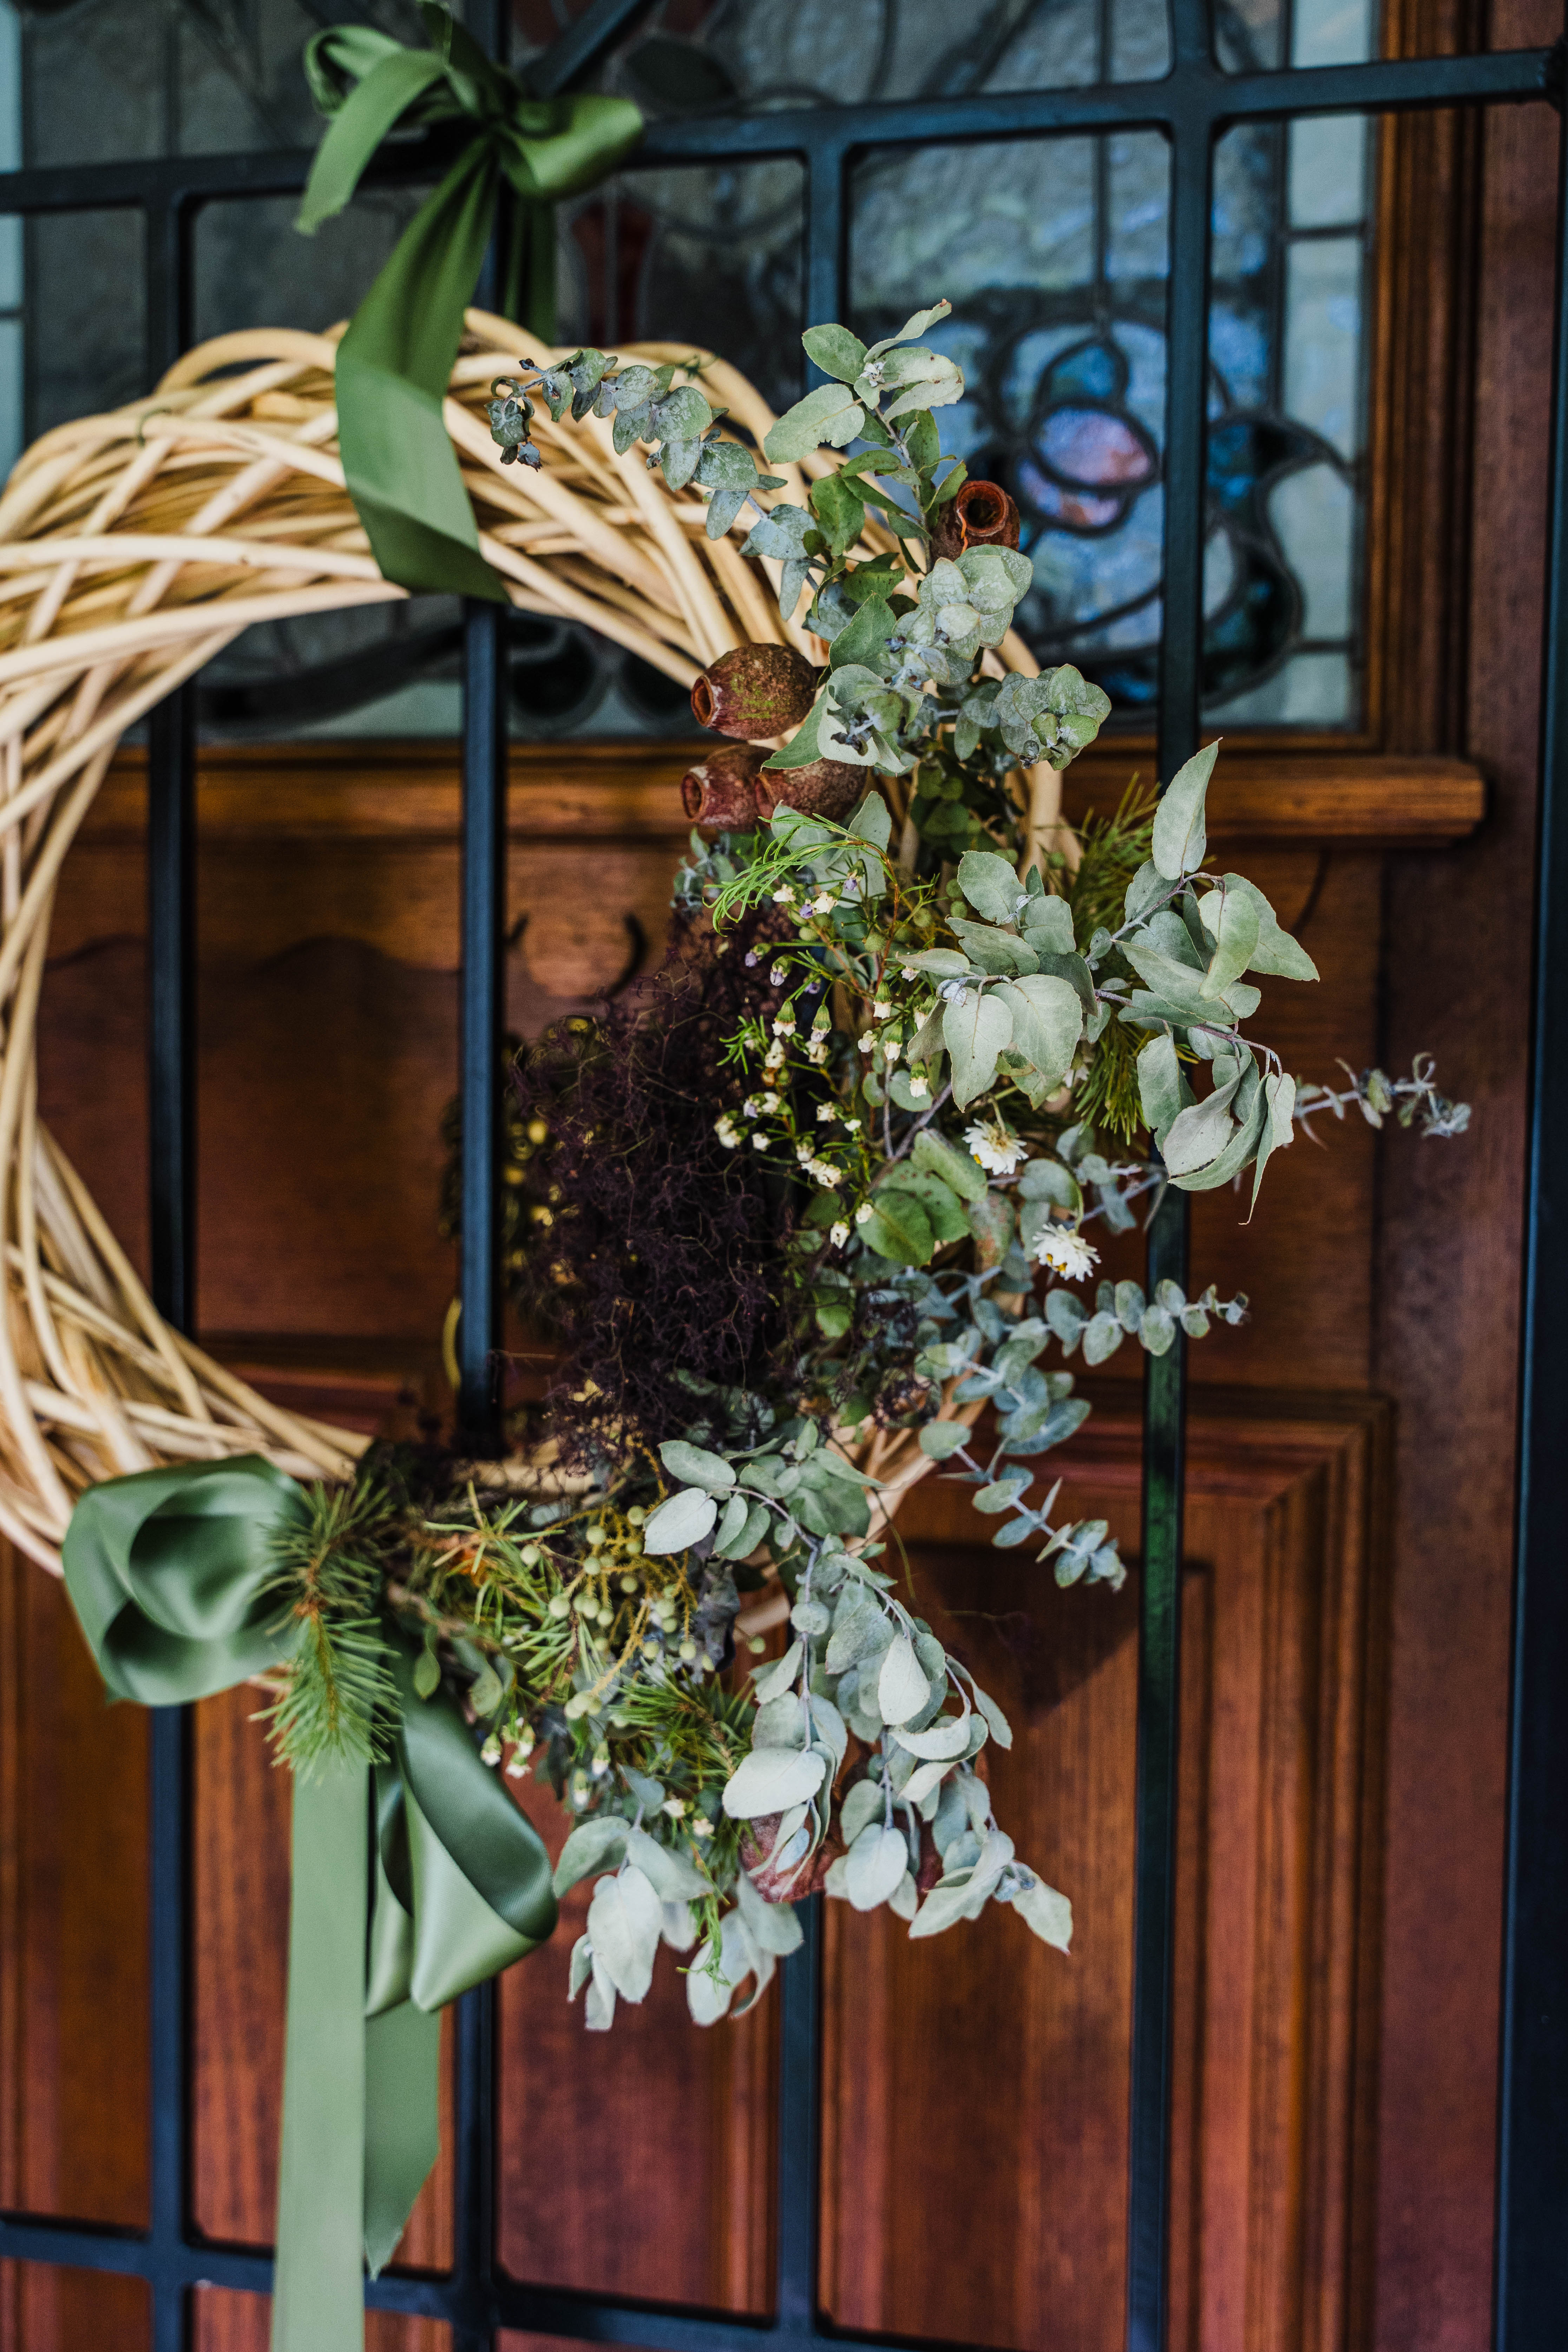


Each year, I host a wreath-making evening with a few friends and end up with a wreath that is on my door all year! The natives dry down beautifully, and they complement the Australian bush that surrounds our home. The bows were made with tulle!
2. Detachable Clergy Collar
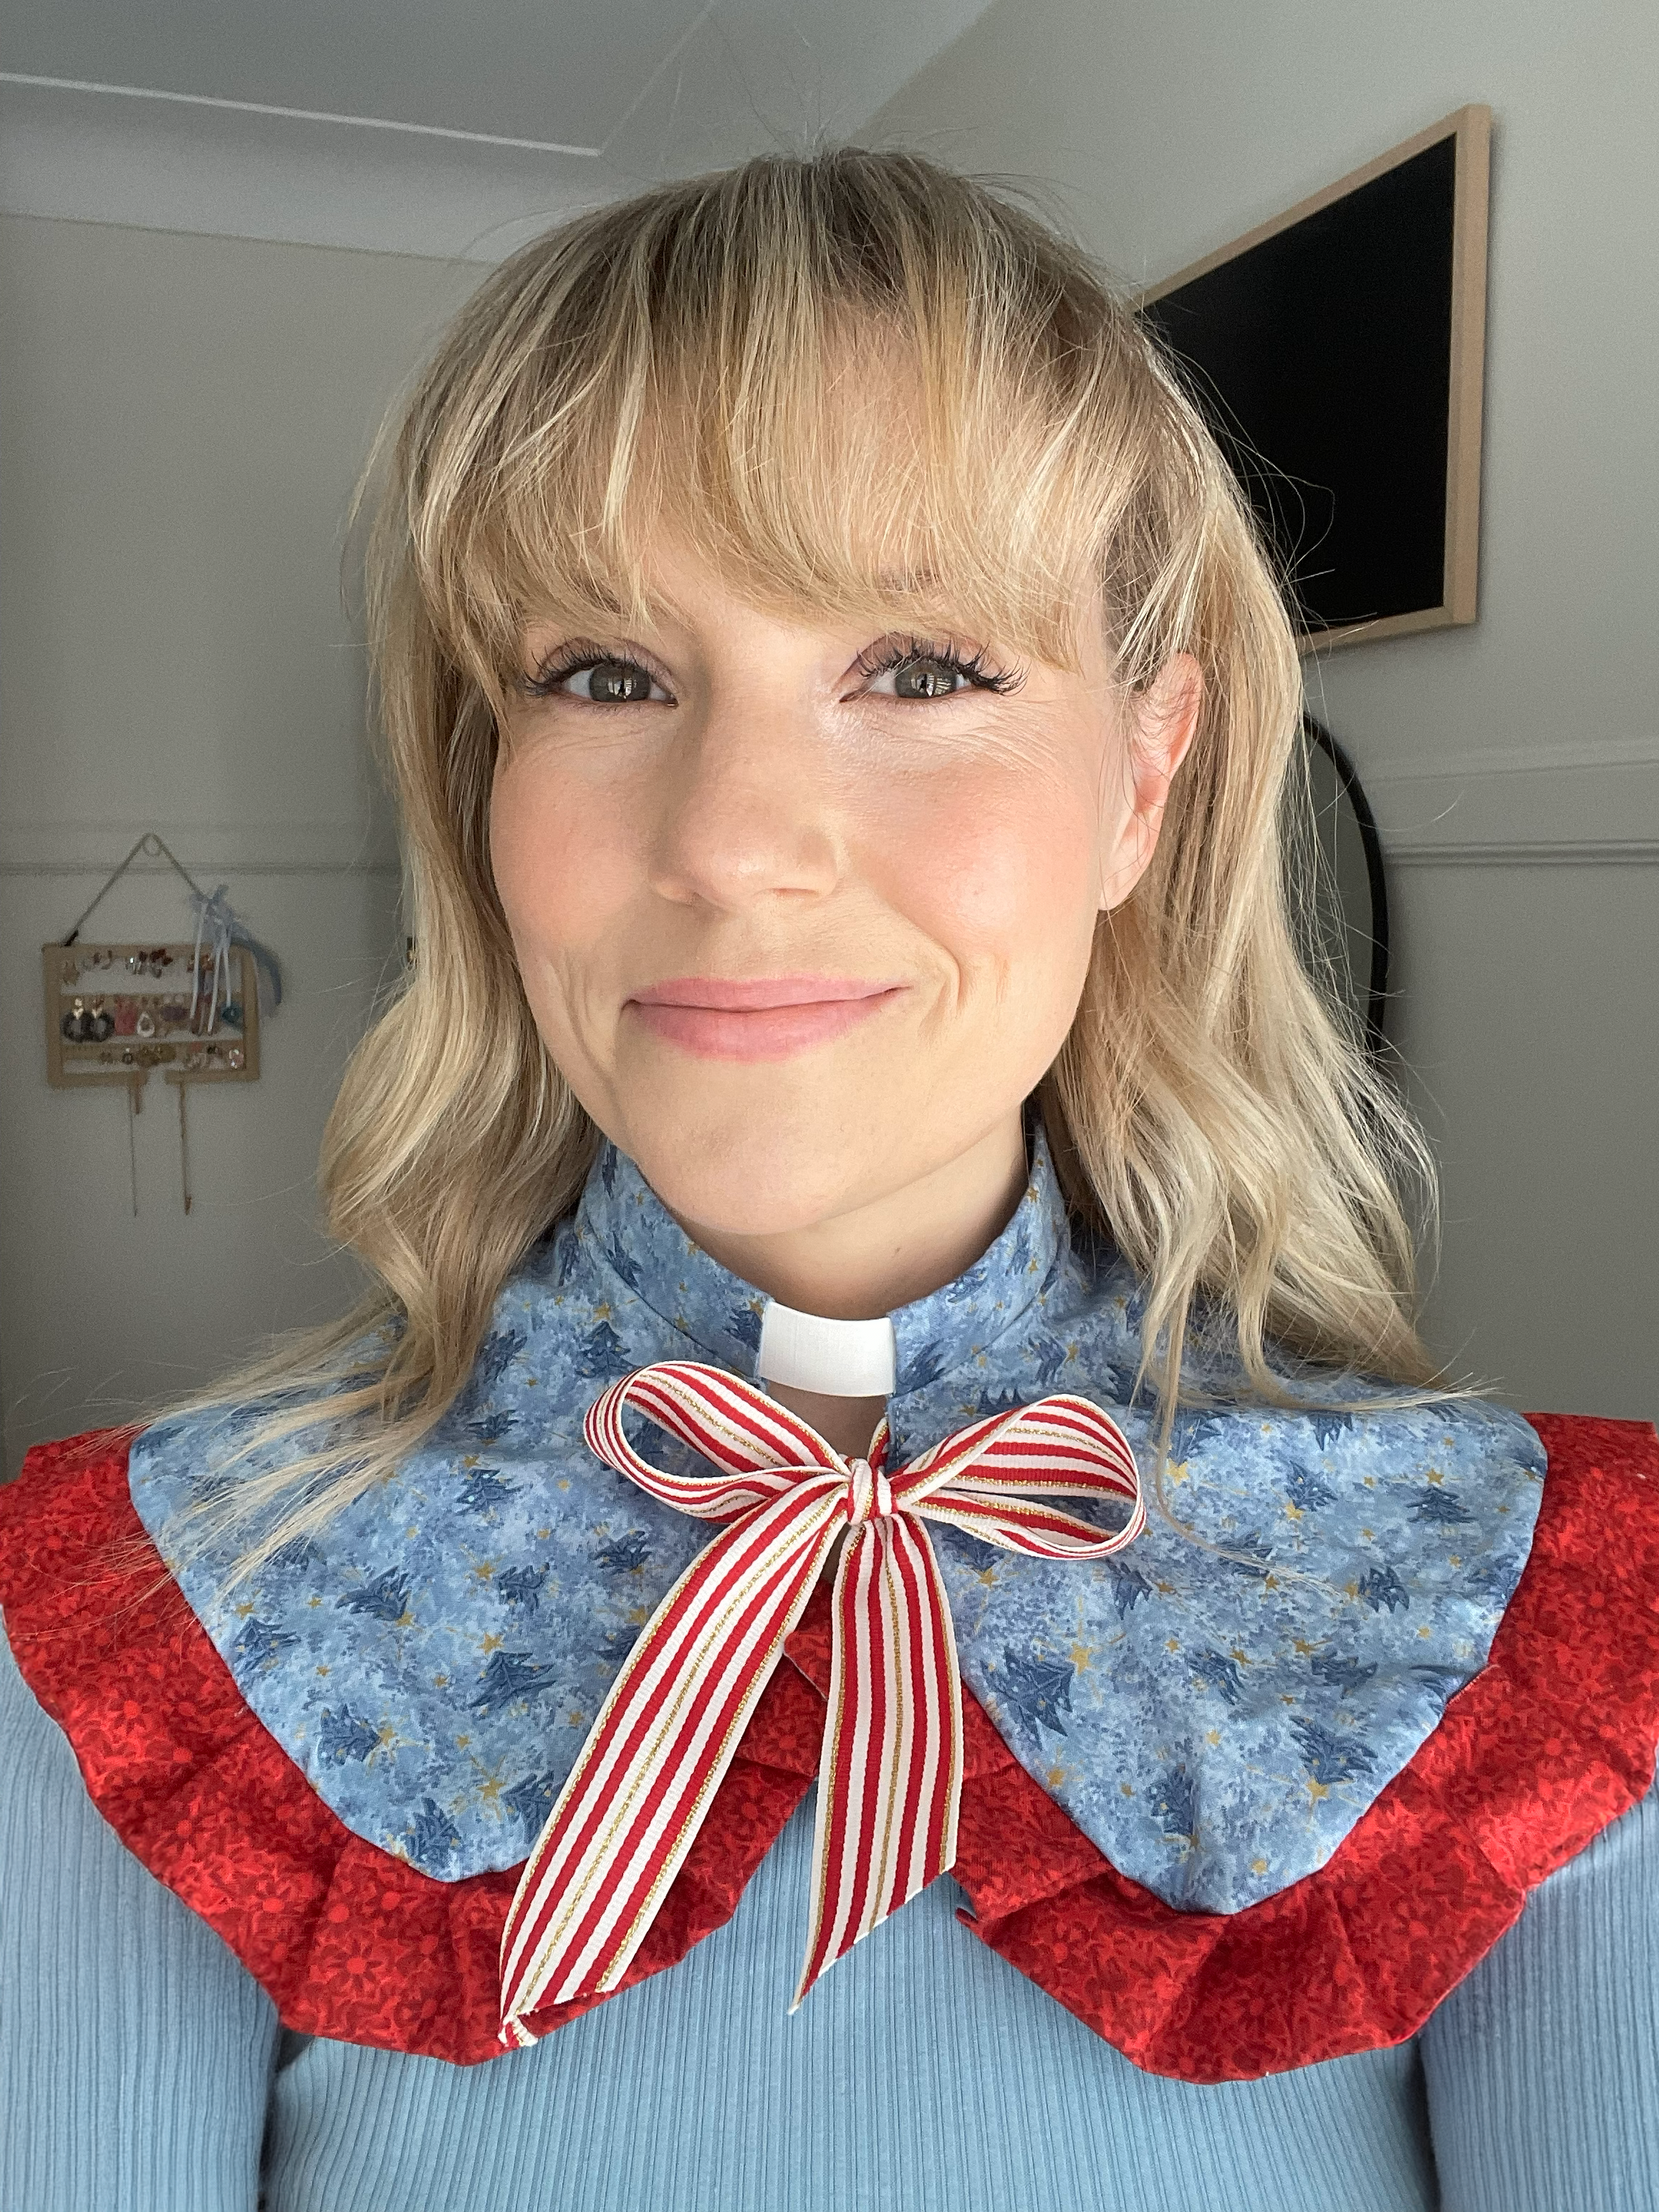
I have a black clergy shirt, but have always wanted something a bit more fun and festive, so I created this Christmassy detachable clergy collar with red ruffles to wear to our carols service.
3. Makeup Bags

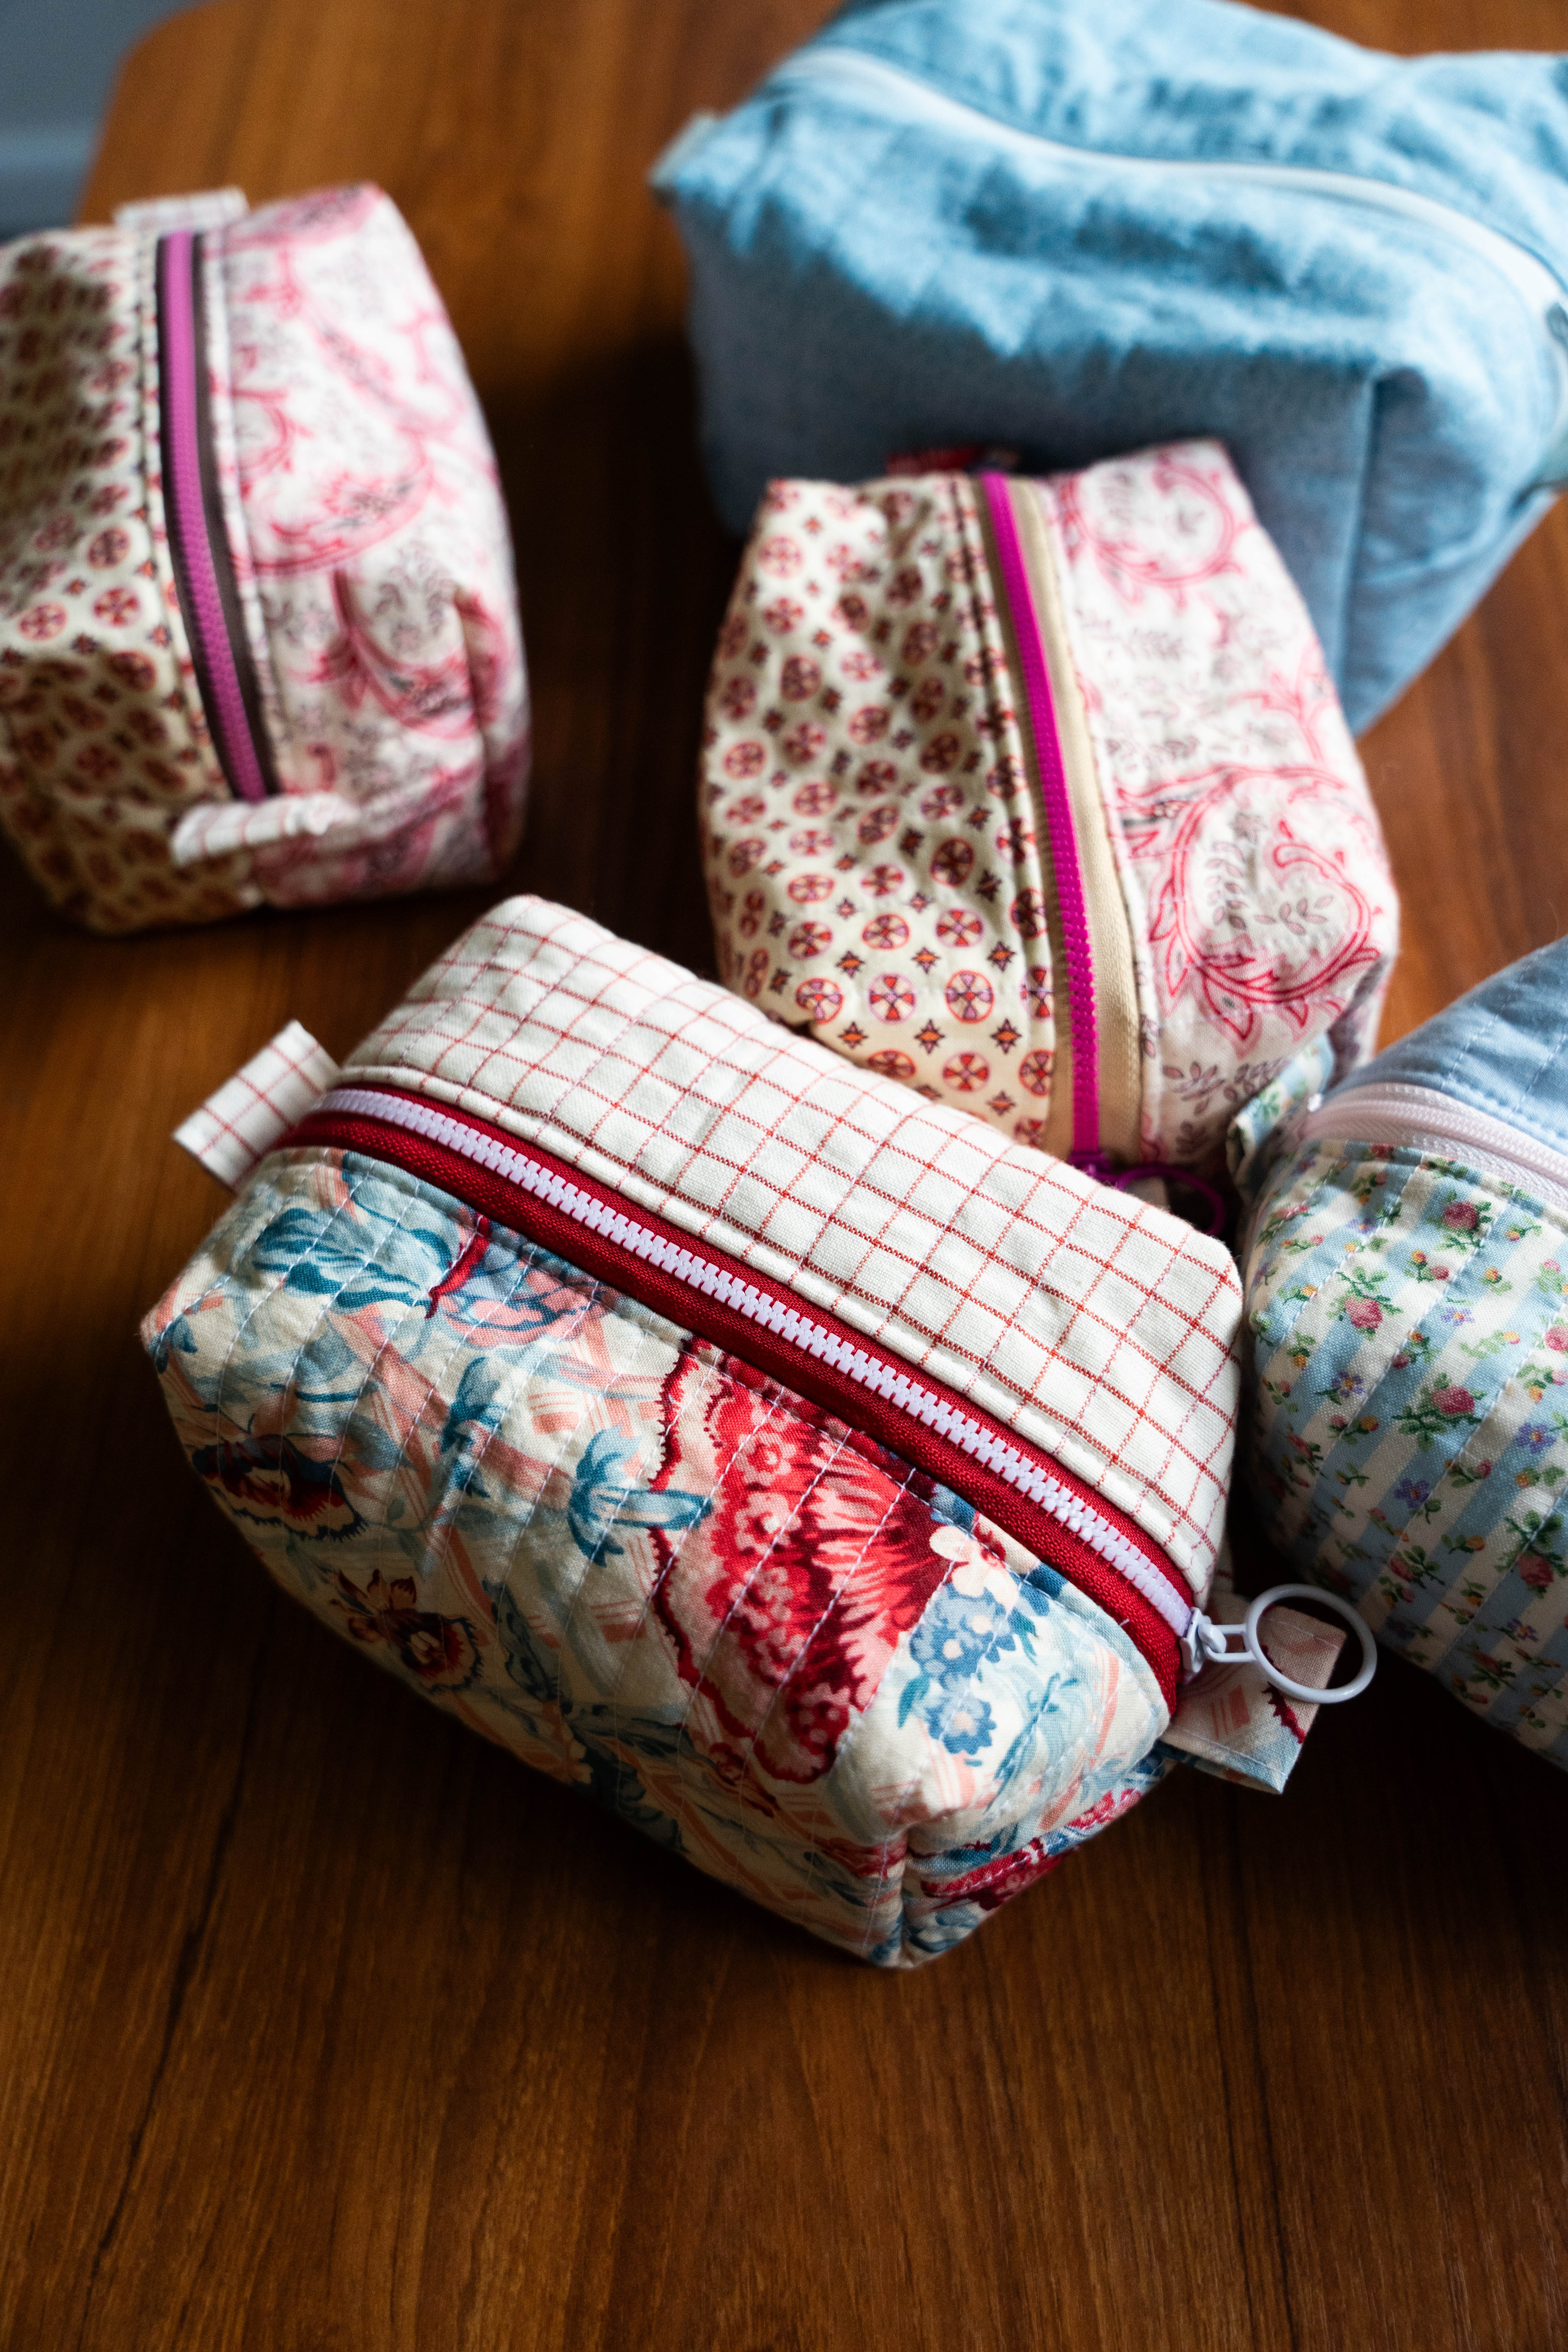


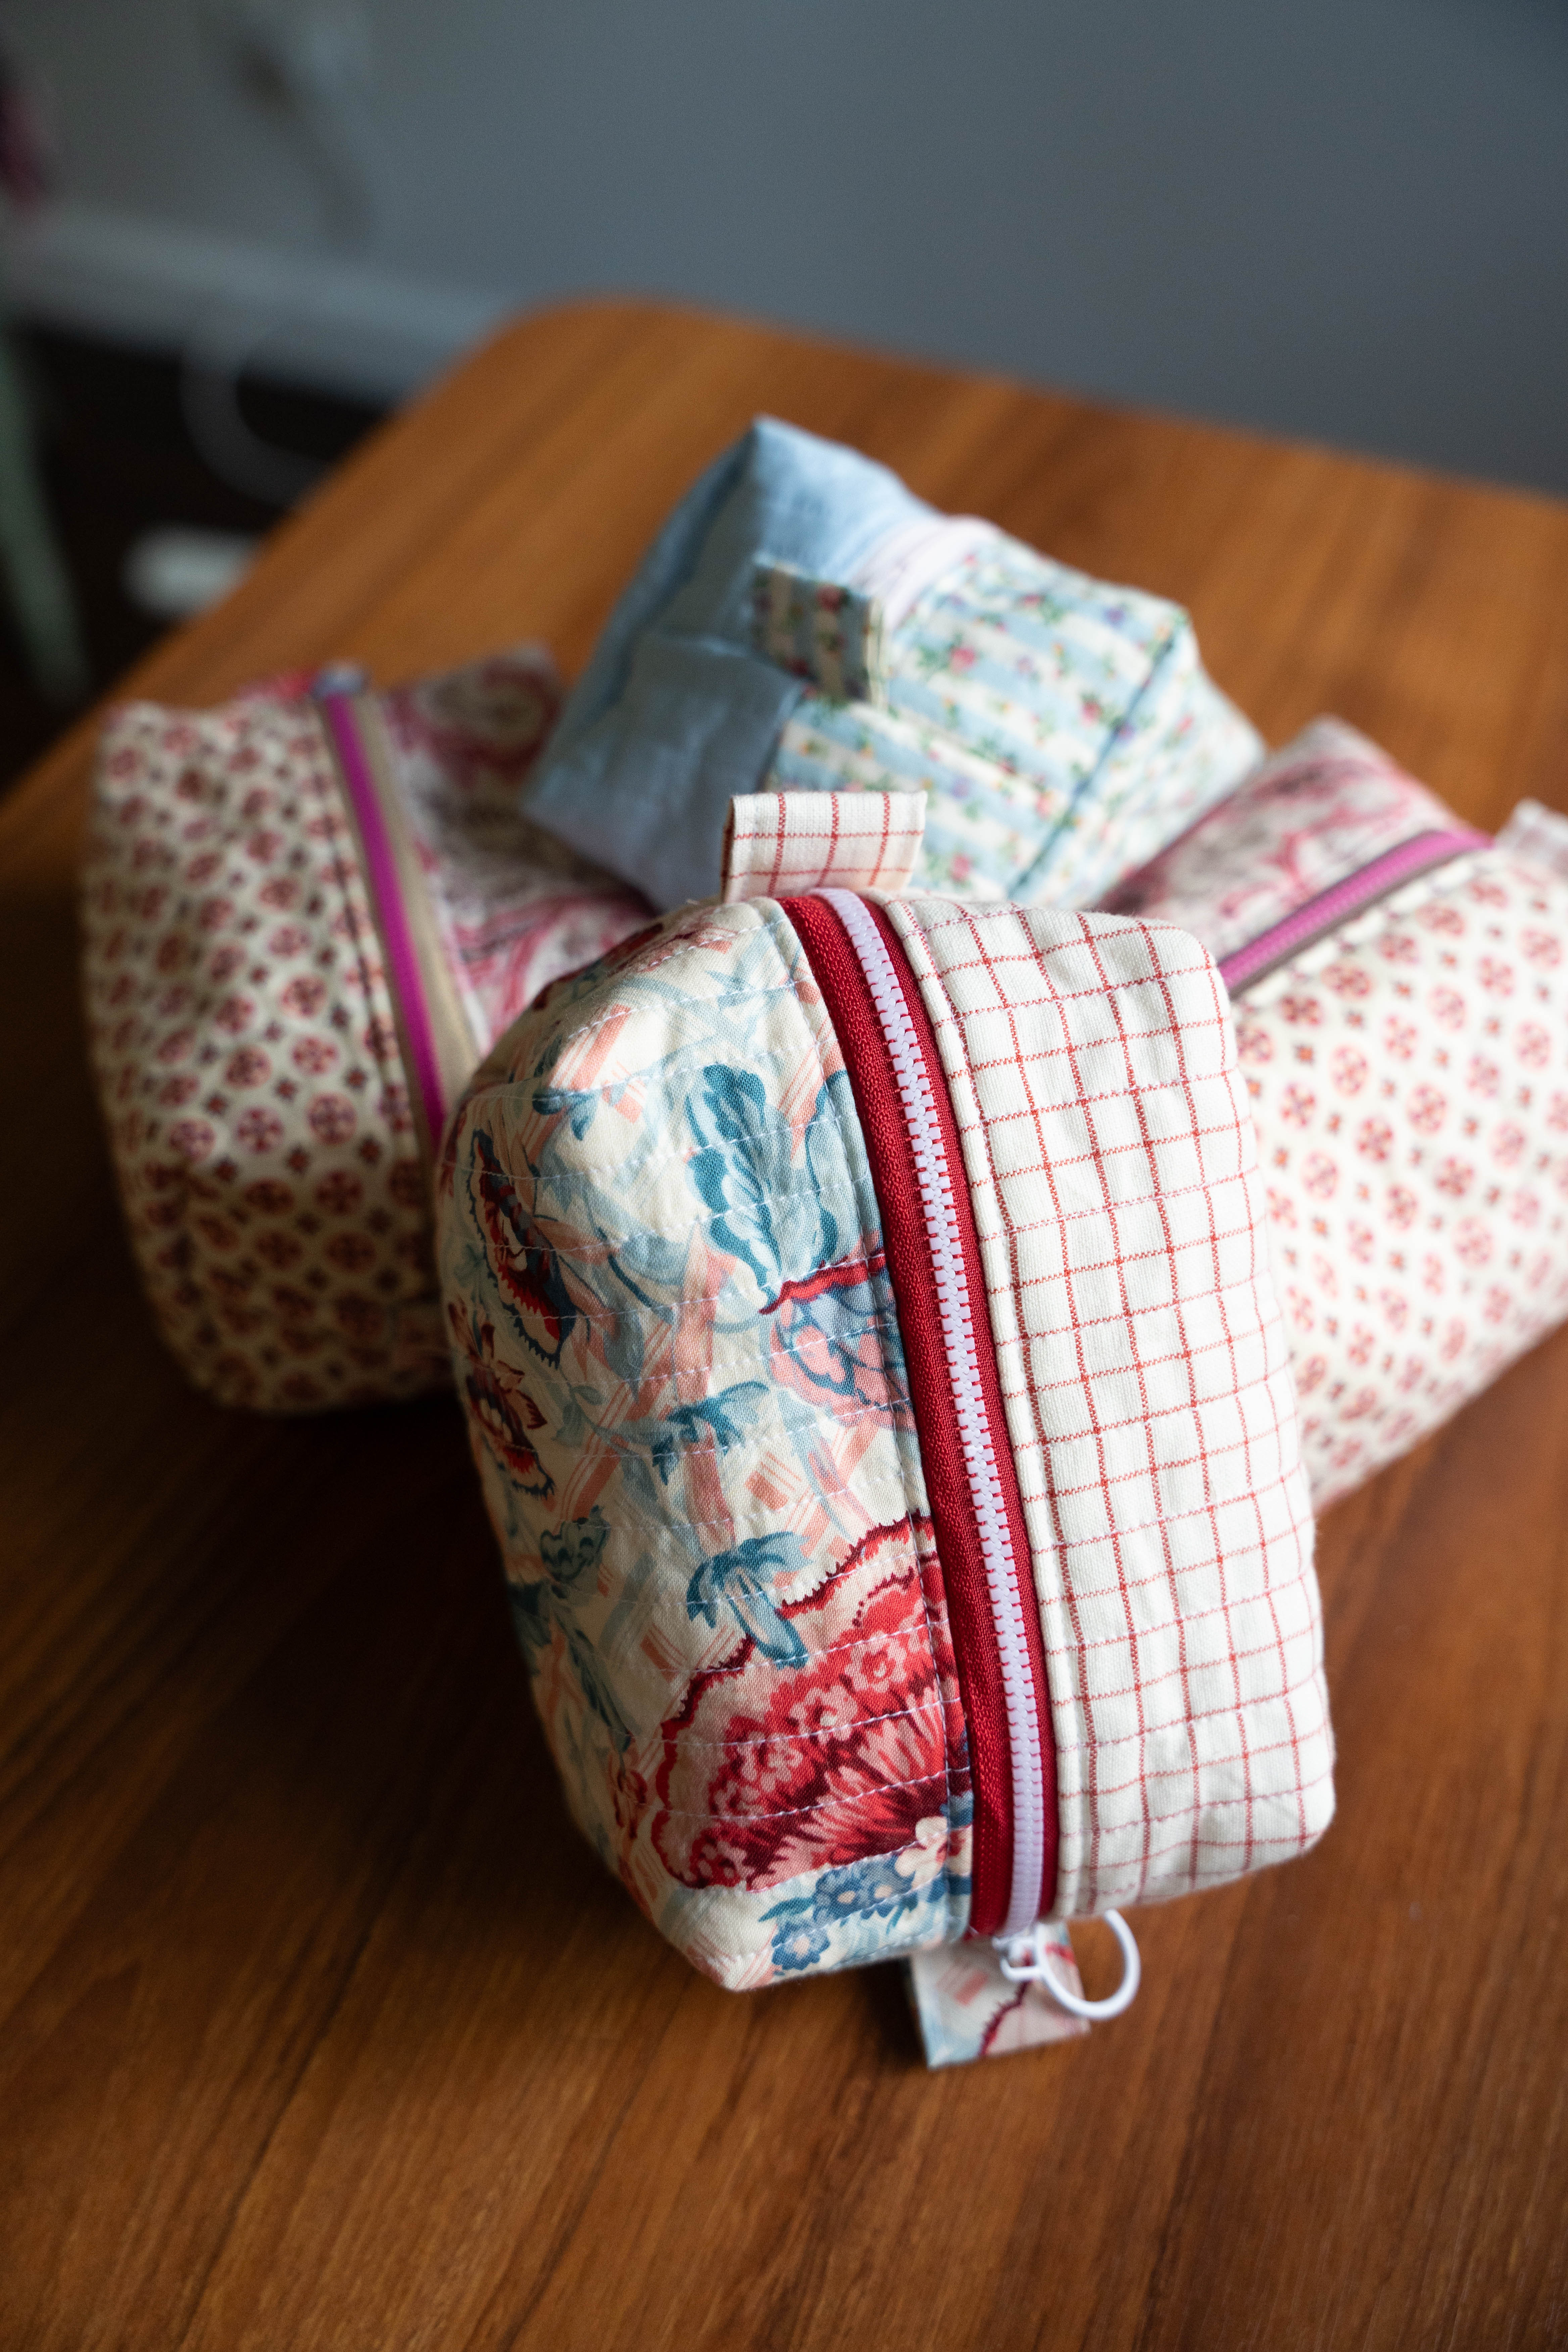


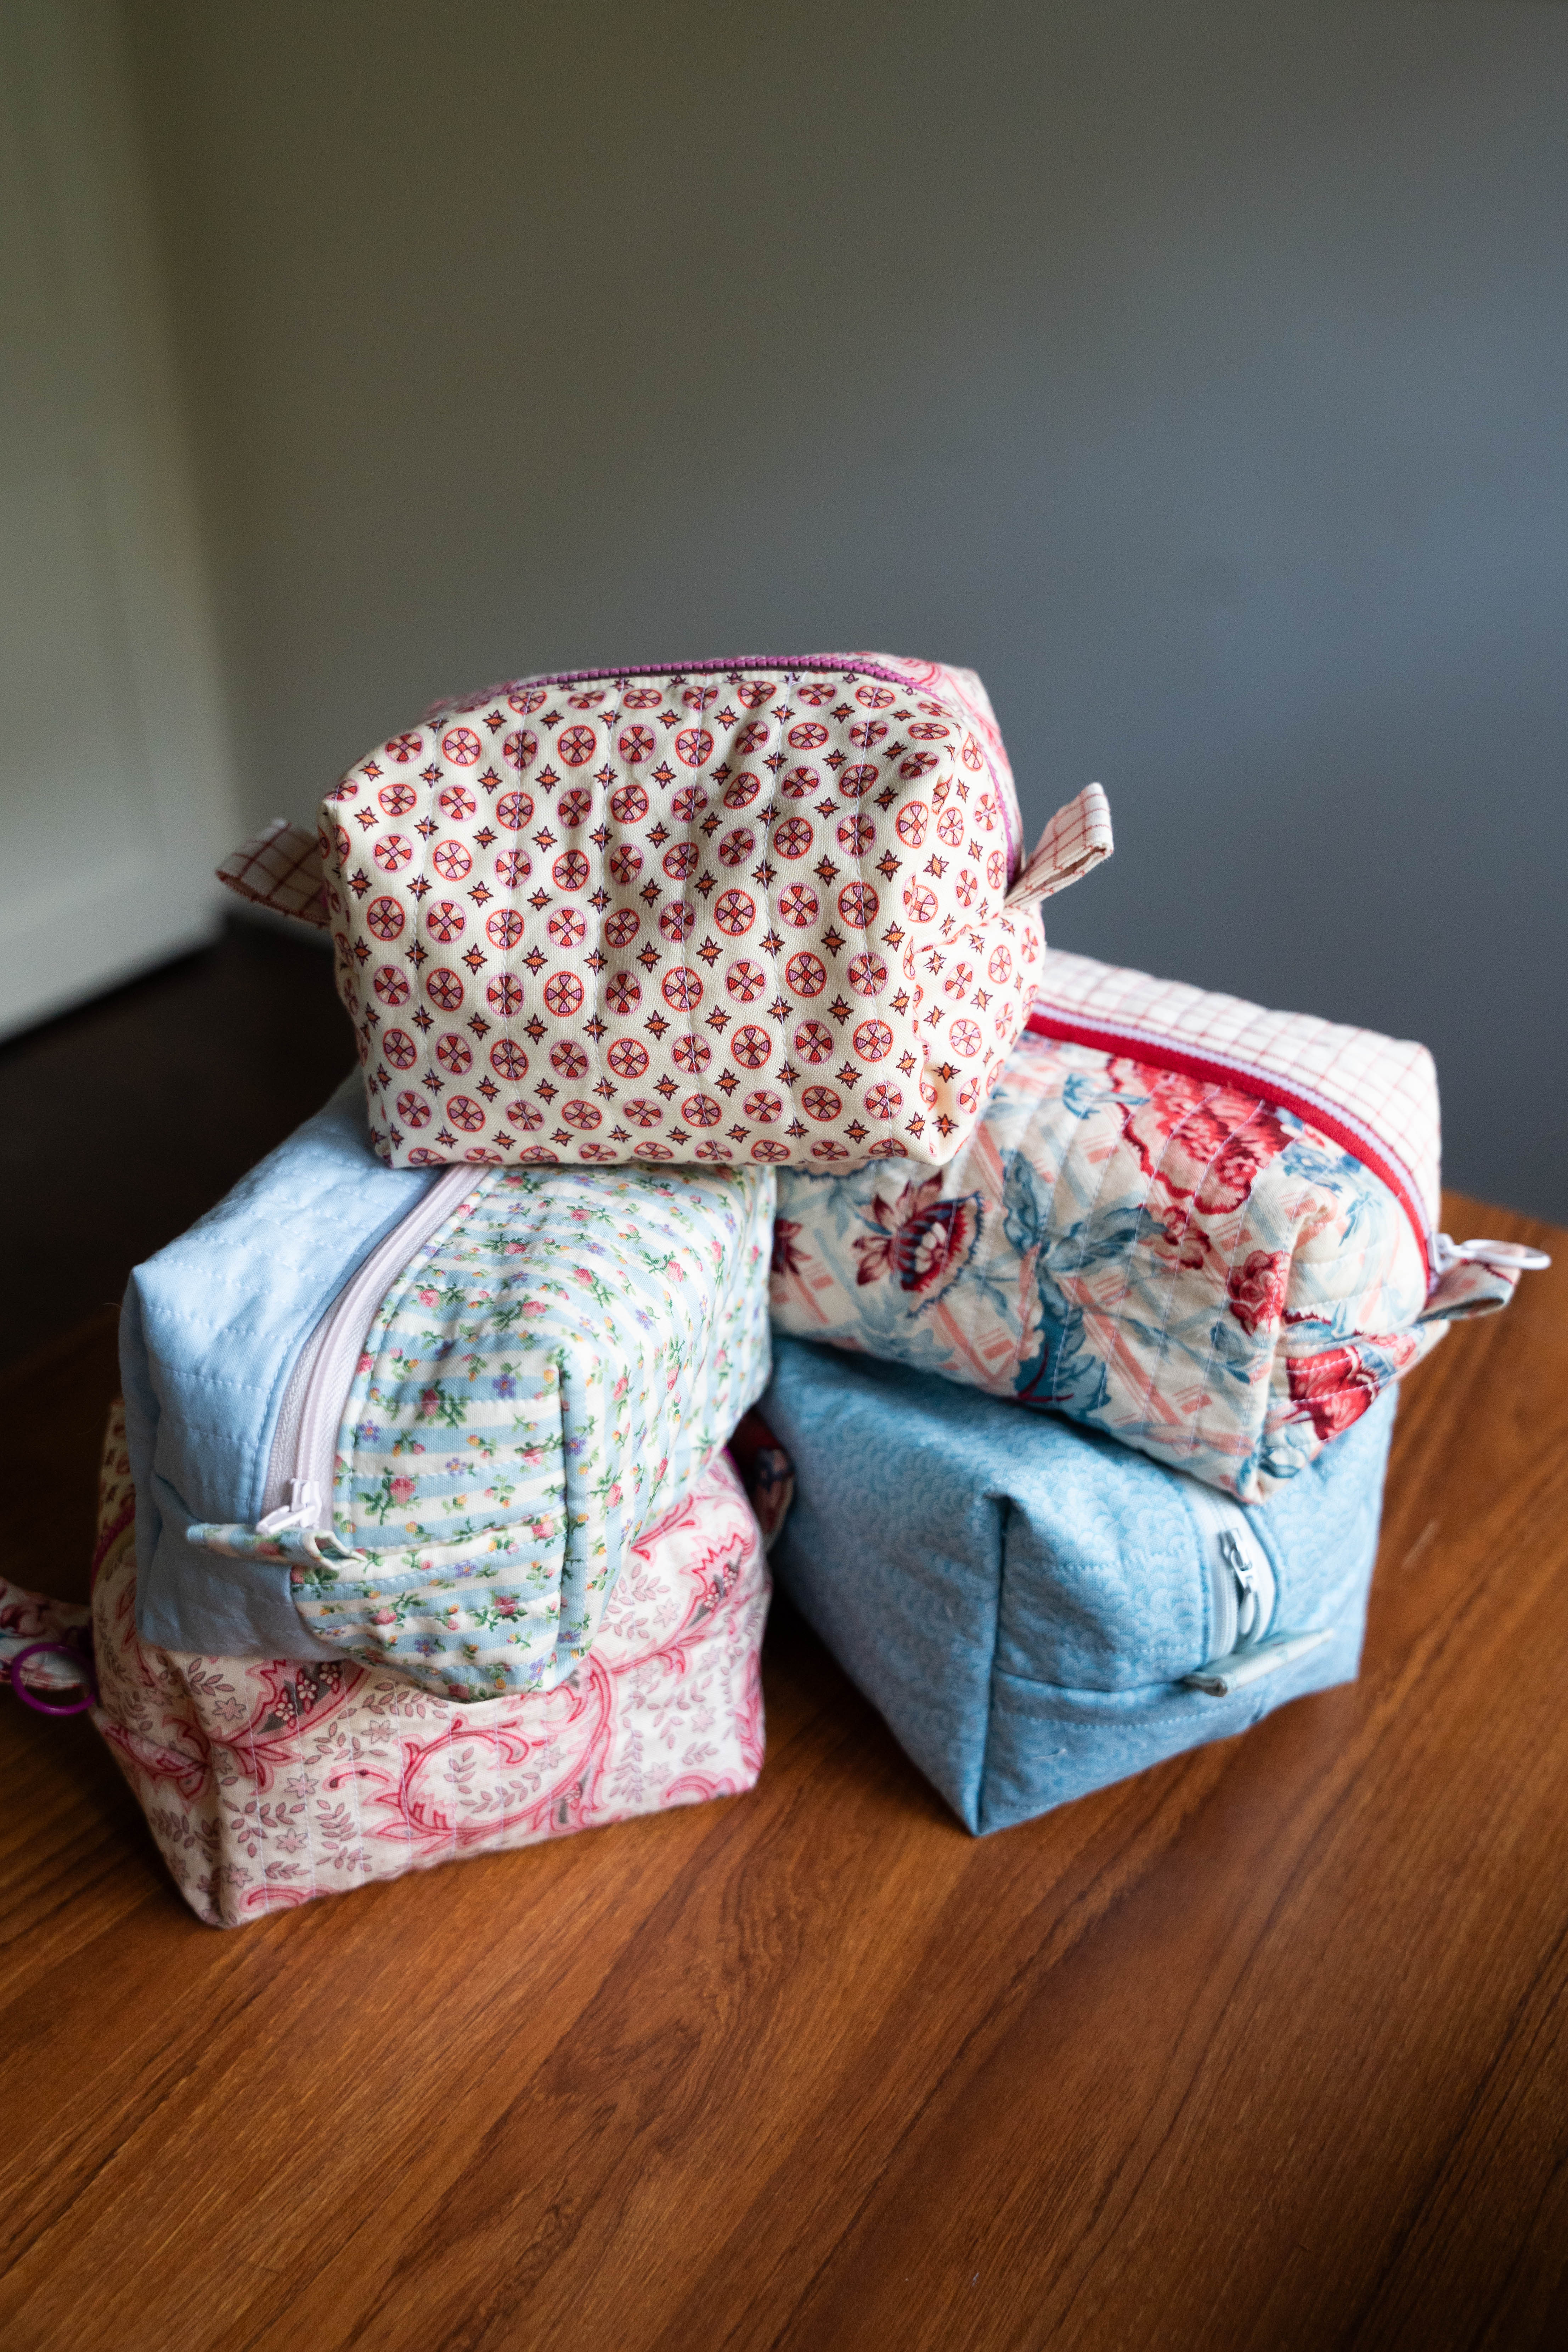
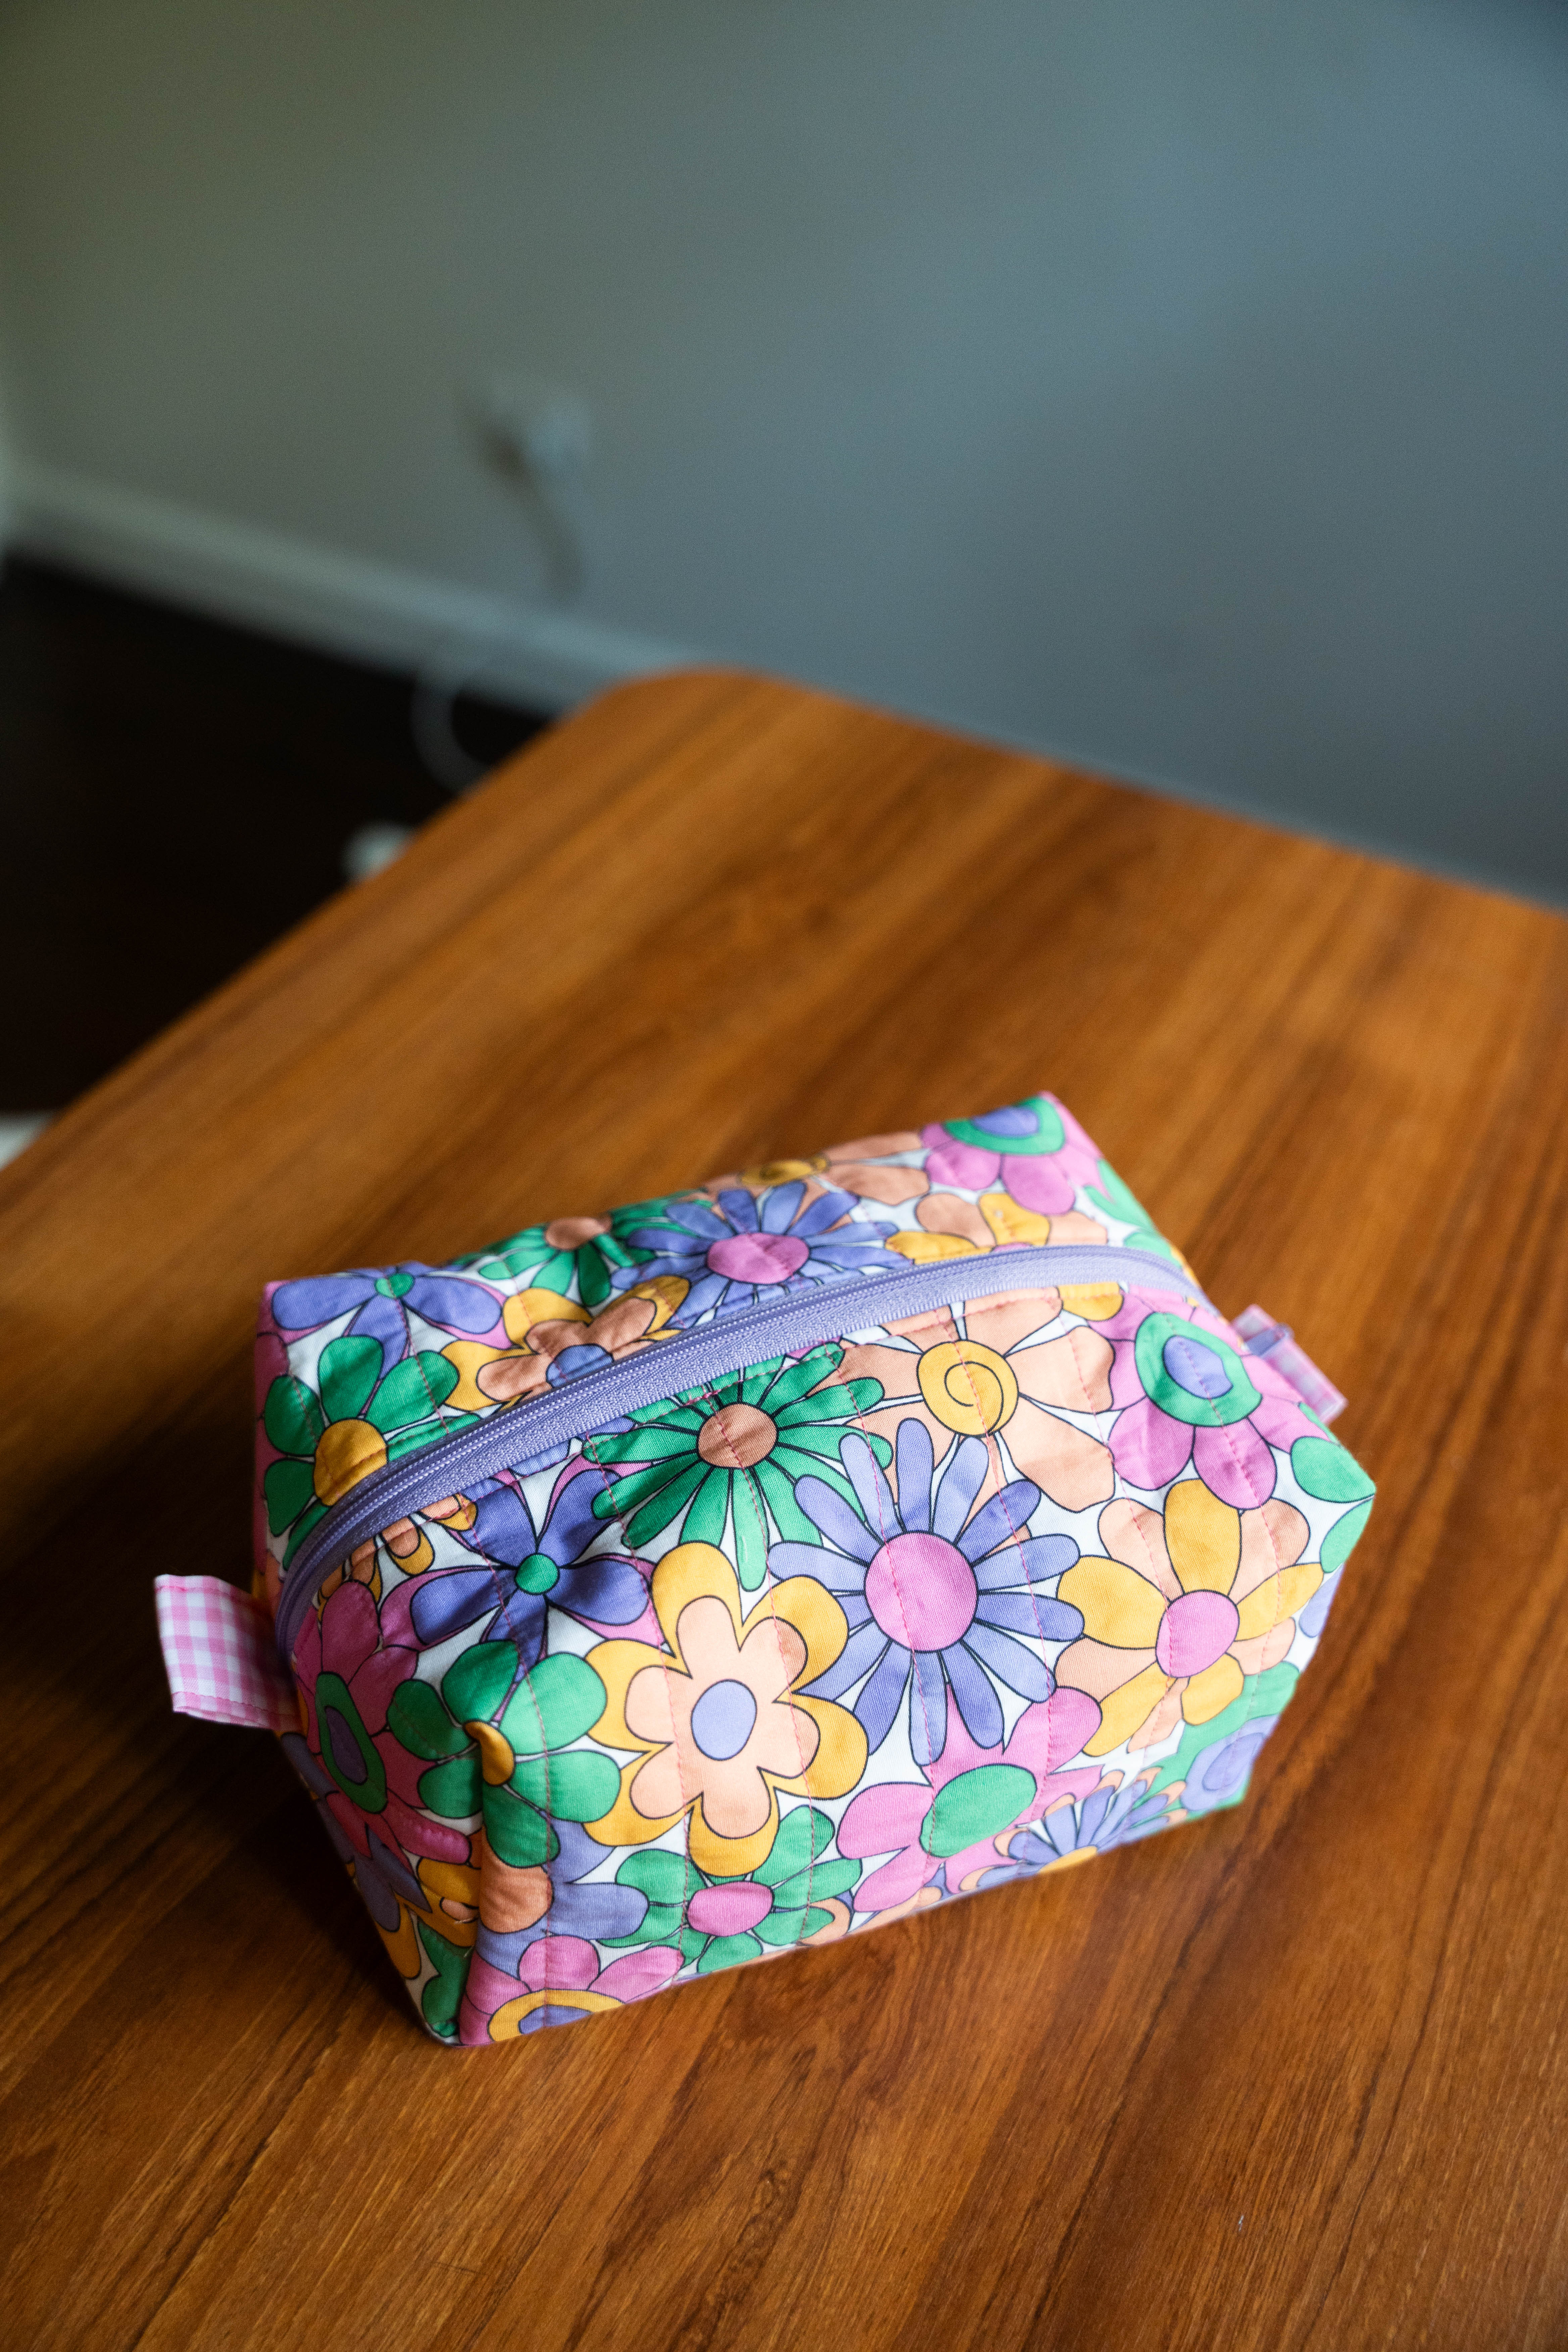
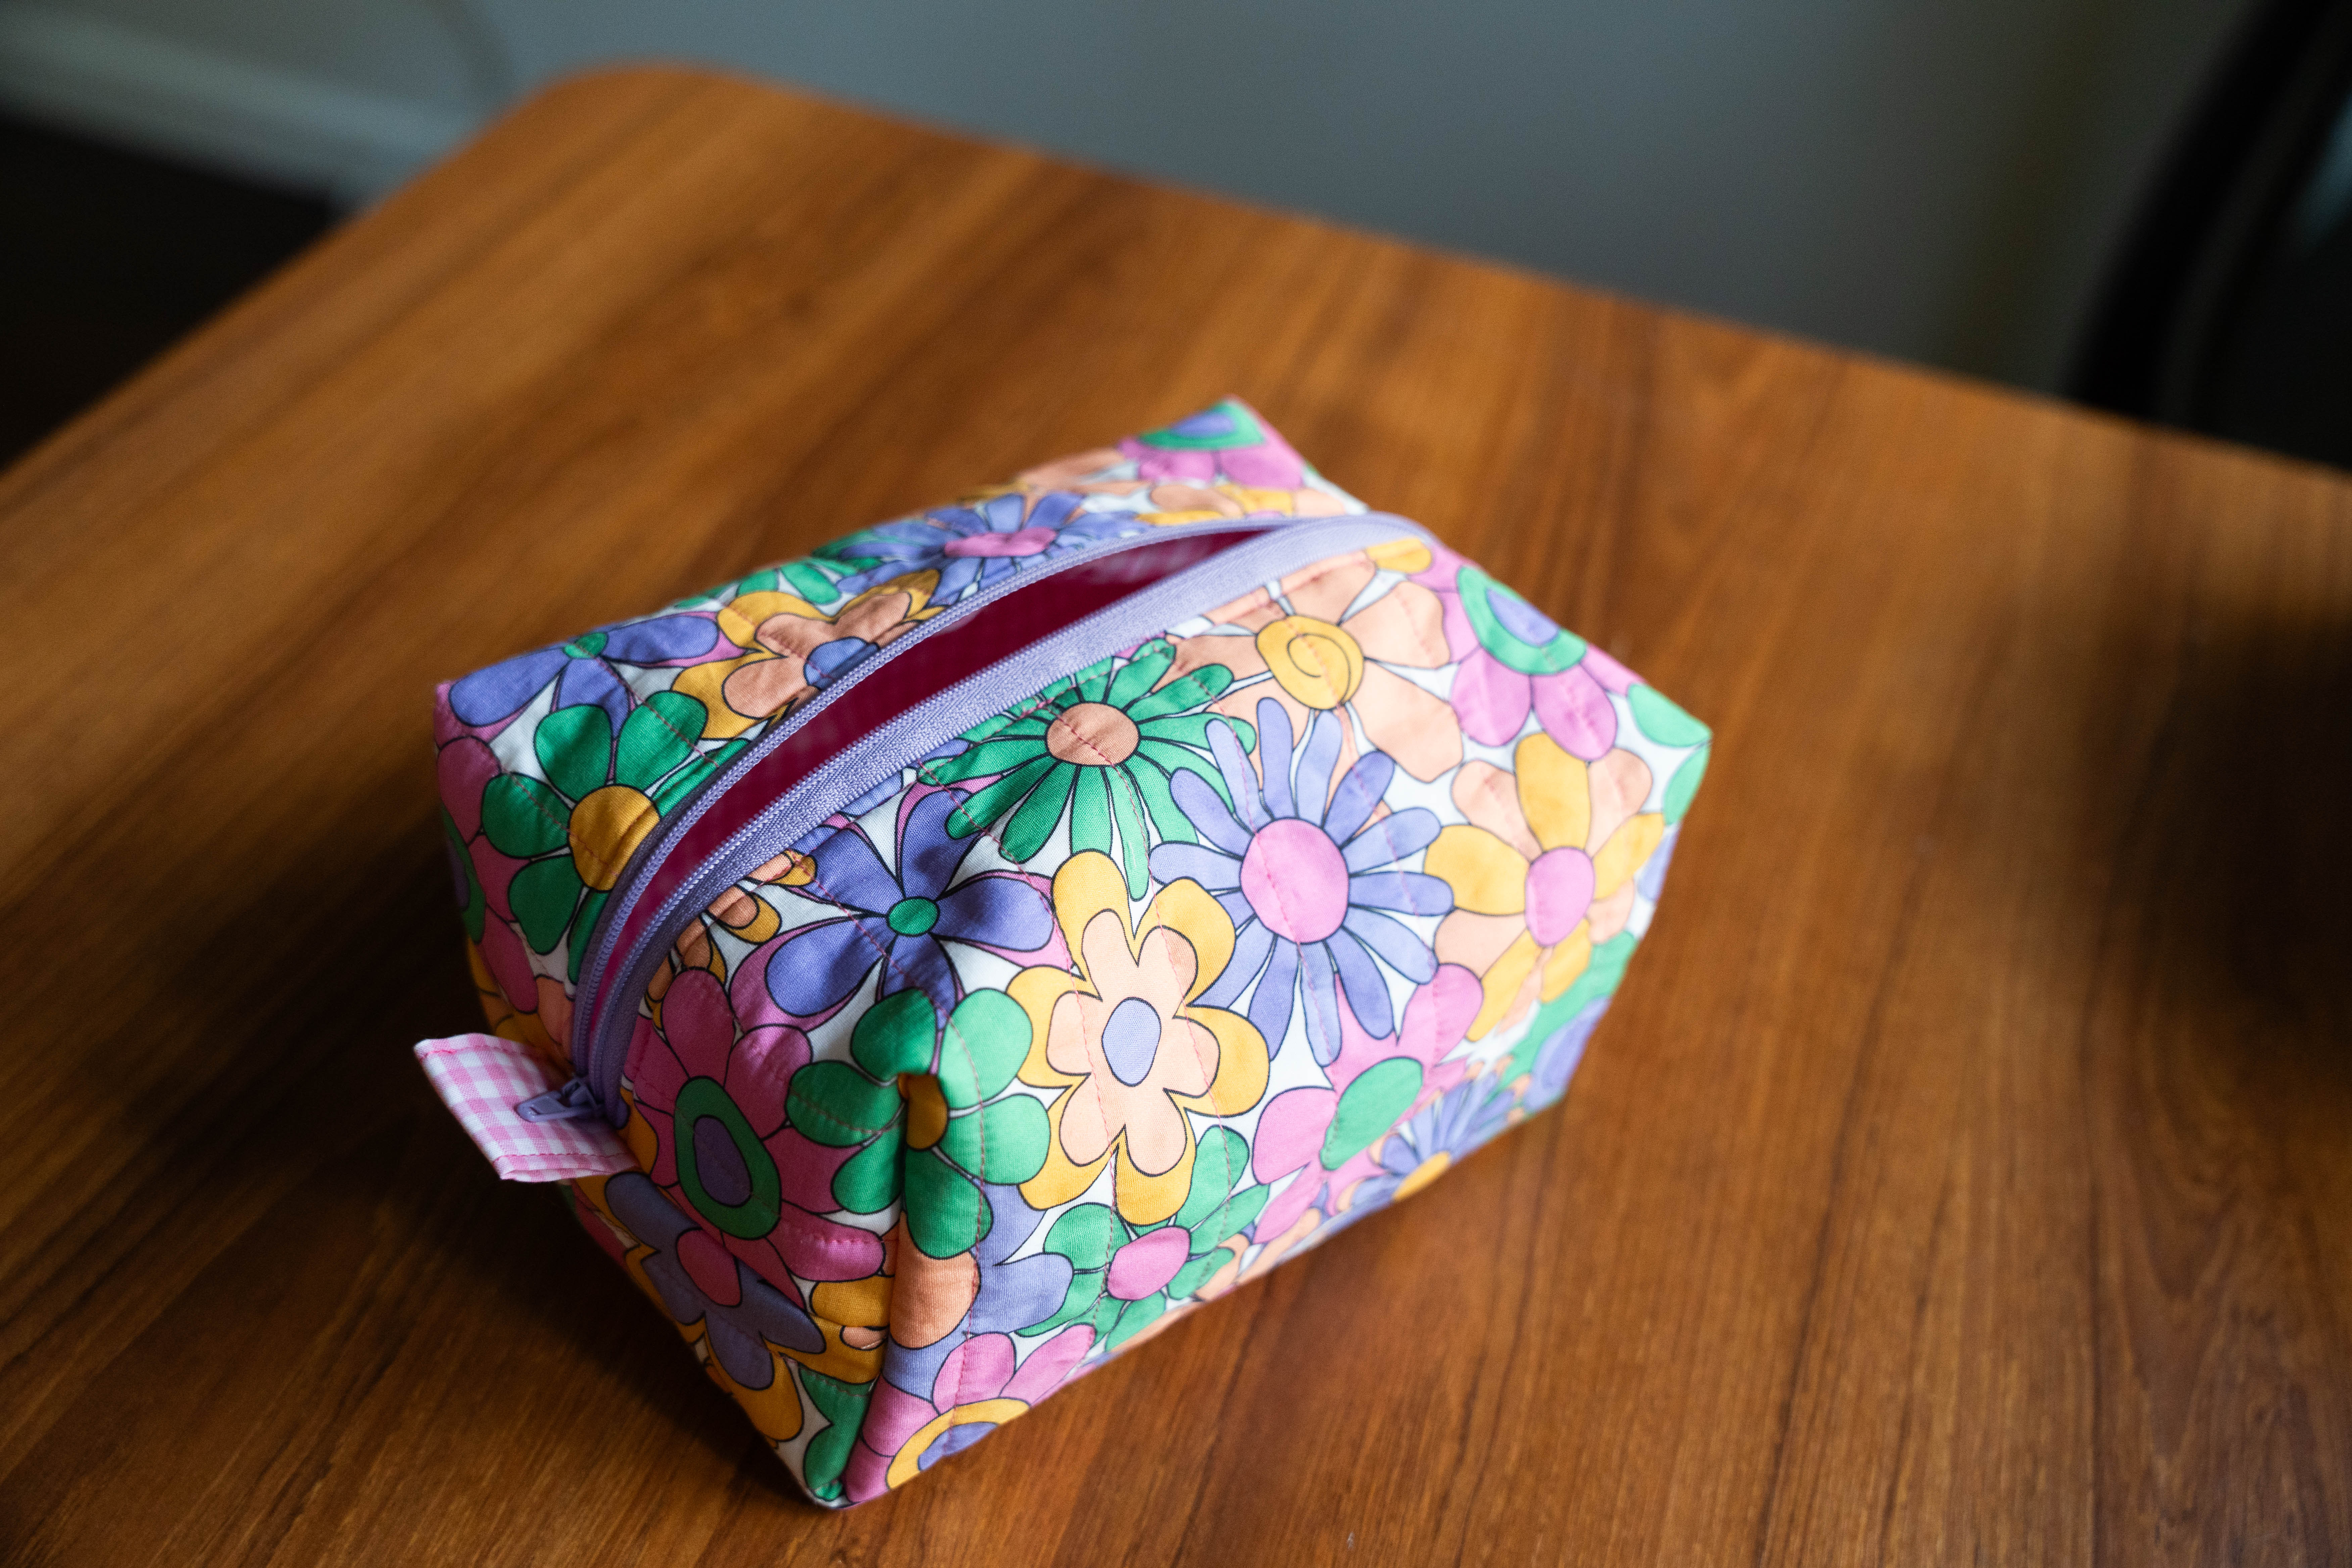
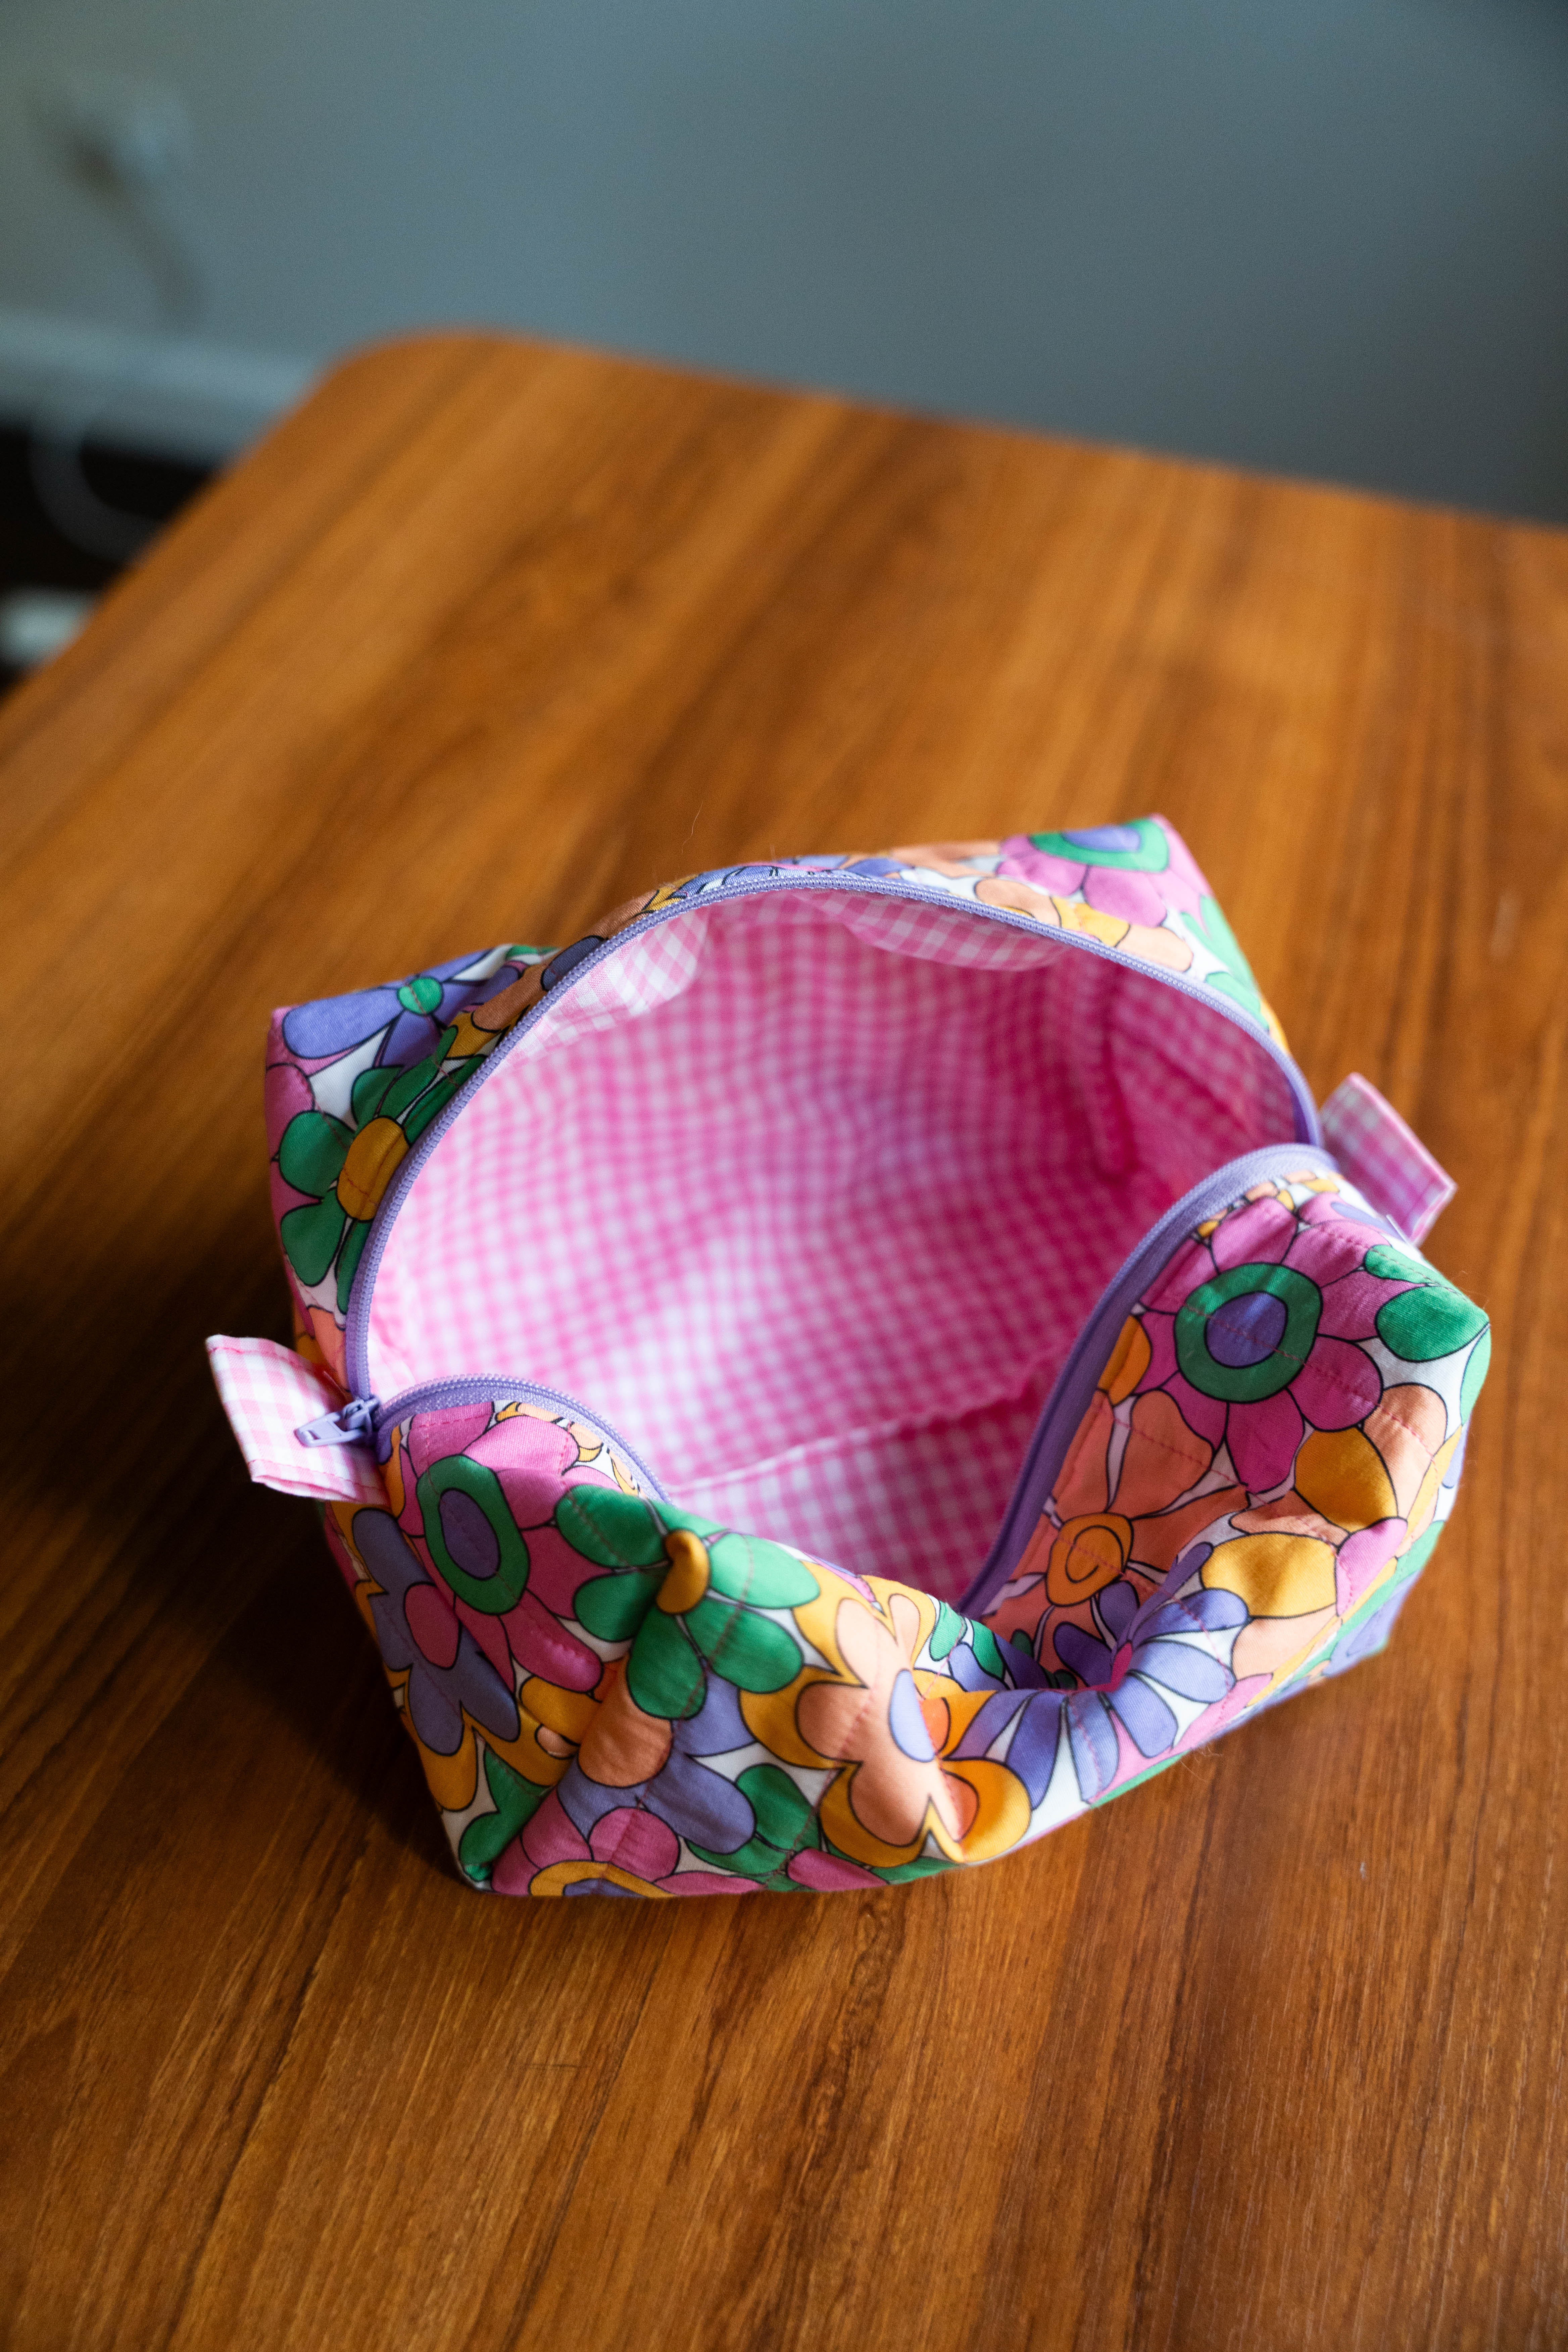
I had just planned to make one or two of these bags, as I haven’t tried making them before, but once I got the hang of it, I couldn’t resist making more. Here’s the tutorial I used: https://www.youtube.com/watch?v=h5n33xe1Ijs
4. Geese


There were lots of new babies to celebrate this year, so I made a flock of geese! Here is the pattern I used: https://www.etsy.com/au/listing/1256533541/goose-soft-toy-sewing-pattern-instant?transaction_id=4795041609&lid=cgd2bf59npdn&campaign_label=order_confirmation&utm_source=transactional&utm_campaign=etsy_transactional_Order_Confirmation_Registered_10222025&utm_medium=email&eaid=6024918024&dispatch_id=6900139ece5069fc31111fca15658cbd
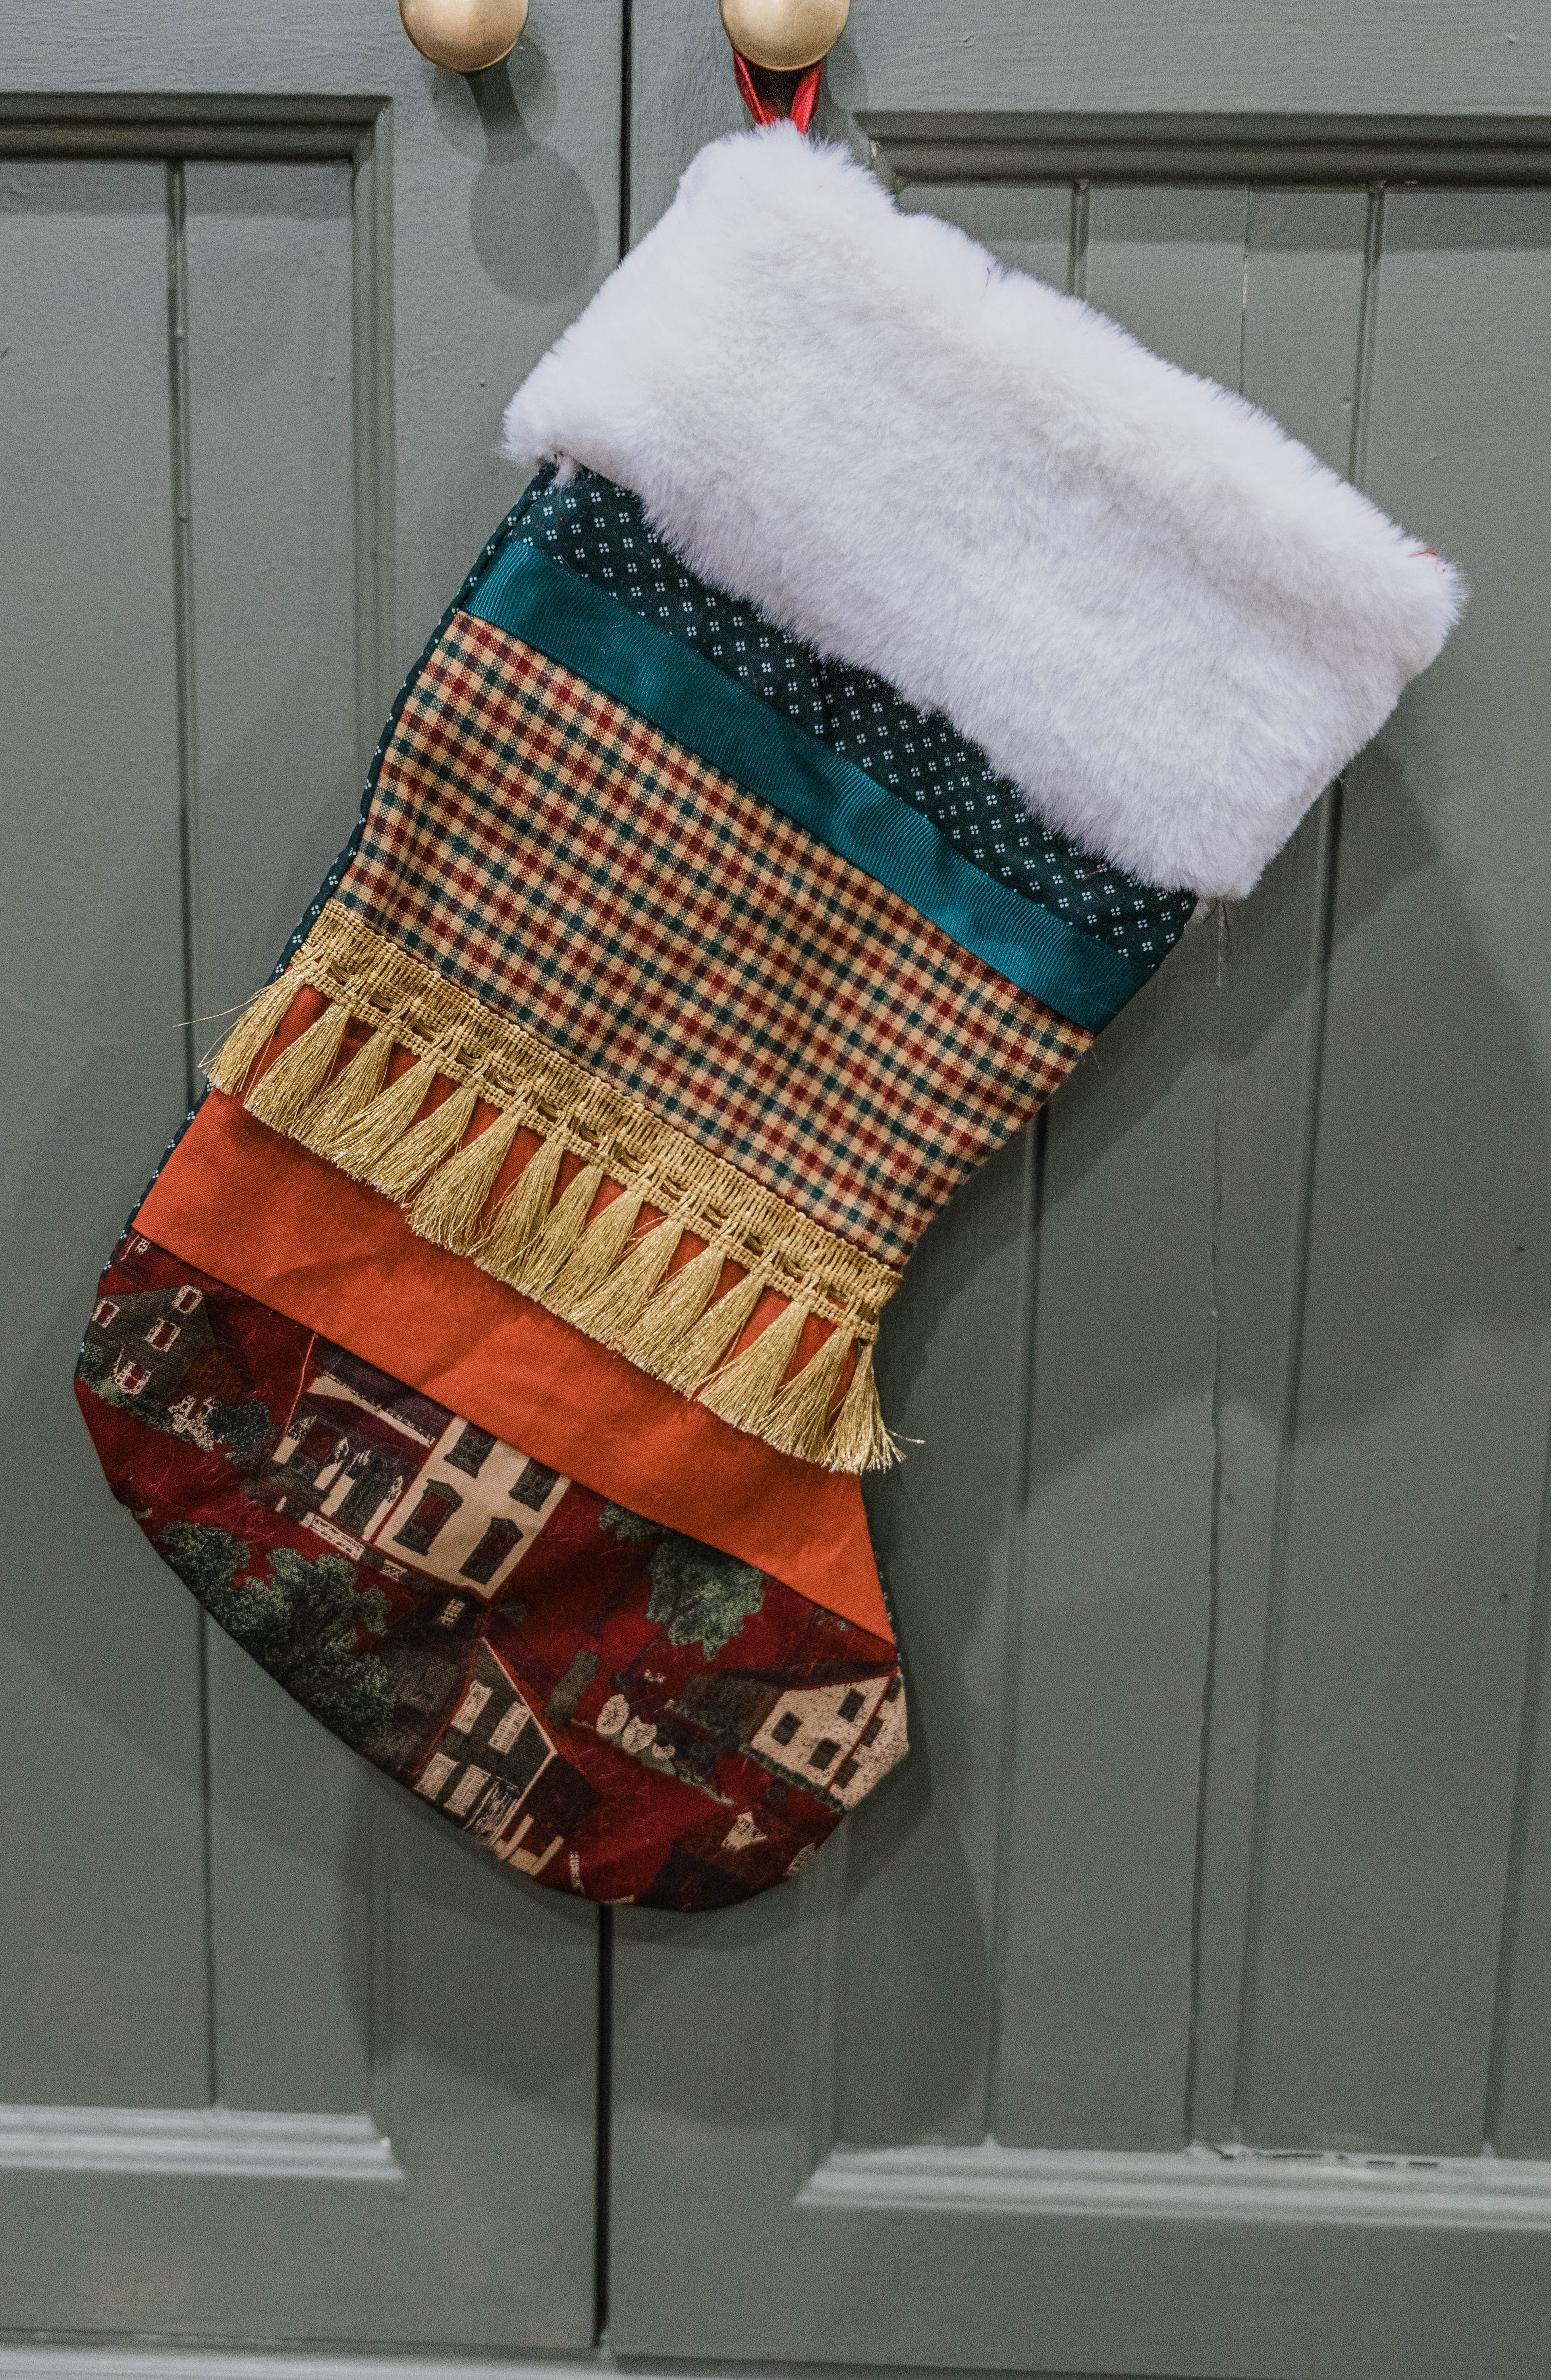
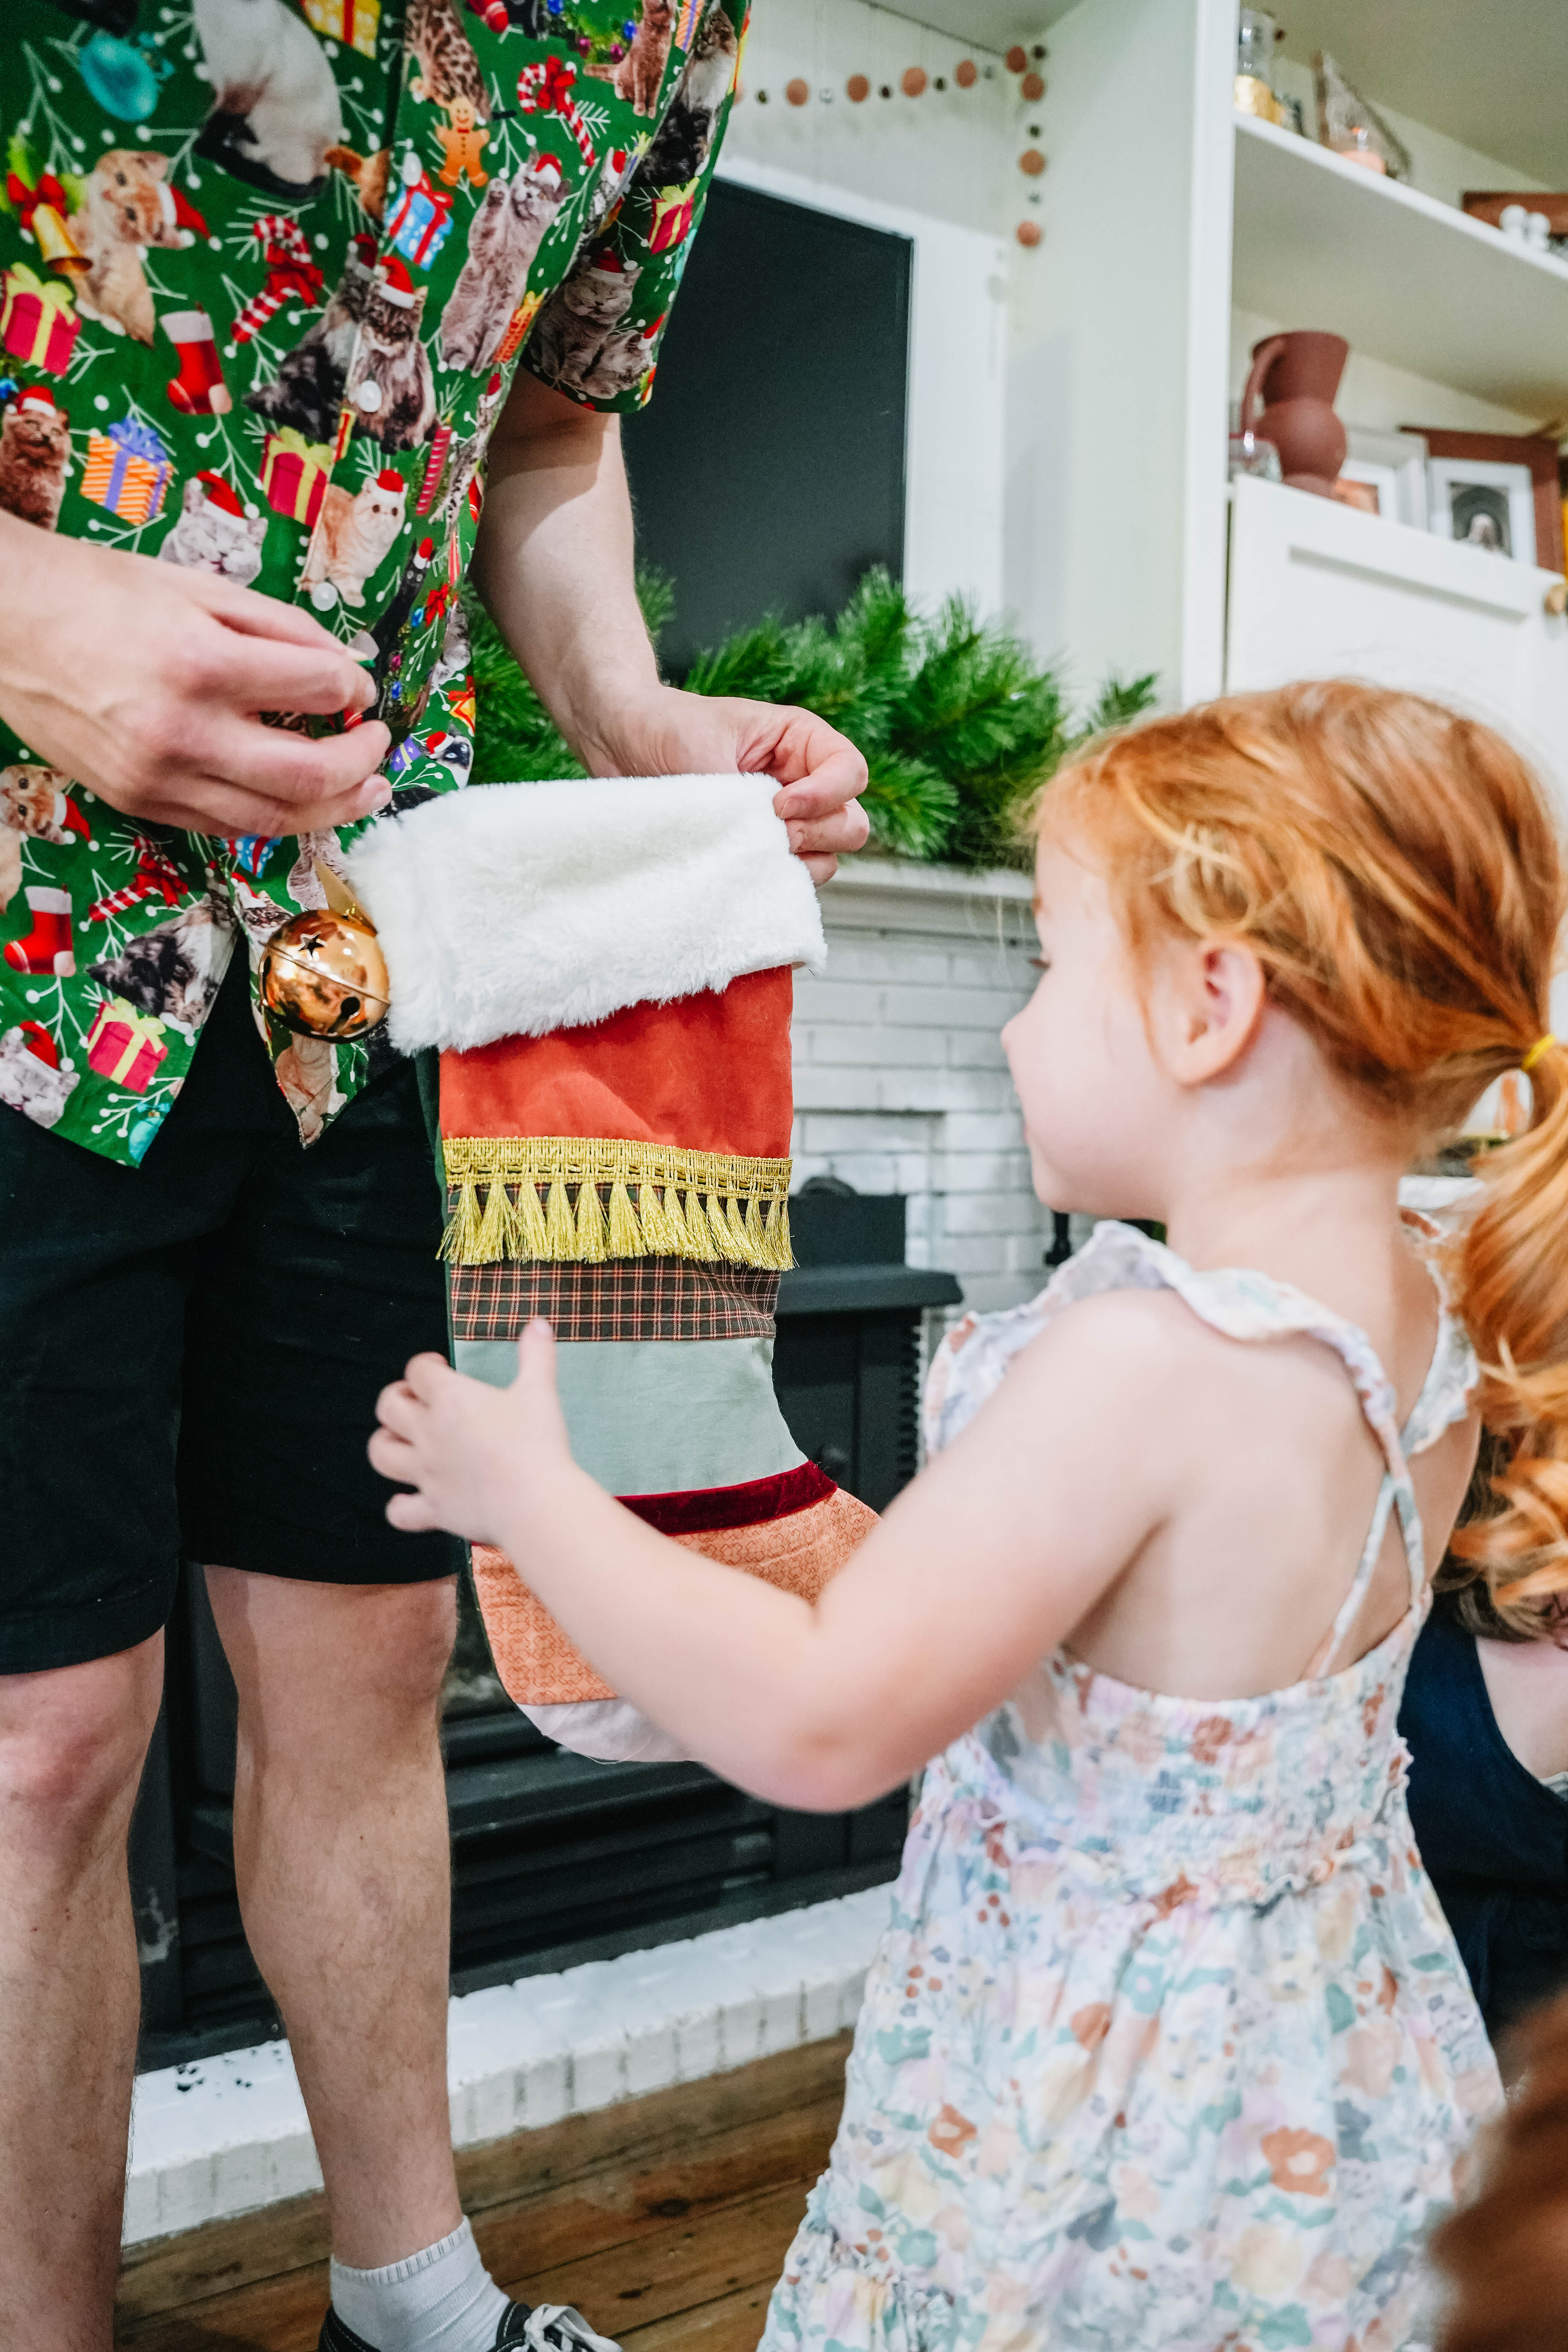
5. Stockings


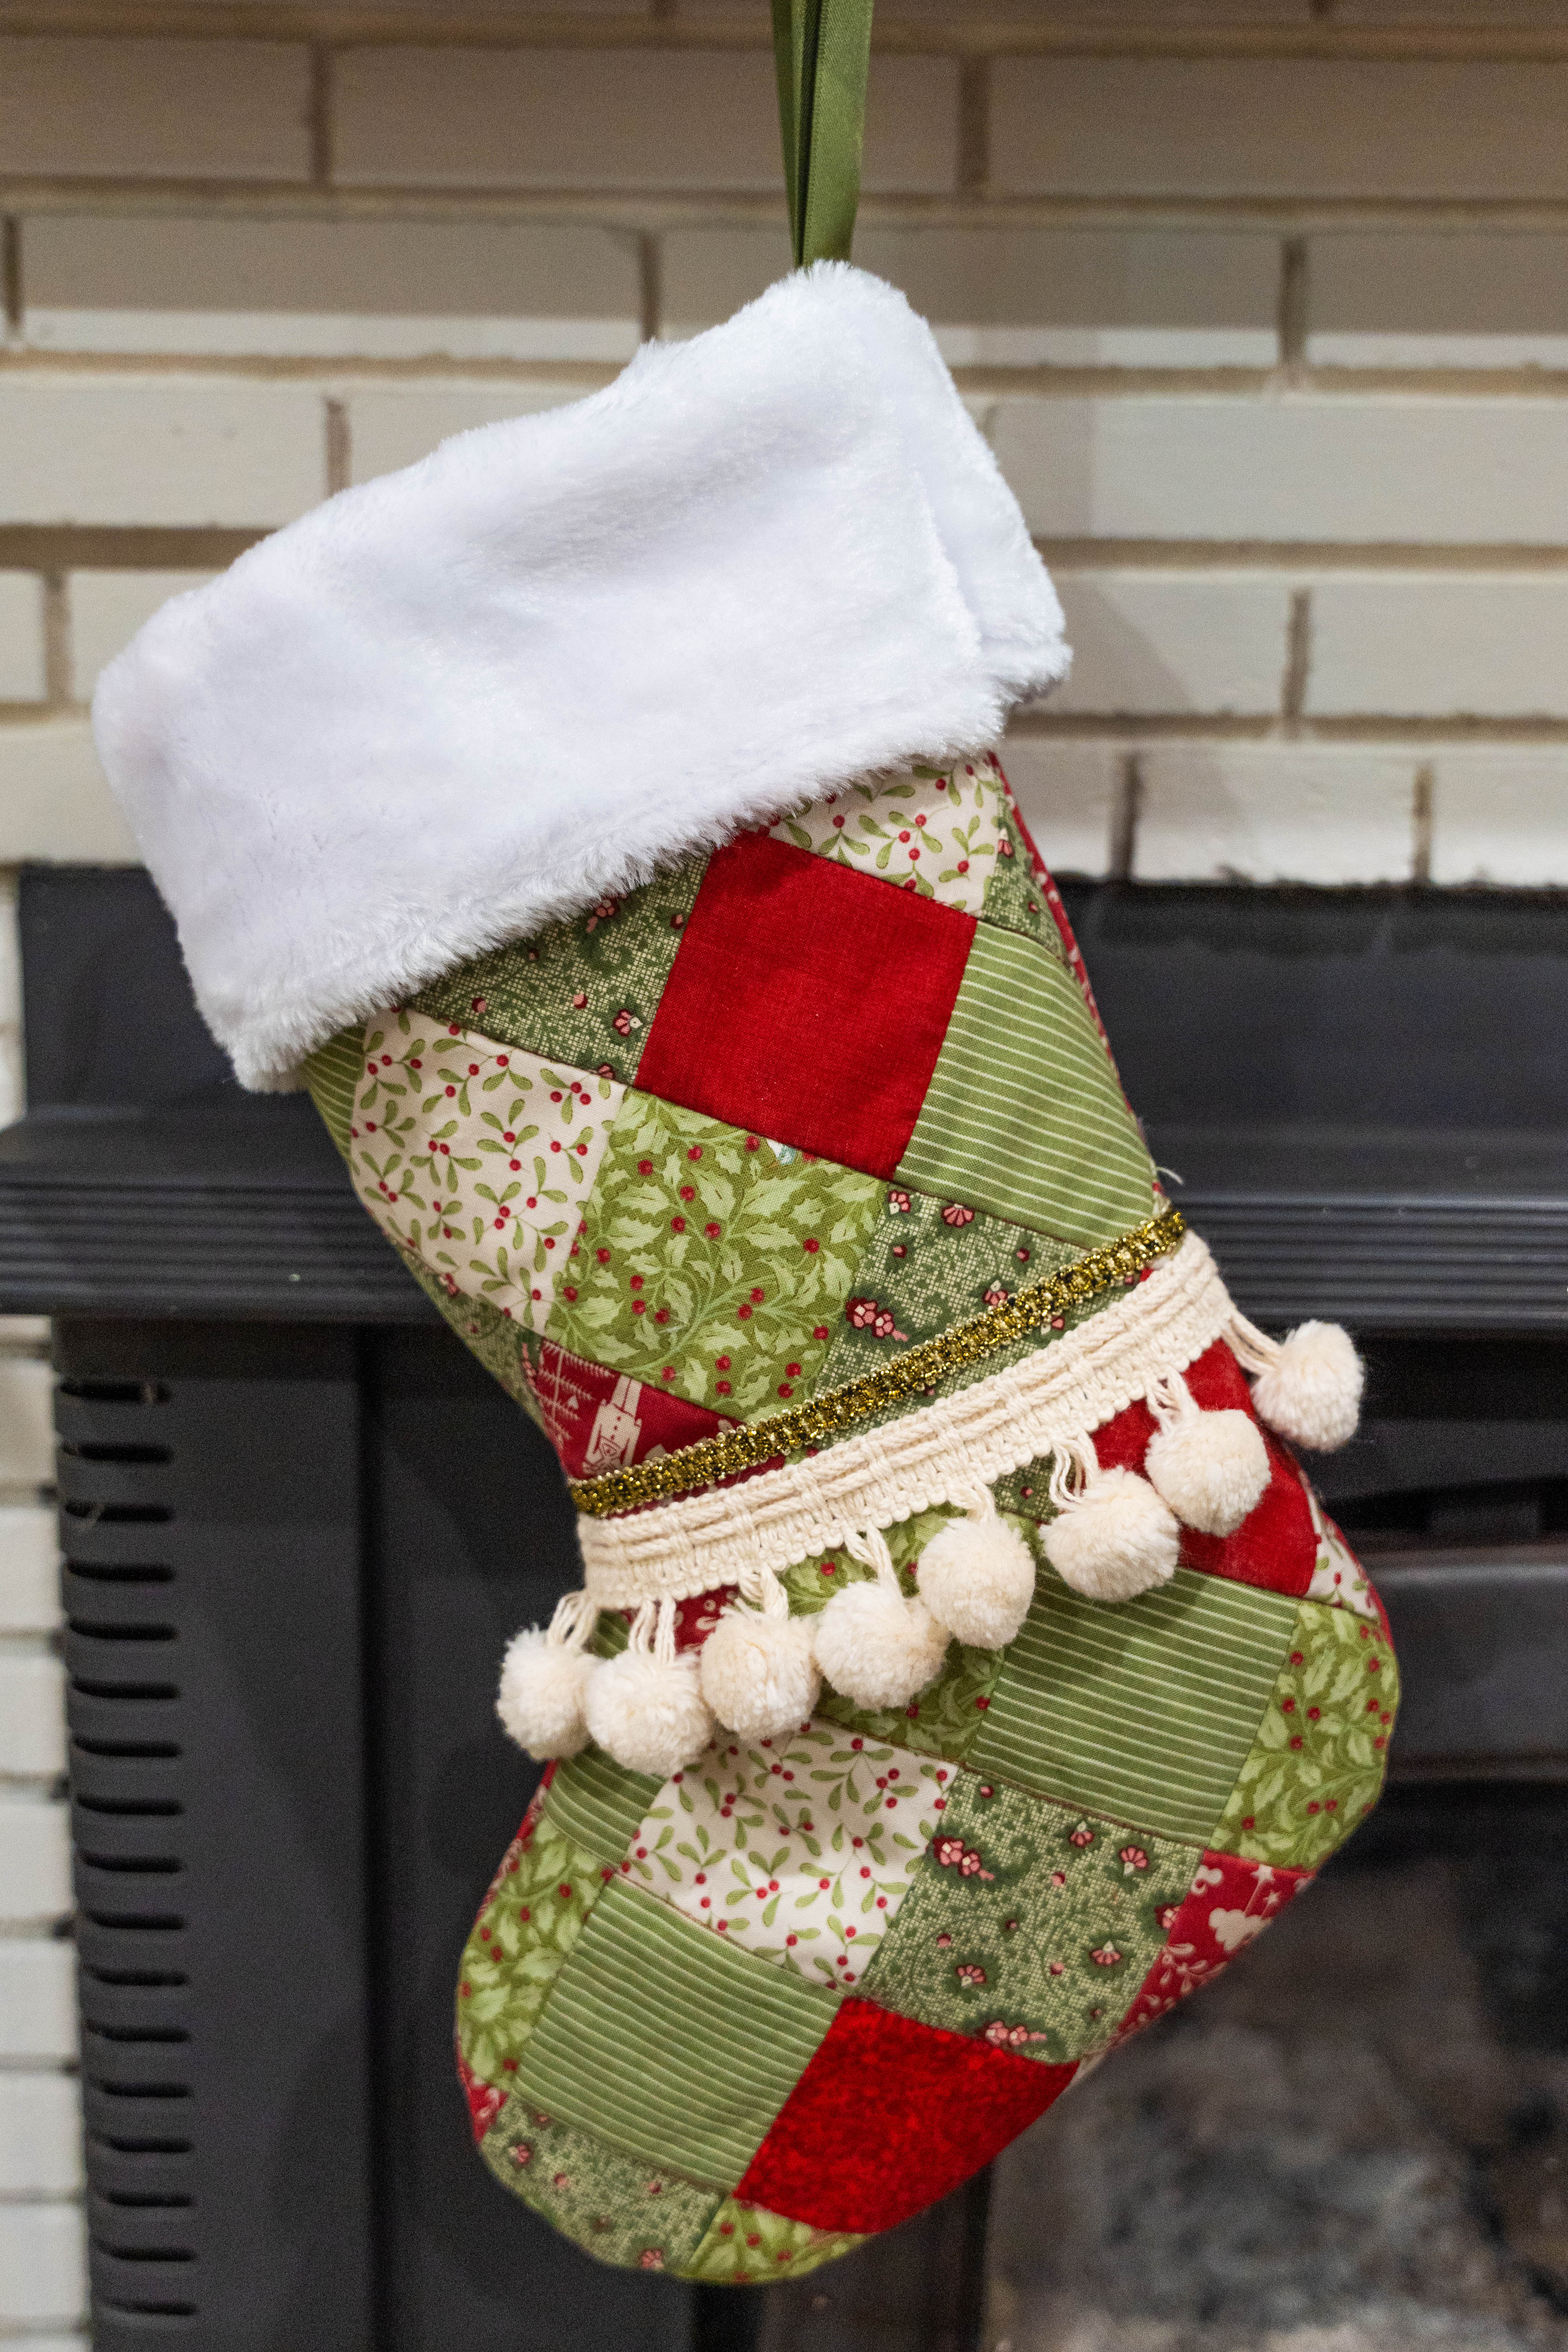
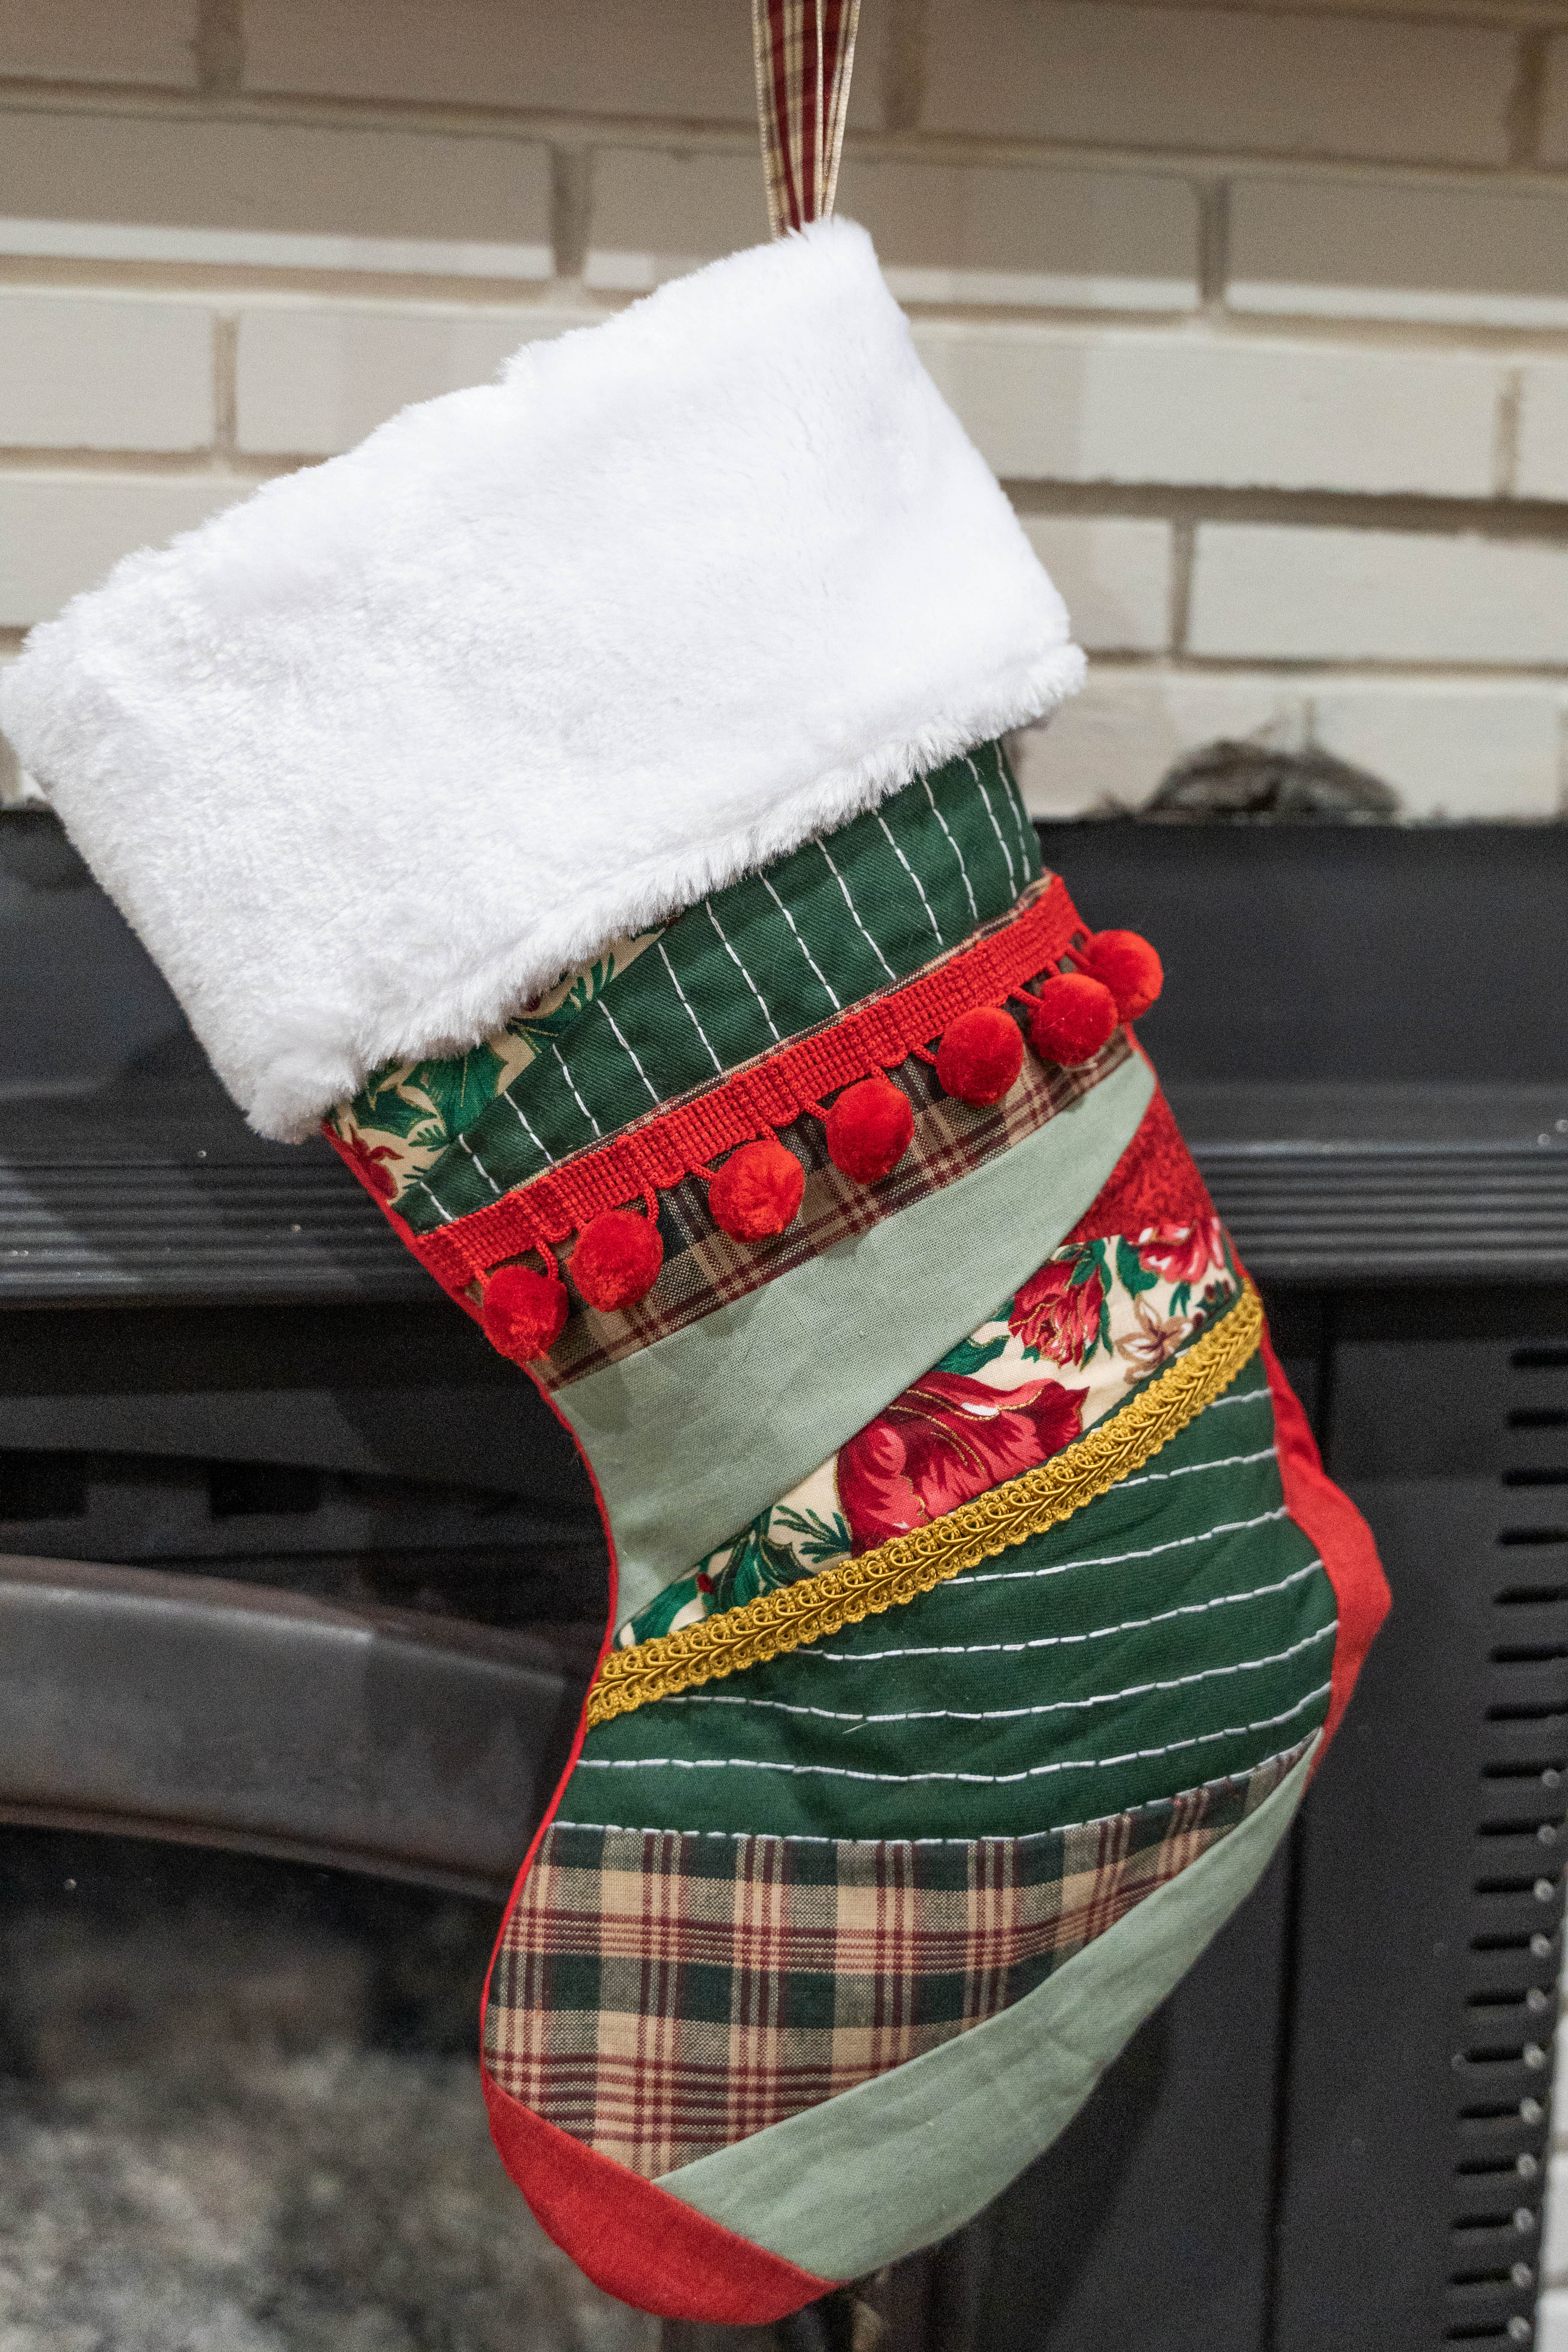
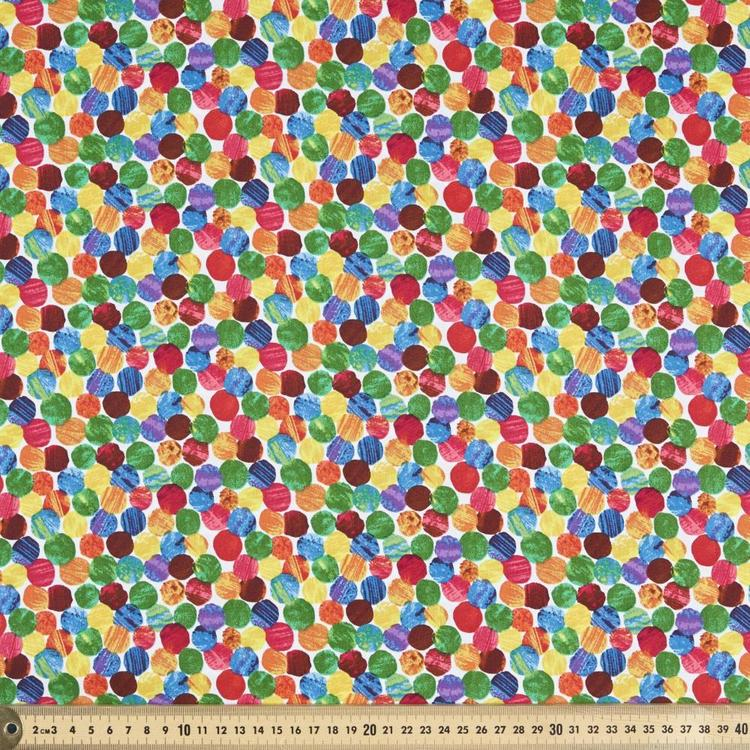
I made four stockings this year for different kiddos with lots of second-hand fabric.
6. Trivets


For these, I used a simple Foundation Paper Piecing log pattern, along with Isul-bright to ensure they were heat-proof. Here’s the pattern: https://thequiltingbea.com/products/6-inch-log-cabin-block-foundation-paper-piecing-free-pattern-by-the-quilting-bea?srsltid=AfmBOoo1nCRyGphJYej3qKqeuEQgyjT7Zff20YLiST8urcV0sutnBtuk
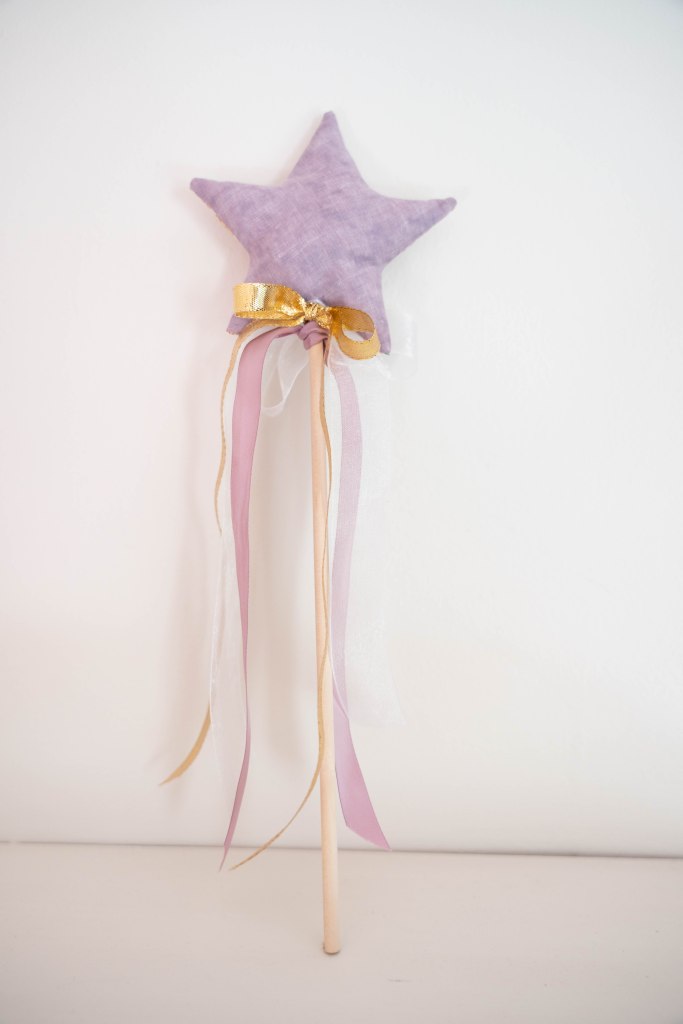
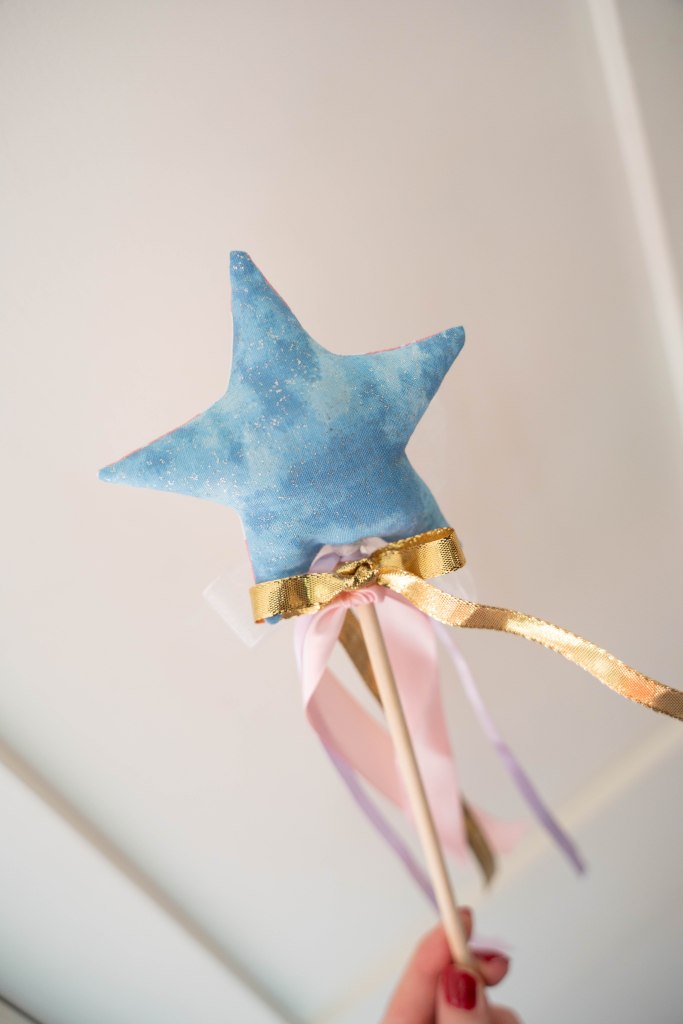
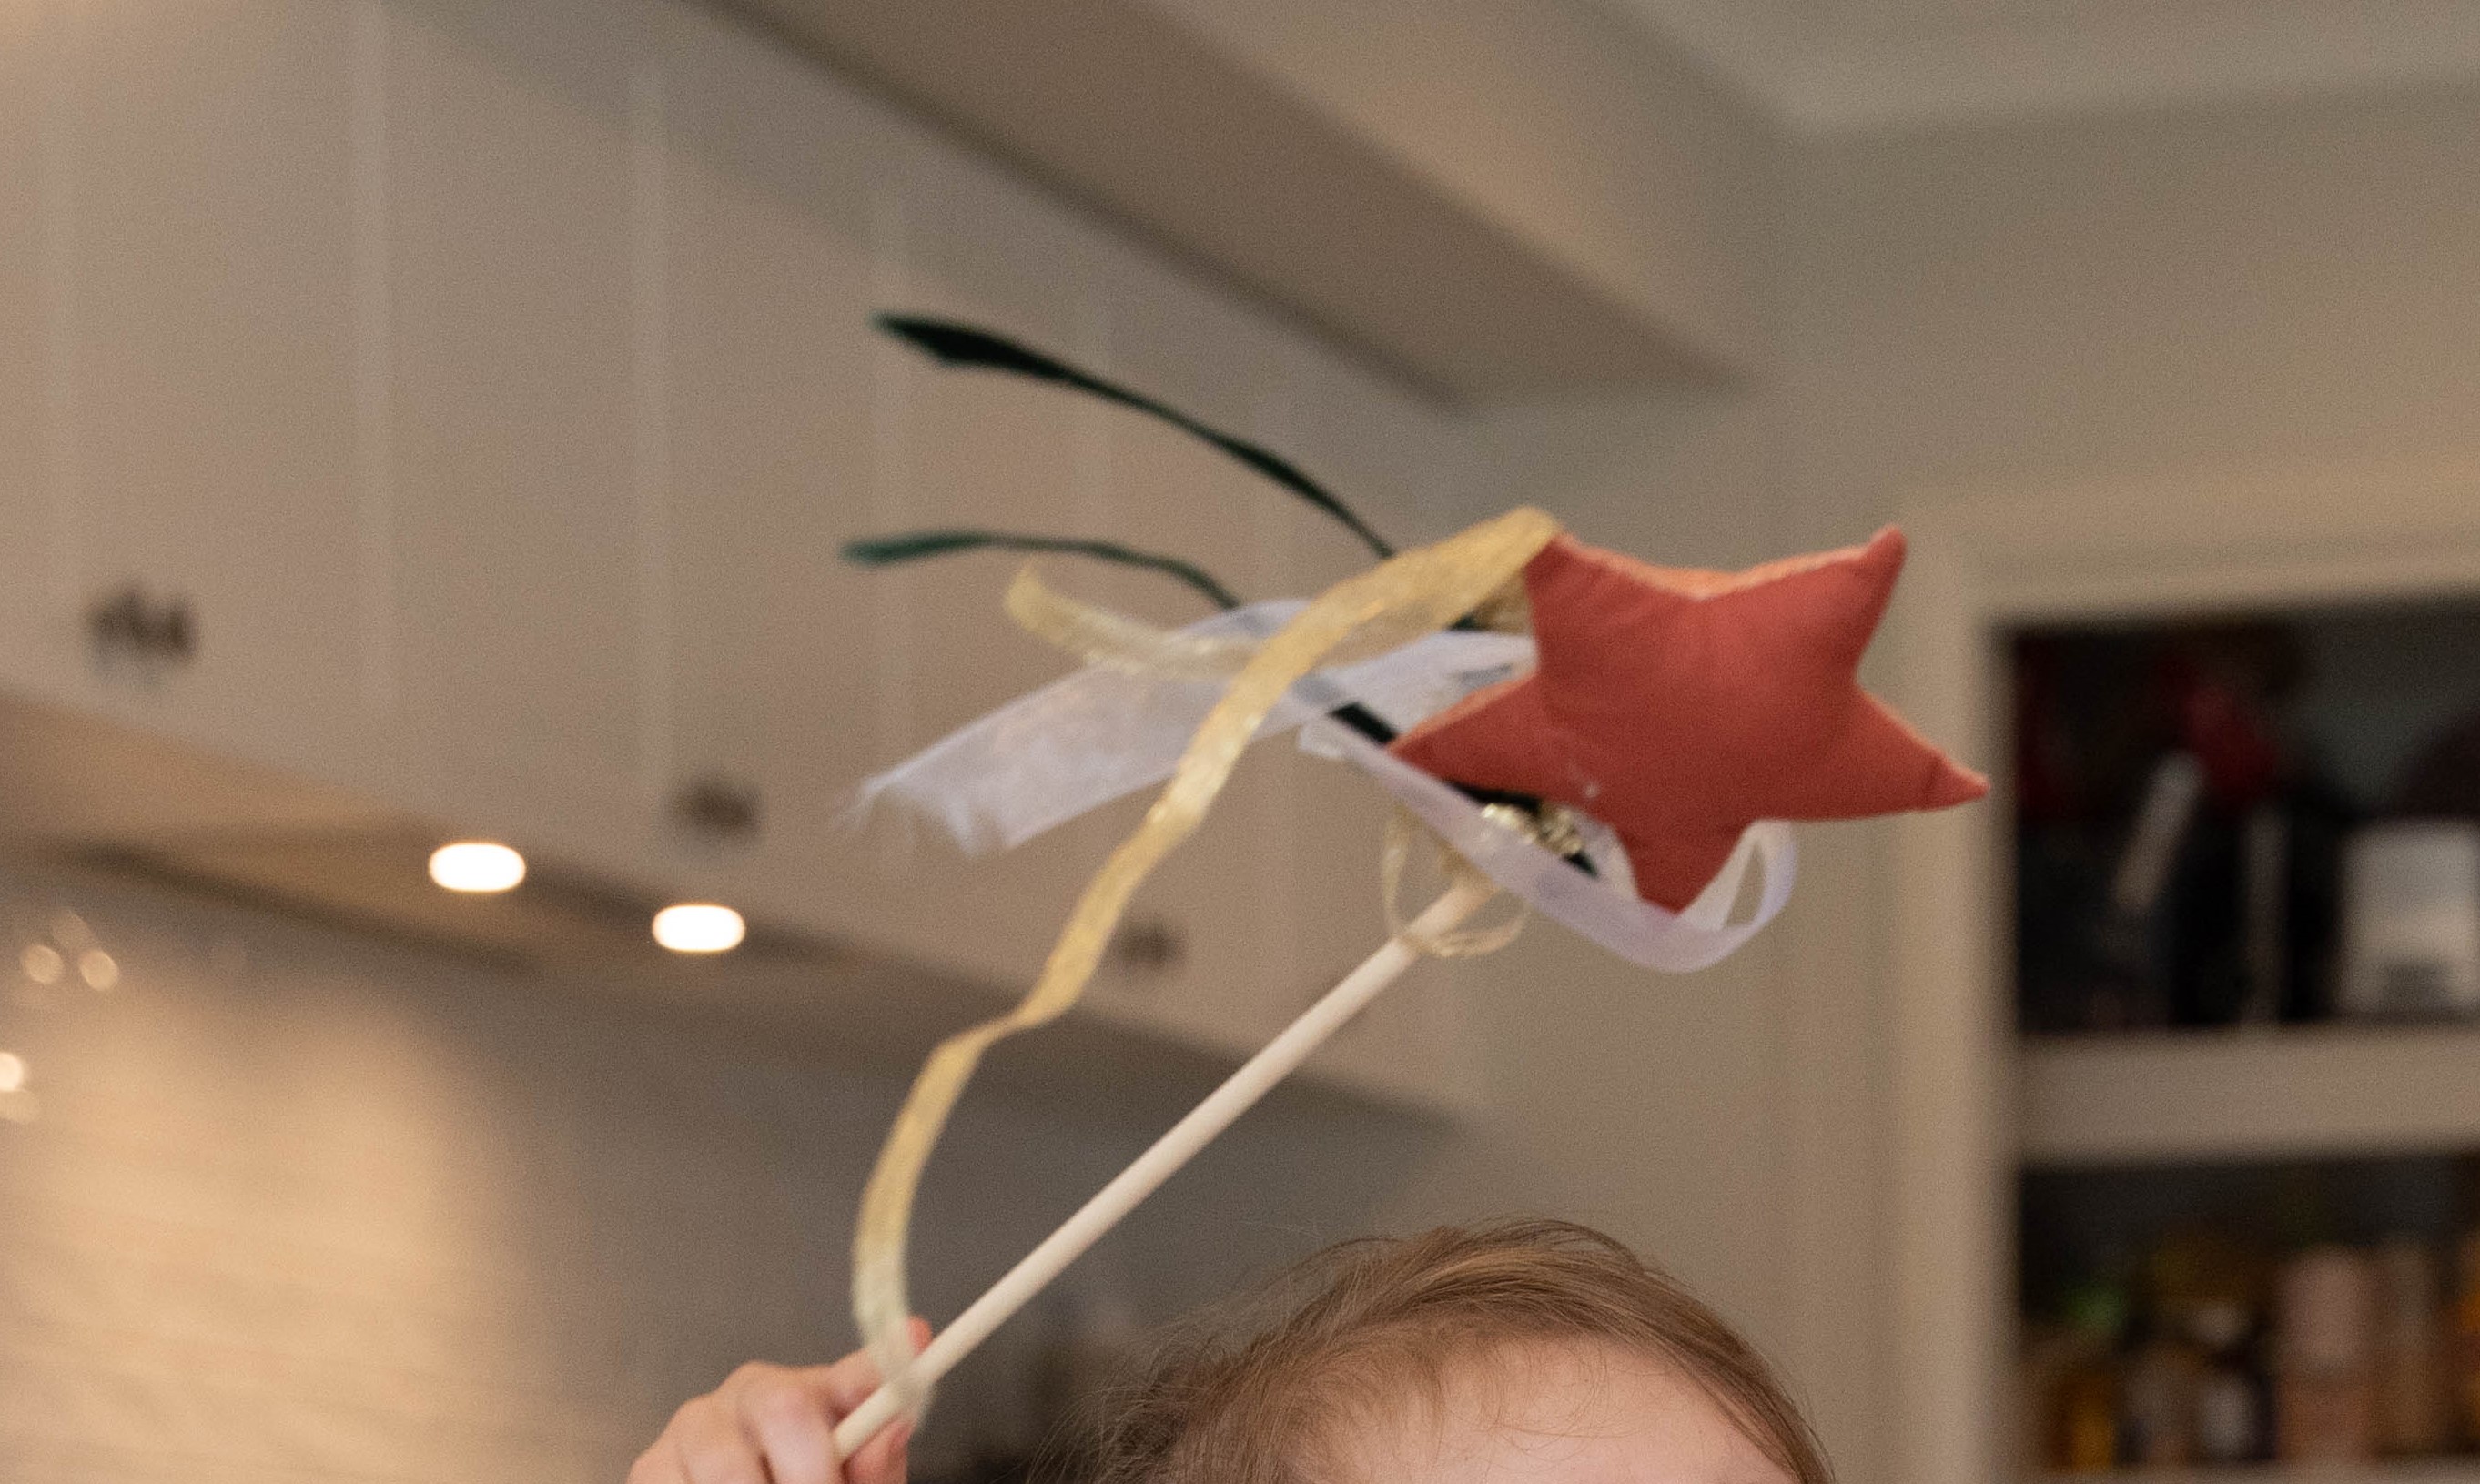
6. Petal Hats
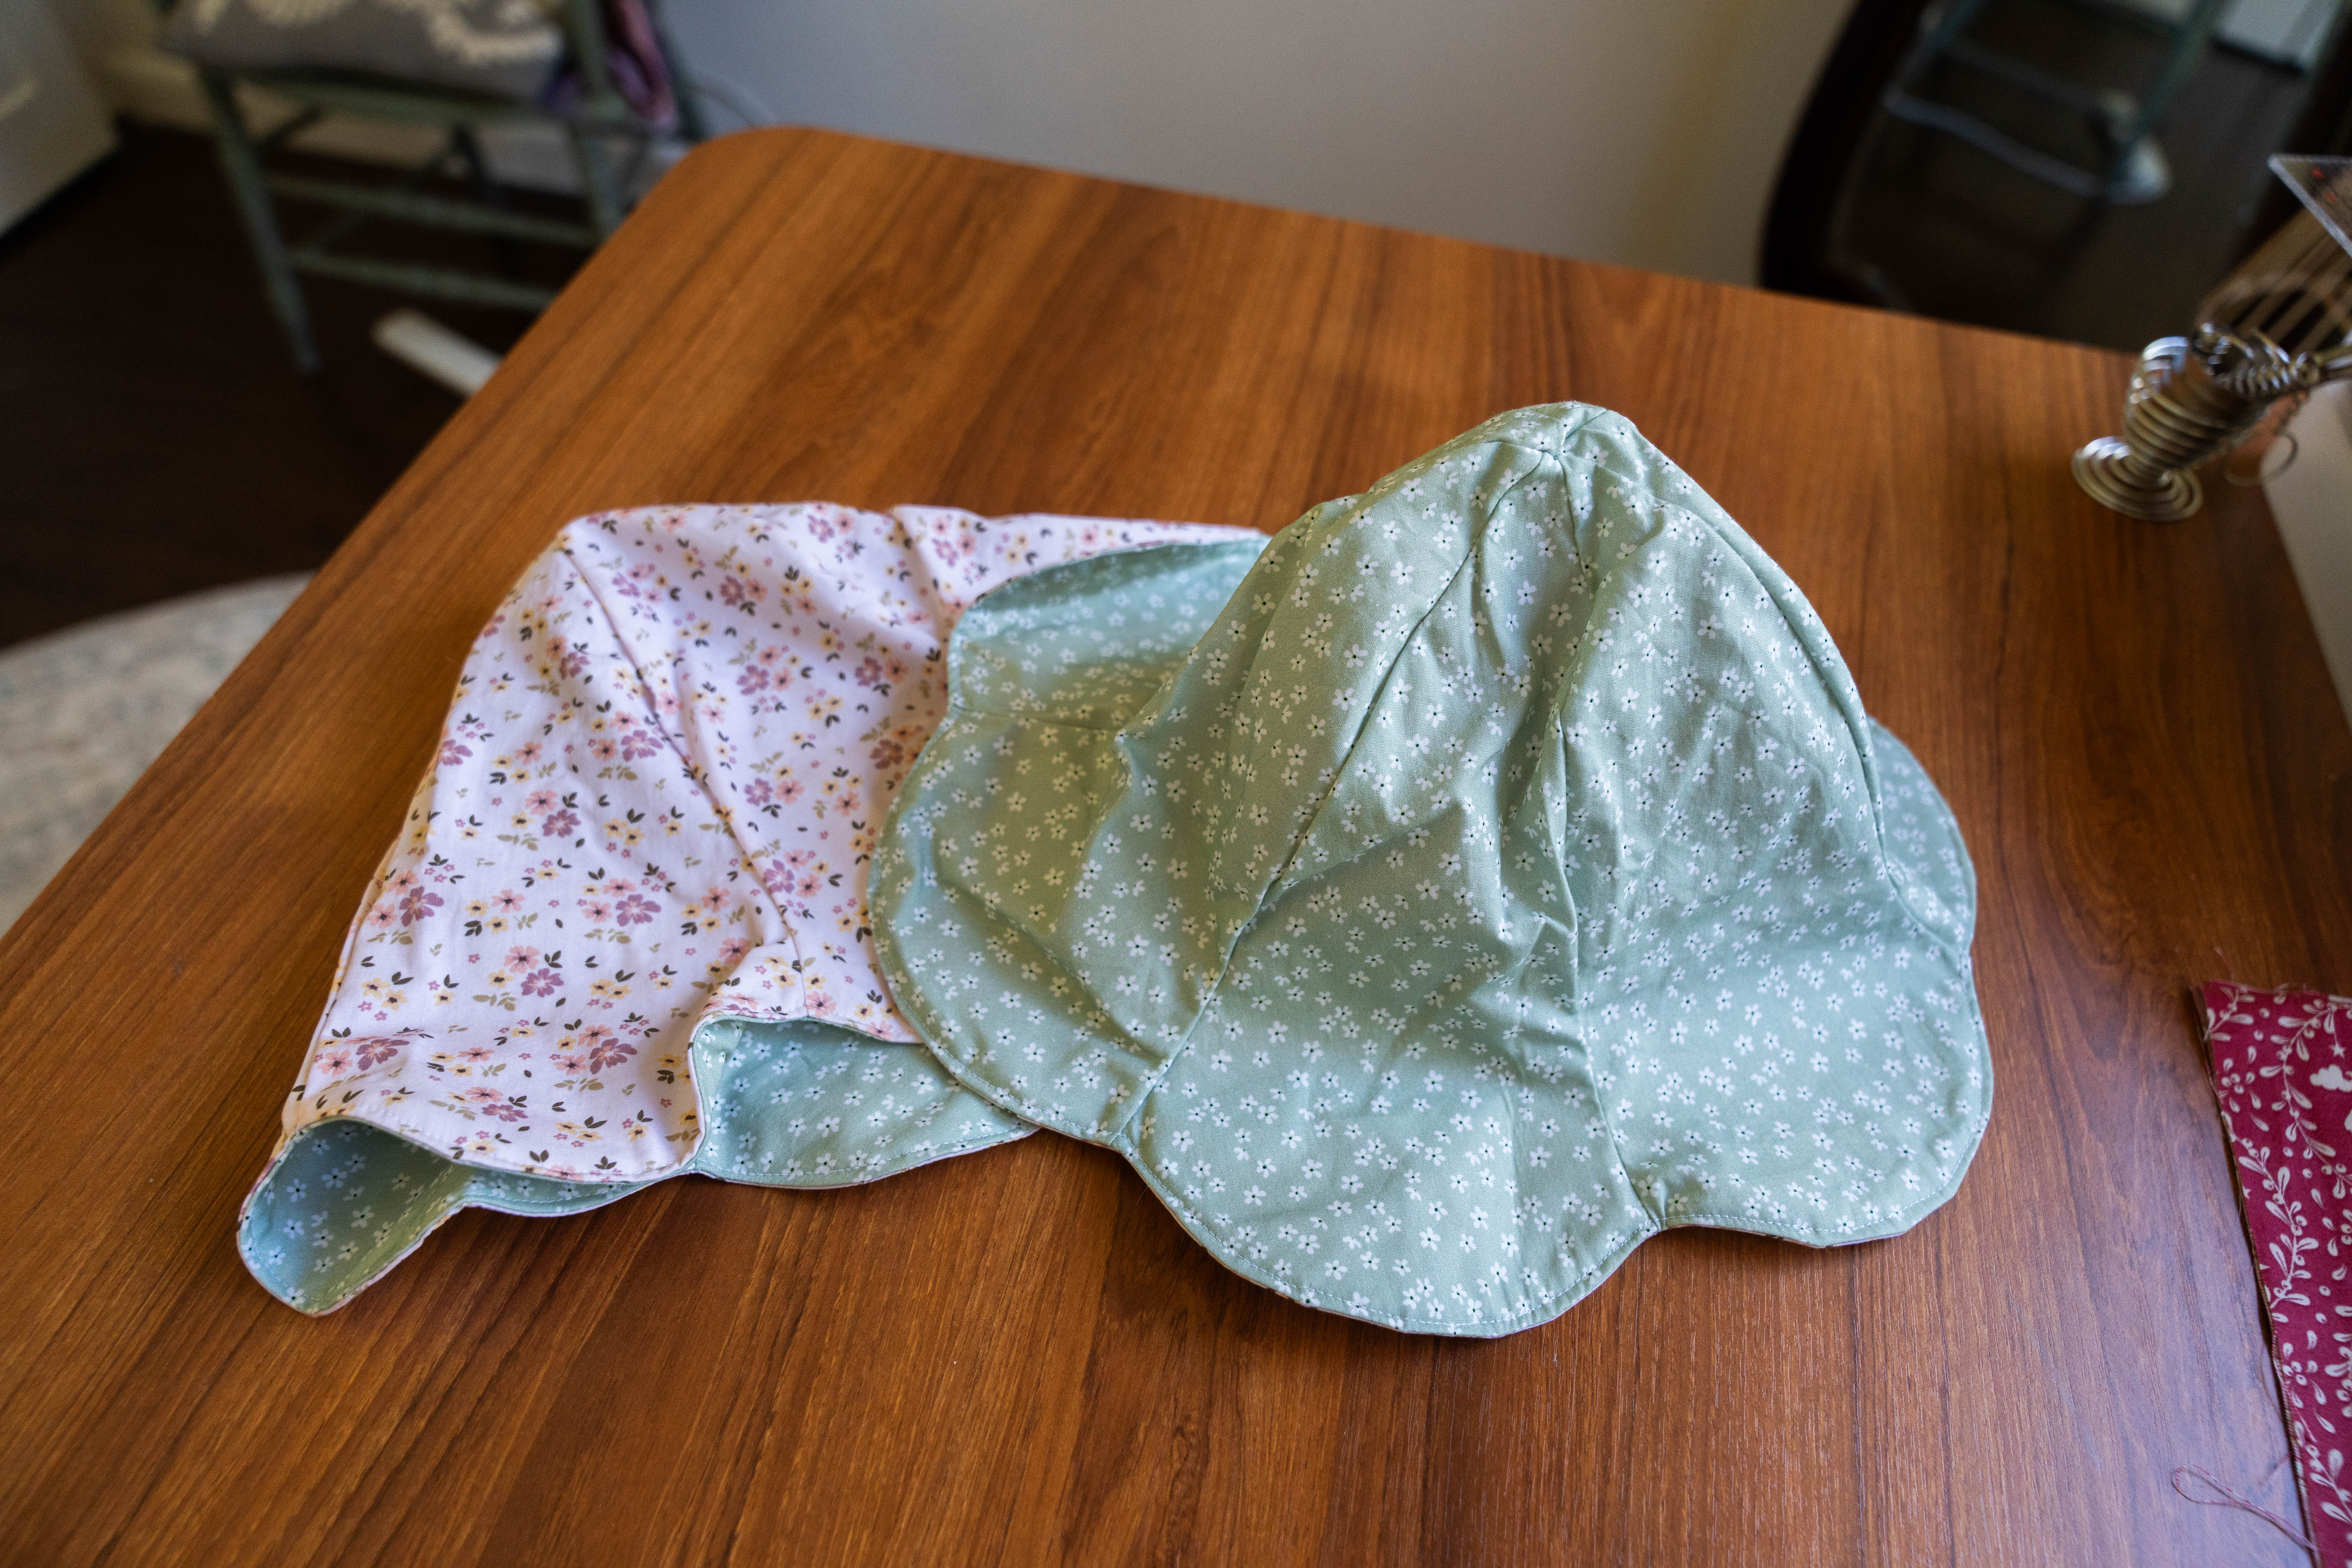
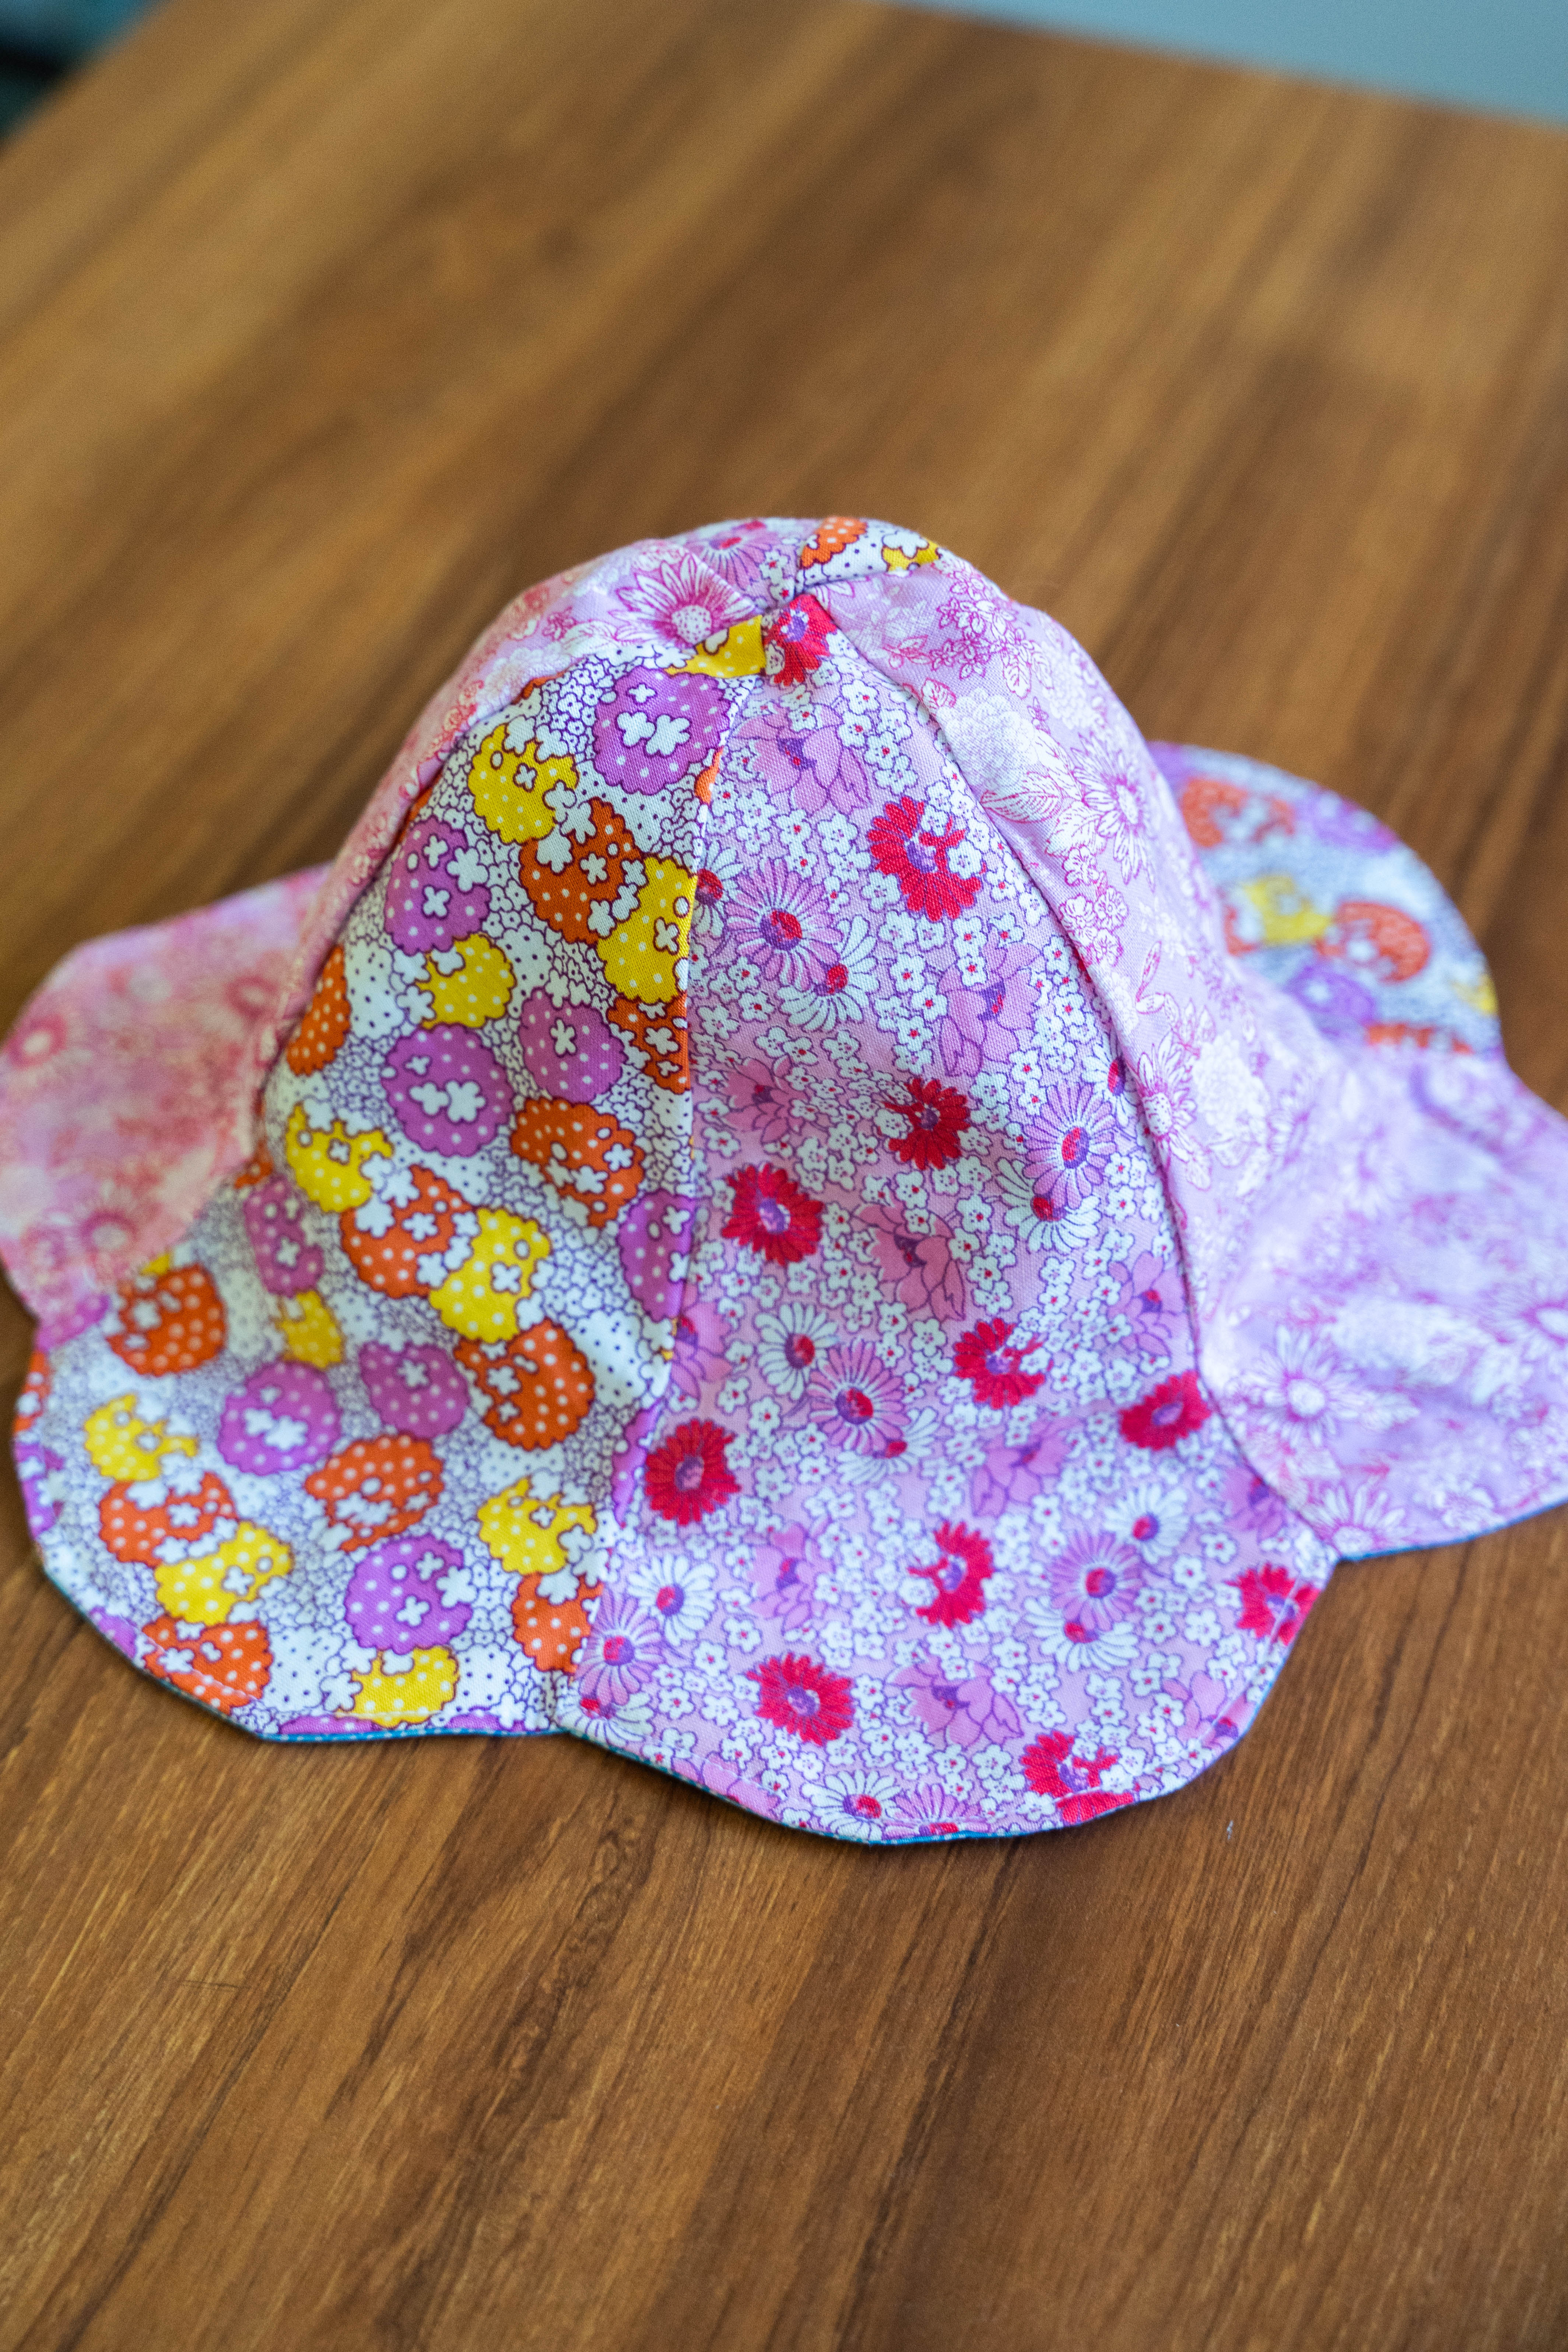

I used the Twig + Tale Flower hat pattern: https://www.twigandtale.com/products/sunny-hat-flower-add-on
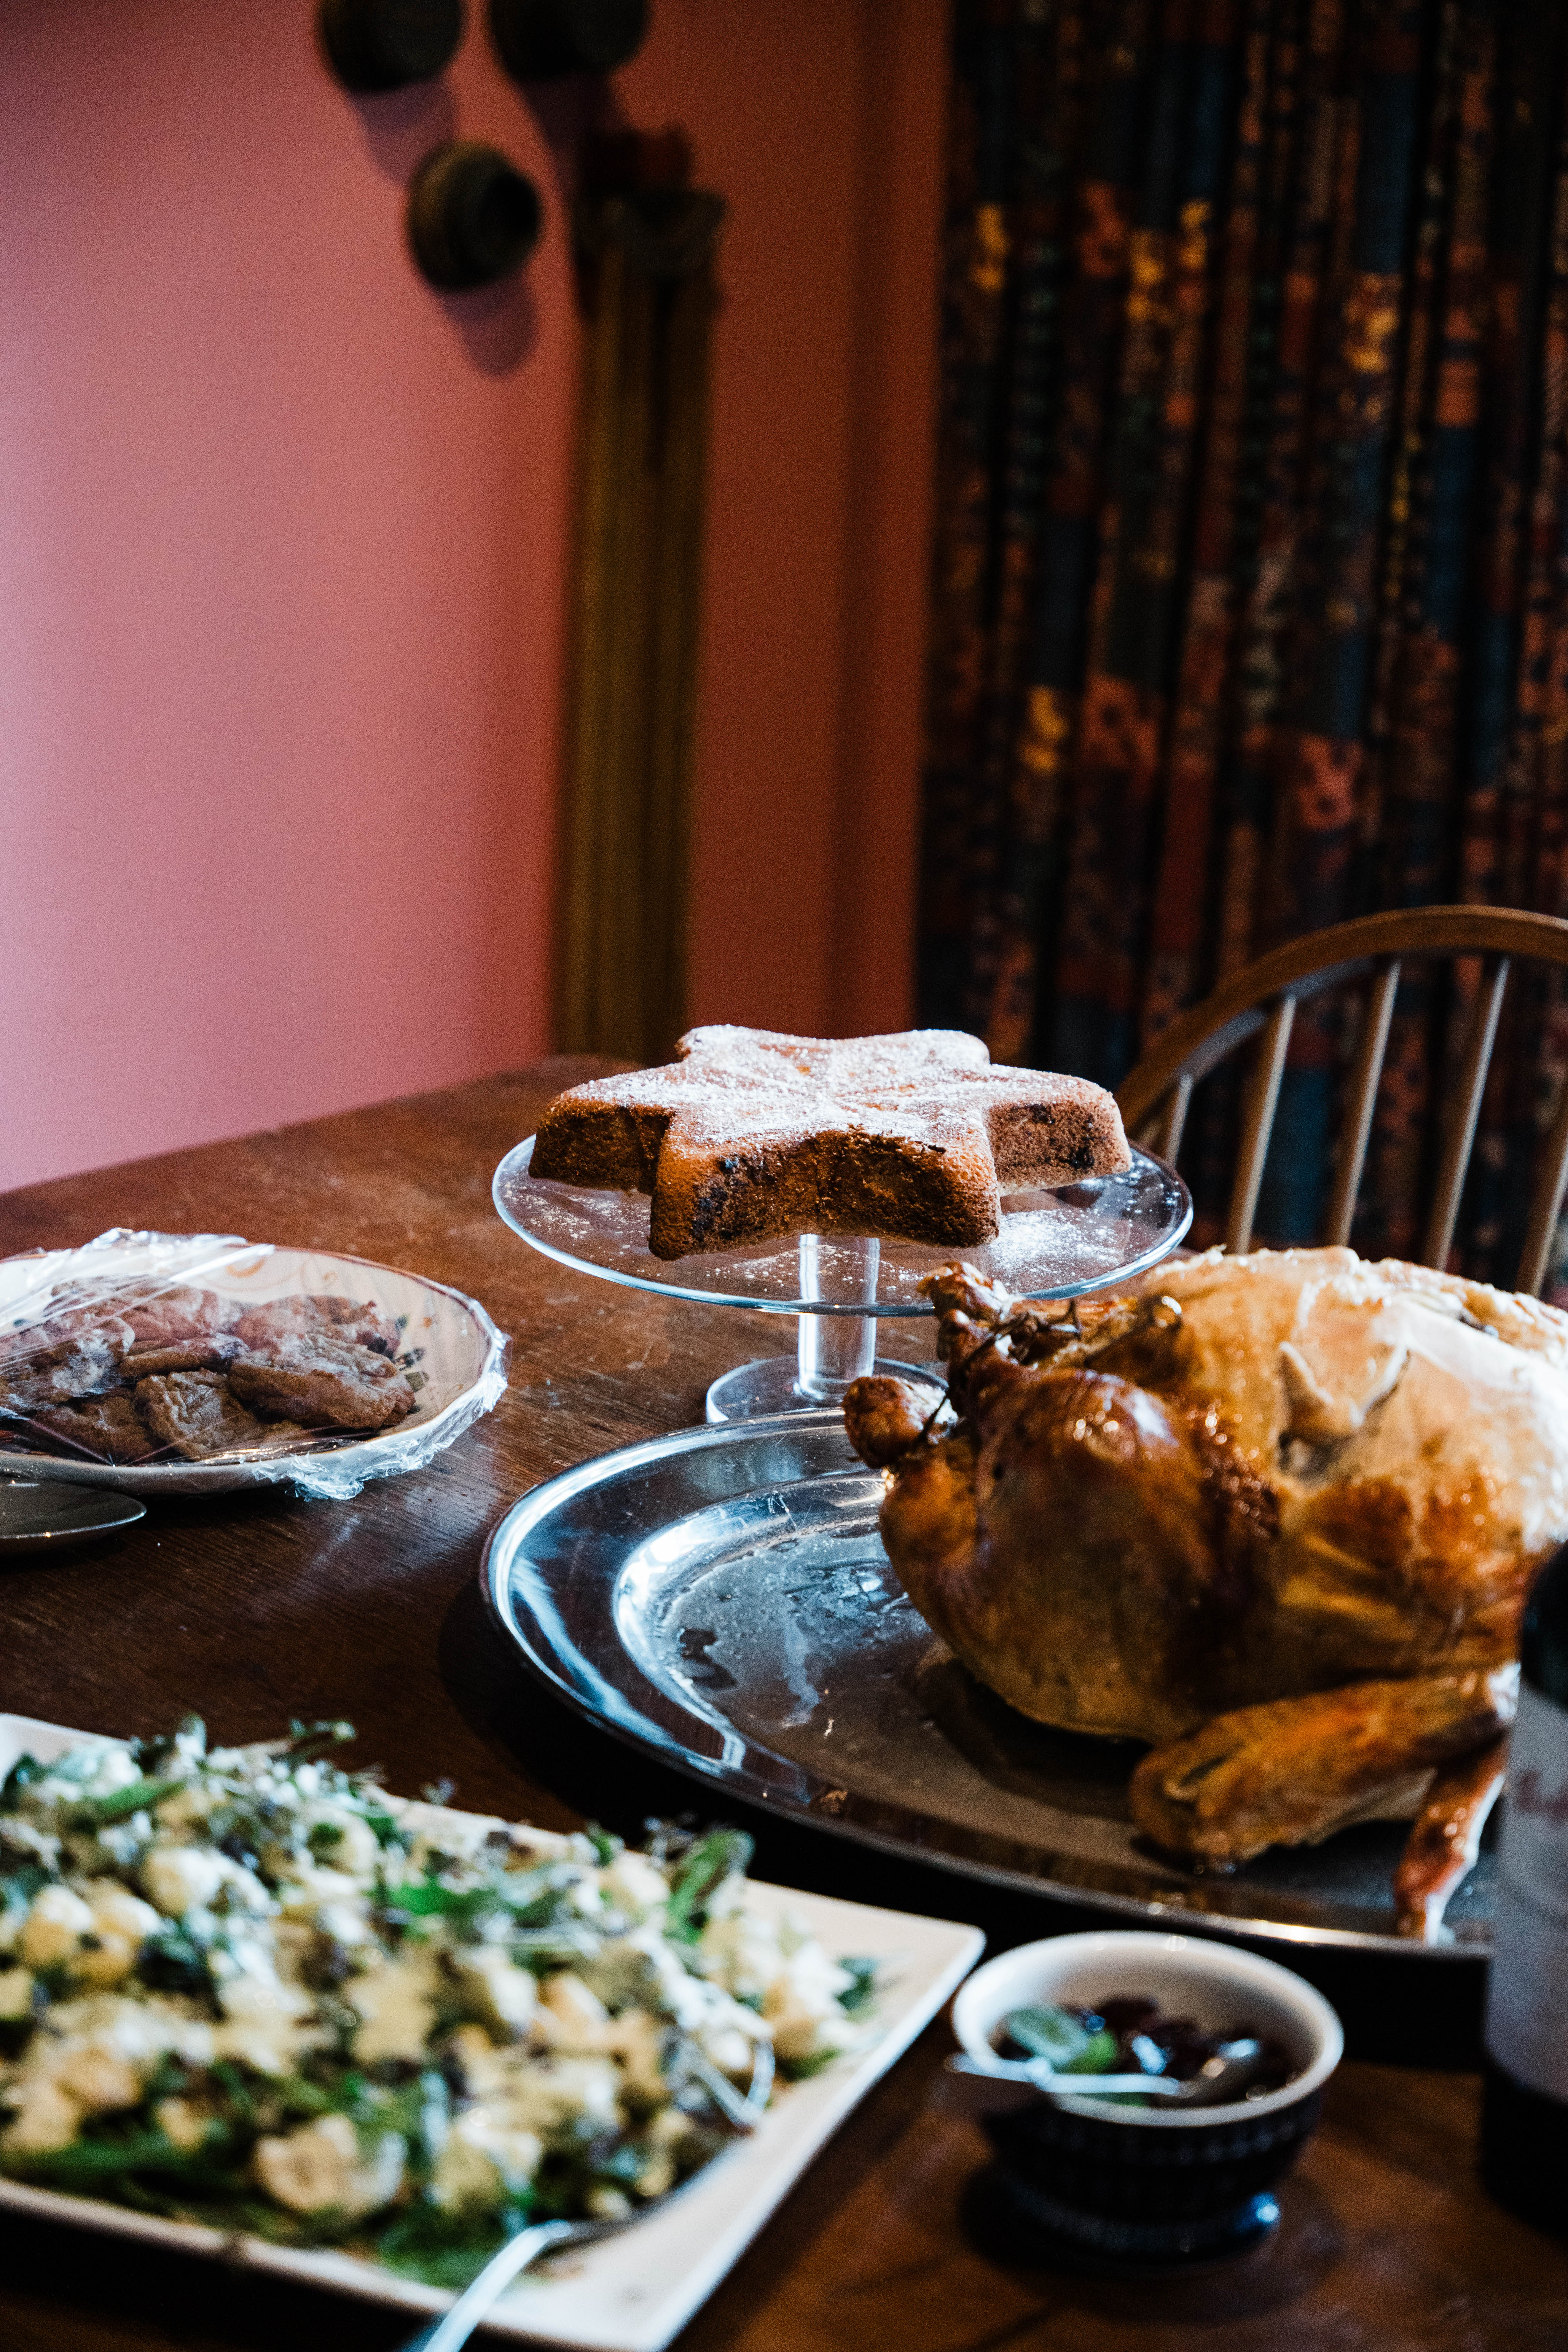
7. Wreath Sugar Cookies

I’ve not played with royal icing on cookies much, but this was so fun and easy!
I’d love to know what you’ve made this Christmas!