
I’ll take any excuse to bake cupcakes, and putting a little surprise inside has always been an ambition, so what better excuse than to make these Surprise Valentines cupcakes!
What you’ll need;
A cupcake tin,
A small cake tin,
A fondant roller or rolling pin
A serrated-edged knife
Patty pans
Food colouring
A piping bag and nozzle
A heart-shaped cookie-cutter
Some white fondant
A batch of butter cream, coloured with your colour of choice.
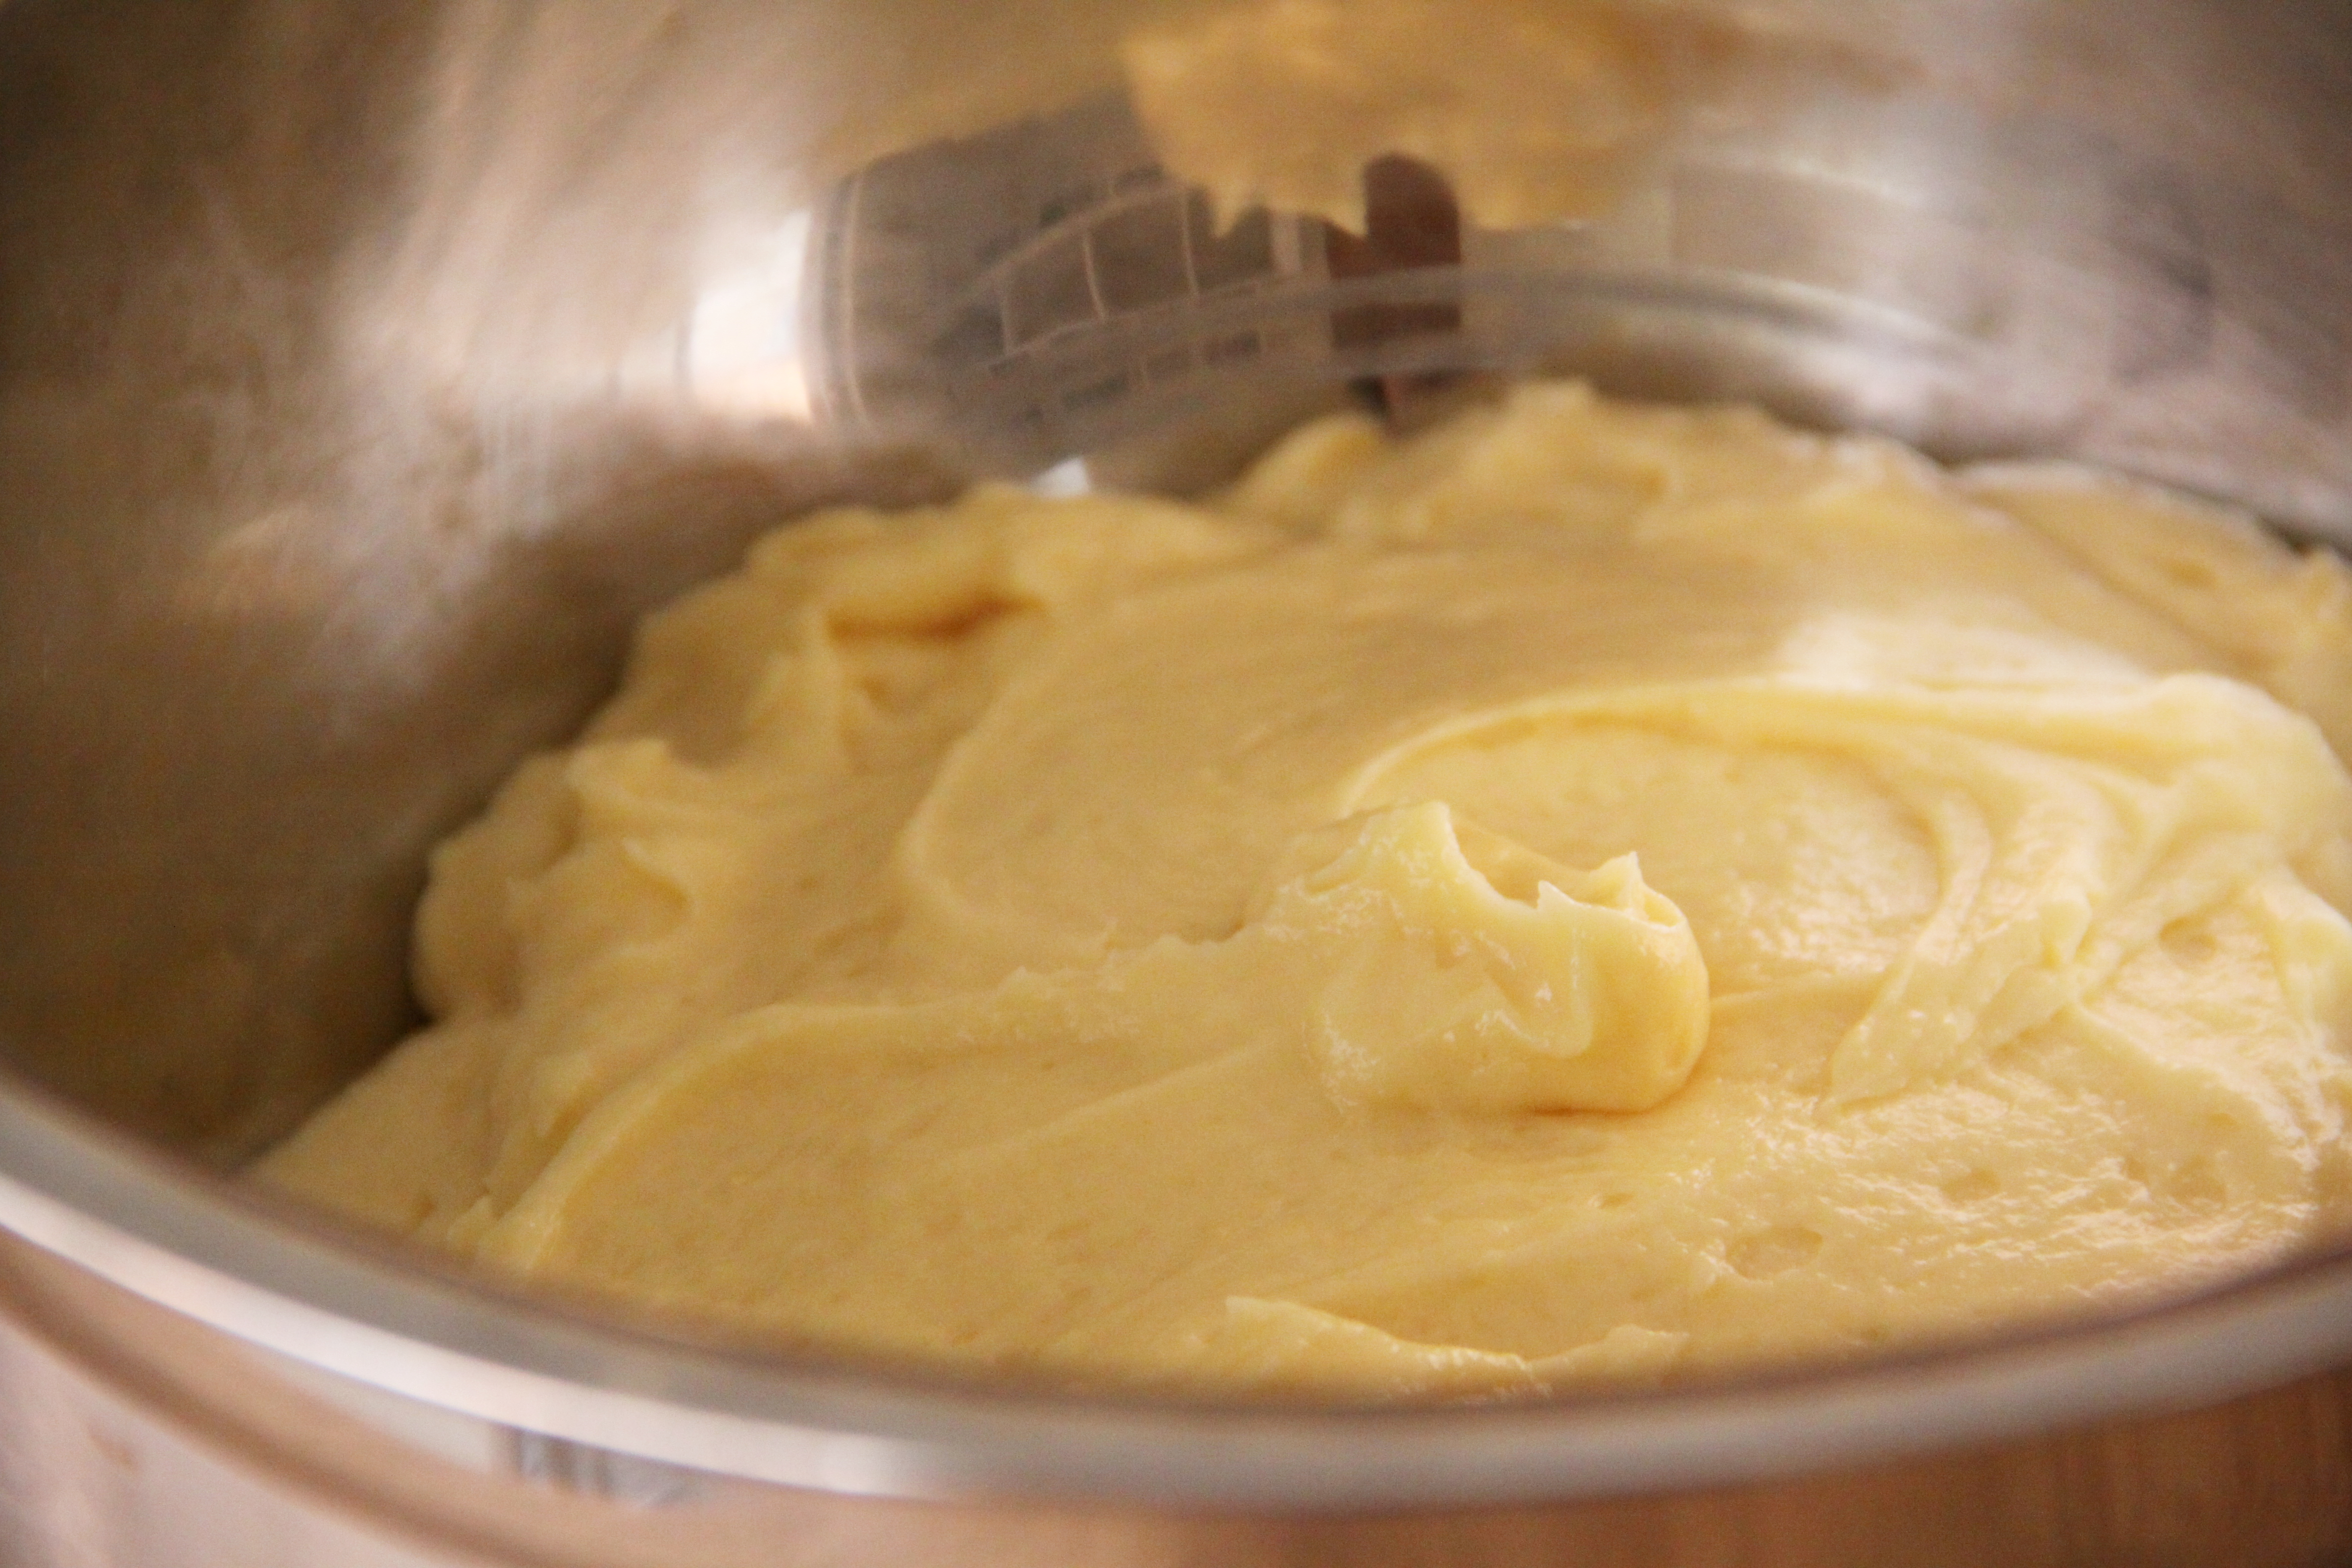
A batch of cupcake batter.
The cupcake batter I used was my favourite – made from scratch. This technique works just as well with a packet mix too!

You’ll need a flat and clean surface to work with your fondant on, I used a piece of baking paper for easy clean up.

I chose pink food colouring and these pretty pink patty-pans.

I used a disposable piping bag and a large-star tip. This just adds a bit of extra flair but if you don’t fancy yourself the piping type you can try: spreading on your icing with a knife, or using a zip-lock bag as a make-shift pipping bag.
Also, I only used the smaller heart as it fit well inside the cupcakes so be careful of size.

This batch of butter cream suits 12 cupcakes and is made from using a whisk attachment to combine 225g of butter with 5-6 cups of icing sugar (adding in a cup at a time).

The size of cake pan doesn’t matter ,you just need to make sure you can fit in 12-15 of your hearts once the cake is baked.
Start off by colouring half of your mixture. I like to add quite a bit of colouring as when you bake a cake, it tends to lighten in colour.
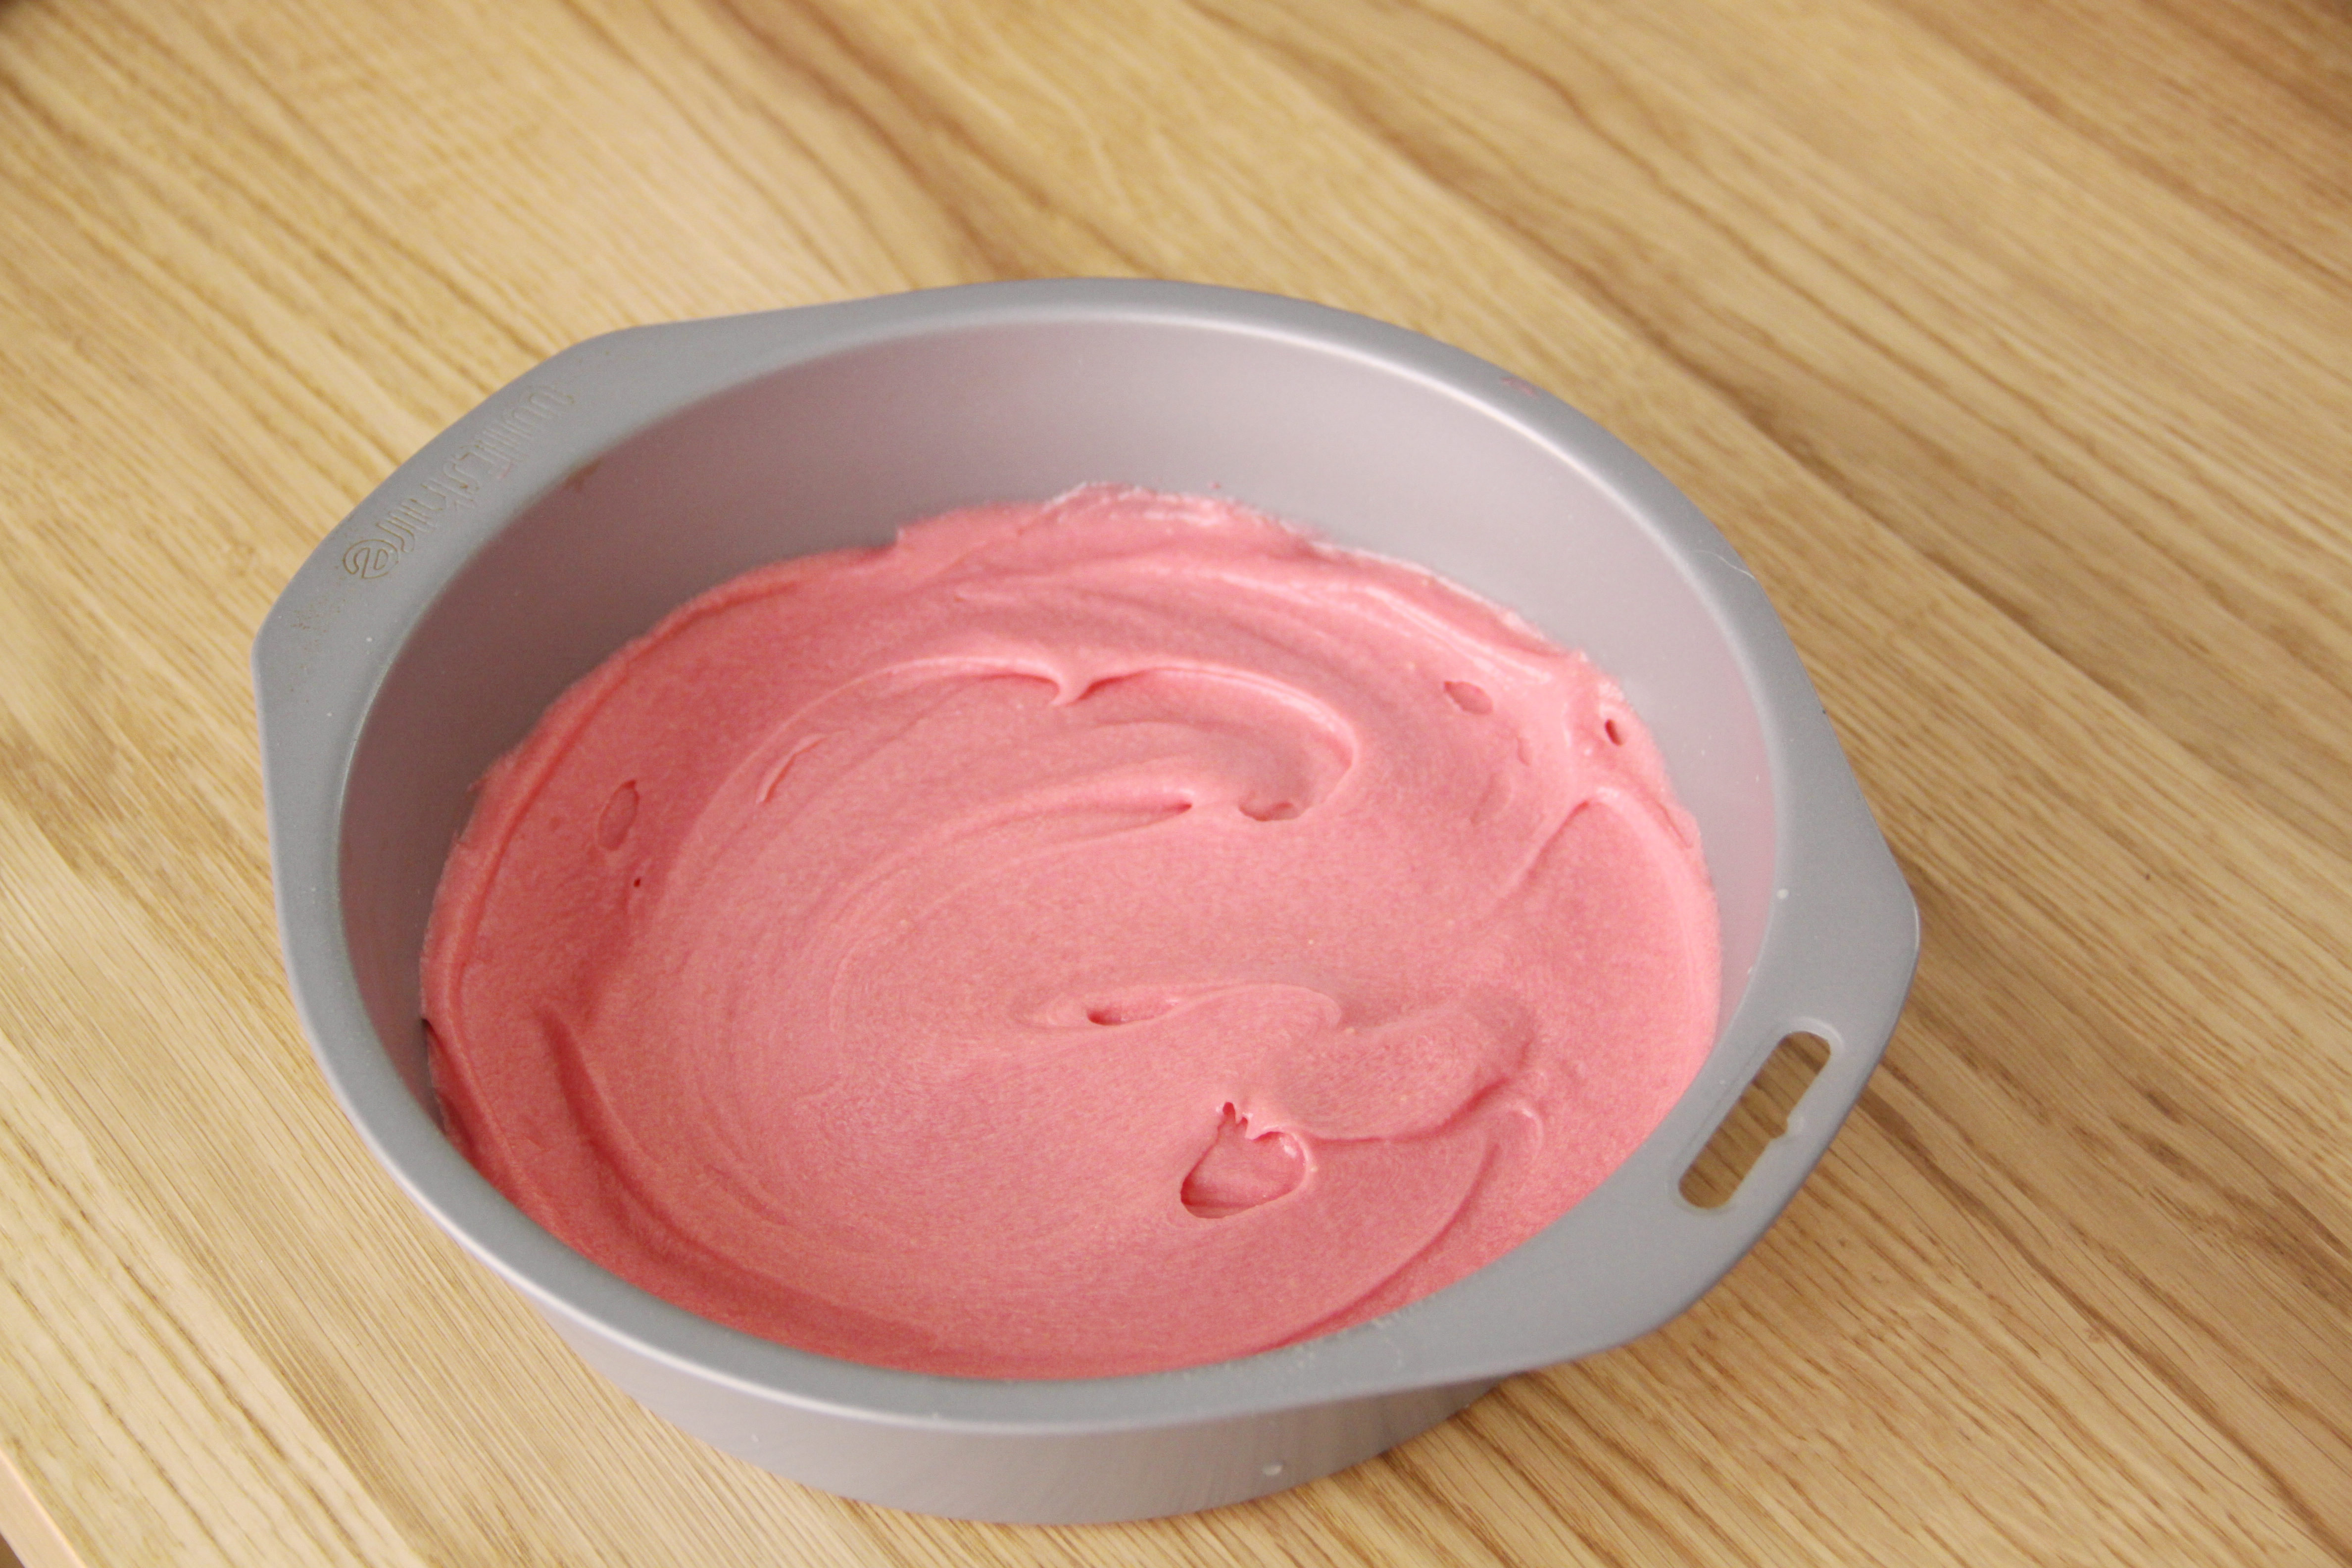
Pop your coloured cake mixture into your small cake pan. Put it in the oven at the recommended temperature for your recipe, however the time it takes will depend on it’s thickness. Mine took about 15min all up but it’s a good idea to keep checking as it bakes.
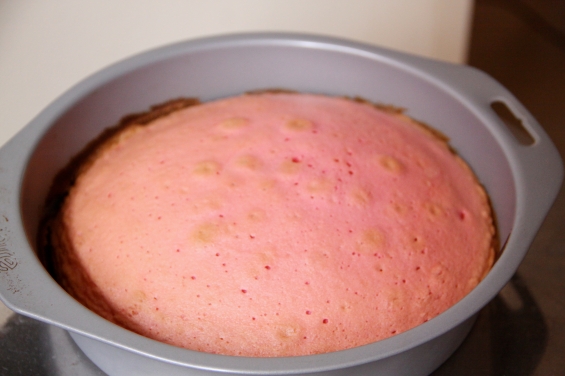
Once it’s out and all goldeny-browny-pink on the top, let your cake cool in its pan. Then remove and place on a plate. Pop in the freezer for about an hour so that it firms up and is easy to work with. Then slice off any brown from the top and the bottom of the cake so there’s only pinky-goodness for your little hearts.

Then cut out as many hearts as you can so that you can pick and choose your faves.
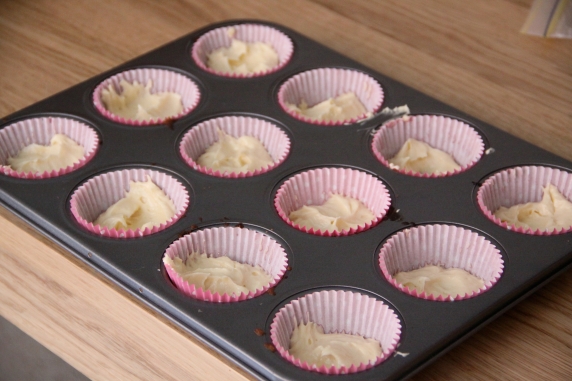
Fill your cup-cake cases up to a third with batter.

Pop your hearts in facing all the same way so that you can remember the bast way to bite or cut into the cupcakes. If those you’re serving them to take a big bite out of the side they might be a bit confused at the rectangle facing back at them!
Then fill the cases up until they’re 2/3rds full, making sure to place a dollop of batter right on top of the heart. Bake with caution – again checking as they bake. Mine took about 12 minutes. (Oh, and don’t worry about the hearts re-baking, for some reason when you place cake in batter, just the batter bakes)

When they’re out they’ll look something like this ^^^ you can see a little dip where the hearts are which is totally fine. If you can still see some heart poking out, it might be worth covering the cupcake with a thin layer of un-coloured buttercream so that the pink heart can be separated from the pink icing and you can get the full effect.
Once your cupcakes have cooled, it’s time to ice ice baby.

Snip the point of the piping back off and put the tip inside before putting your piping back in a glass for ease.
Then top it up with the buttercream and twist the end when your done.
You want to try to press the buttercream down as you go so that it’s not all airy like this. The more air bubbles means the harder it is to pipe smooth icing.

To make the fondant heart-toppers, place your fondant down on a surface dusted with icing sugar/corn starch. Roll with a rolling pin, rotate the fondant, roll, rotate, roll, rotate, until the fondant is about 2 credit-cards thick.

Cut out more hearts than you need as some are prone to breaking/turning out ugly.

Then place them on a flat surface, in a dry room. Drying them out for 24 hours is best, but they should be firm enough in an hour or two, depending on their thickness and the humidity.

Using a medium amount of pressure, swirl the piping bag around the cupcake and into a point -it’s far easier than it looks! Keep all of the cupcakes facing the same way as when you baked – that way you can remember where the hearts inside are!

Put a fondant heart on inline with the heart inside. I told those eating this batch to face the heart towards them and bite in. If you can’t tell people as they eat, hopefully that will be their instinct anyway!

The finished product!
And, on the inside…


Amazing!!
LikeLike